Packing a Singer Featherweight seems like it would be simple enough, doesn’t it? After all, it comes with a handy carrying case, right? Well, I think after you see the photographed illustrations below you will understand that these small, portable machines need a bit more care than what you might expect. After years and years of seeing machines shipped with damage (and having to help some of our customers replace those parts), we created this tutorial to help you and others learn how to pack a Singer Featherweight 221 and 222 properly. This information can apply to other portable sewing machines as well. We want to make sure these 50-70-year-old machines continue sewing for generations to come.
Materials Needed:
• 1 Sturdy Cardboard Box (double-walled is best)
• 25 feet (by about 12 inches wide) of Bubble wrap (or more if using it as stuffing)
• Packing Tape
• Styrofoam insulation and/or another secure padding
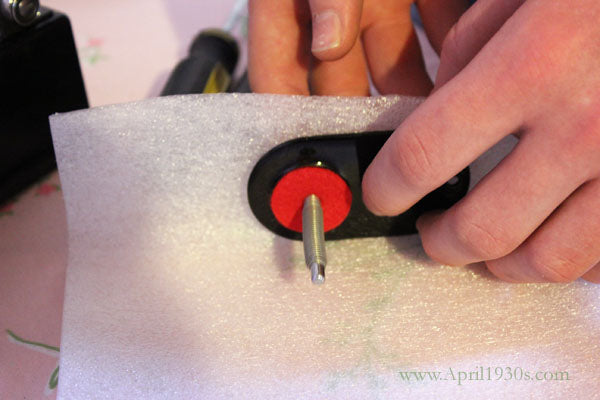
1.) Remove the spool pin coverplate screw.


2.) Return the screw to its original hole so it does not get lost.
3.) Wrap the spool pin coverplate and place inside the case tray.

4.) Removing the little side tray of the case (or top tray in older cases)
will make it easier to load a wrapped machine inside the case in
later steps.

(If you cannot remove the screw, then push the bobbin winder all the way down to the bobbin winder wheel touches the belt.)

6.) Turning the handwheel (always towards you), lower the upper thread take-up lever so that it is as far down as it will go.

7.) Tighten the motor to the machine. The screw is accessed from the front of the machine on the right side.
8.) Wrap foot controller cord and foot pedal controller.

9.) Place a piece of plastic wrap or soft fabric on the bed of the machine
so that when you return the wrapped foot controller it does not mar the machine’s surface.

10.) Return the foot controller to the center of the machine and stuff extra bubble wrap in the gaps
so that the foot controller will not move around whatsoever in shipment.


11.) Put a piece of bubble wrap in between the bed of the machine and the faceplate thumb screw.
This protects the machine from the thumb screw banging, scratching or chipping the paint during transit.

12.) Begin wrapping the machine itself. You can use the spongy wrap as seen in the photos or standard bubble wrap.

13.) Wrap the machine in both directions all the way around.

14.) Tape it well and securely.


15.) With the bed of the machine on the left and the handwheel on the right, place the machine back inside the case making sure it is all the way down. There is a lip inside the bottom of the case that can cause the machine to slip.

16.) Stuff more bubble wrap in all the nooks and crannies so that there is zero movement of any kind.

17.) Replace the side tray in its original position. If you have an older style case with the larger top tray, then wrap it separately from the case as shown in the photo below.

18.) Place enough bubble wrap on top of the machine inside the case so that the lid will close, but still tight enough that if you turned the machine upside down it wouldn’t budge out of position. There must be ZERO movement in the case.


19.) Begin wrapping the case itself. Again, you can use the spongy wrap as shown here or standard bubble wrap.
20.) Line the bottom of a sturdy box with rigid styrofoam. You can use packing peanuts, however, there is a risk because peanuts tend to settle in shipment causing things to shift. If using them, make sure you pack them in firmly!

21.) Set the machine down inside the box on top of the styrofoam layer. Begin adding more rigid styrofoam or other protective cushioning so that there is ZERO movement in any direction should the box get shaken, dropped or tossed (because it will!).

22.) Wrap any and all loose items and place around the machine case in the box.
There is to be no movement in case or box – even if tipped upside down.

23.) Stuff bubblewrap, wadded newspaper, etc, in all the nooks and crannies tightly so that the machine will NOT move in transit.
If you're still not convinced that this process isn't necessary, then
this "tutorial" will show the damaged machines from careless sellers... even those who said, "I pack well!"
(Click photo above for more photographs of damaged machines.)


