
%20seam%20(or%20even%20beyond),%20your%20seams%20will%20have%20co...)
How to Install & Use the Featherweight Accurate Seam Guide & Square
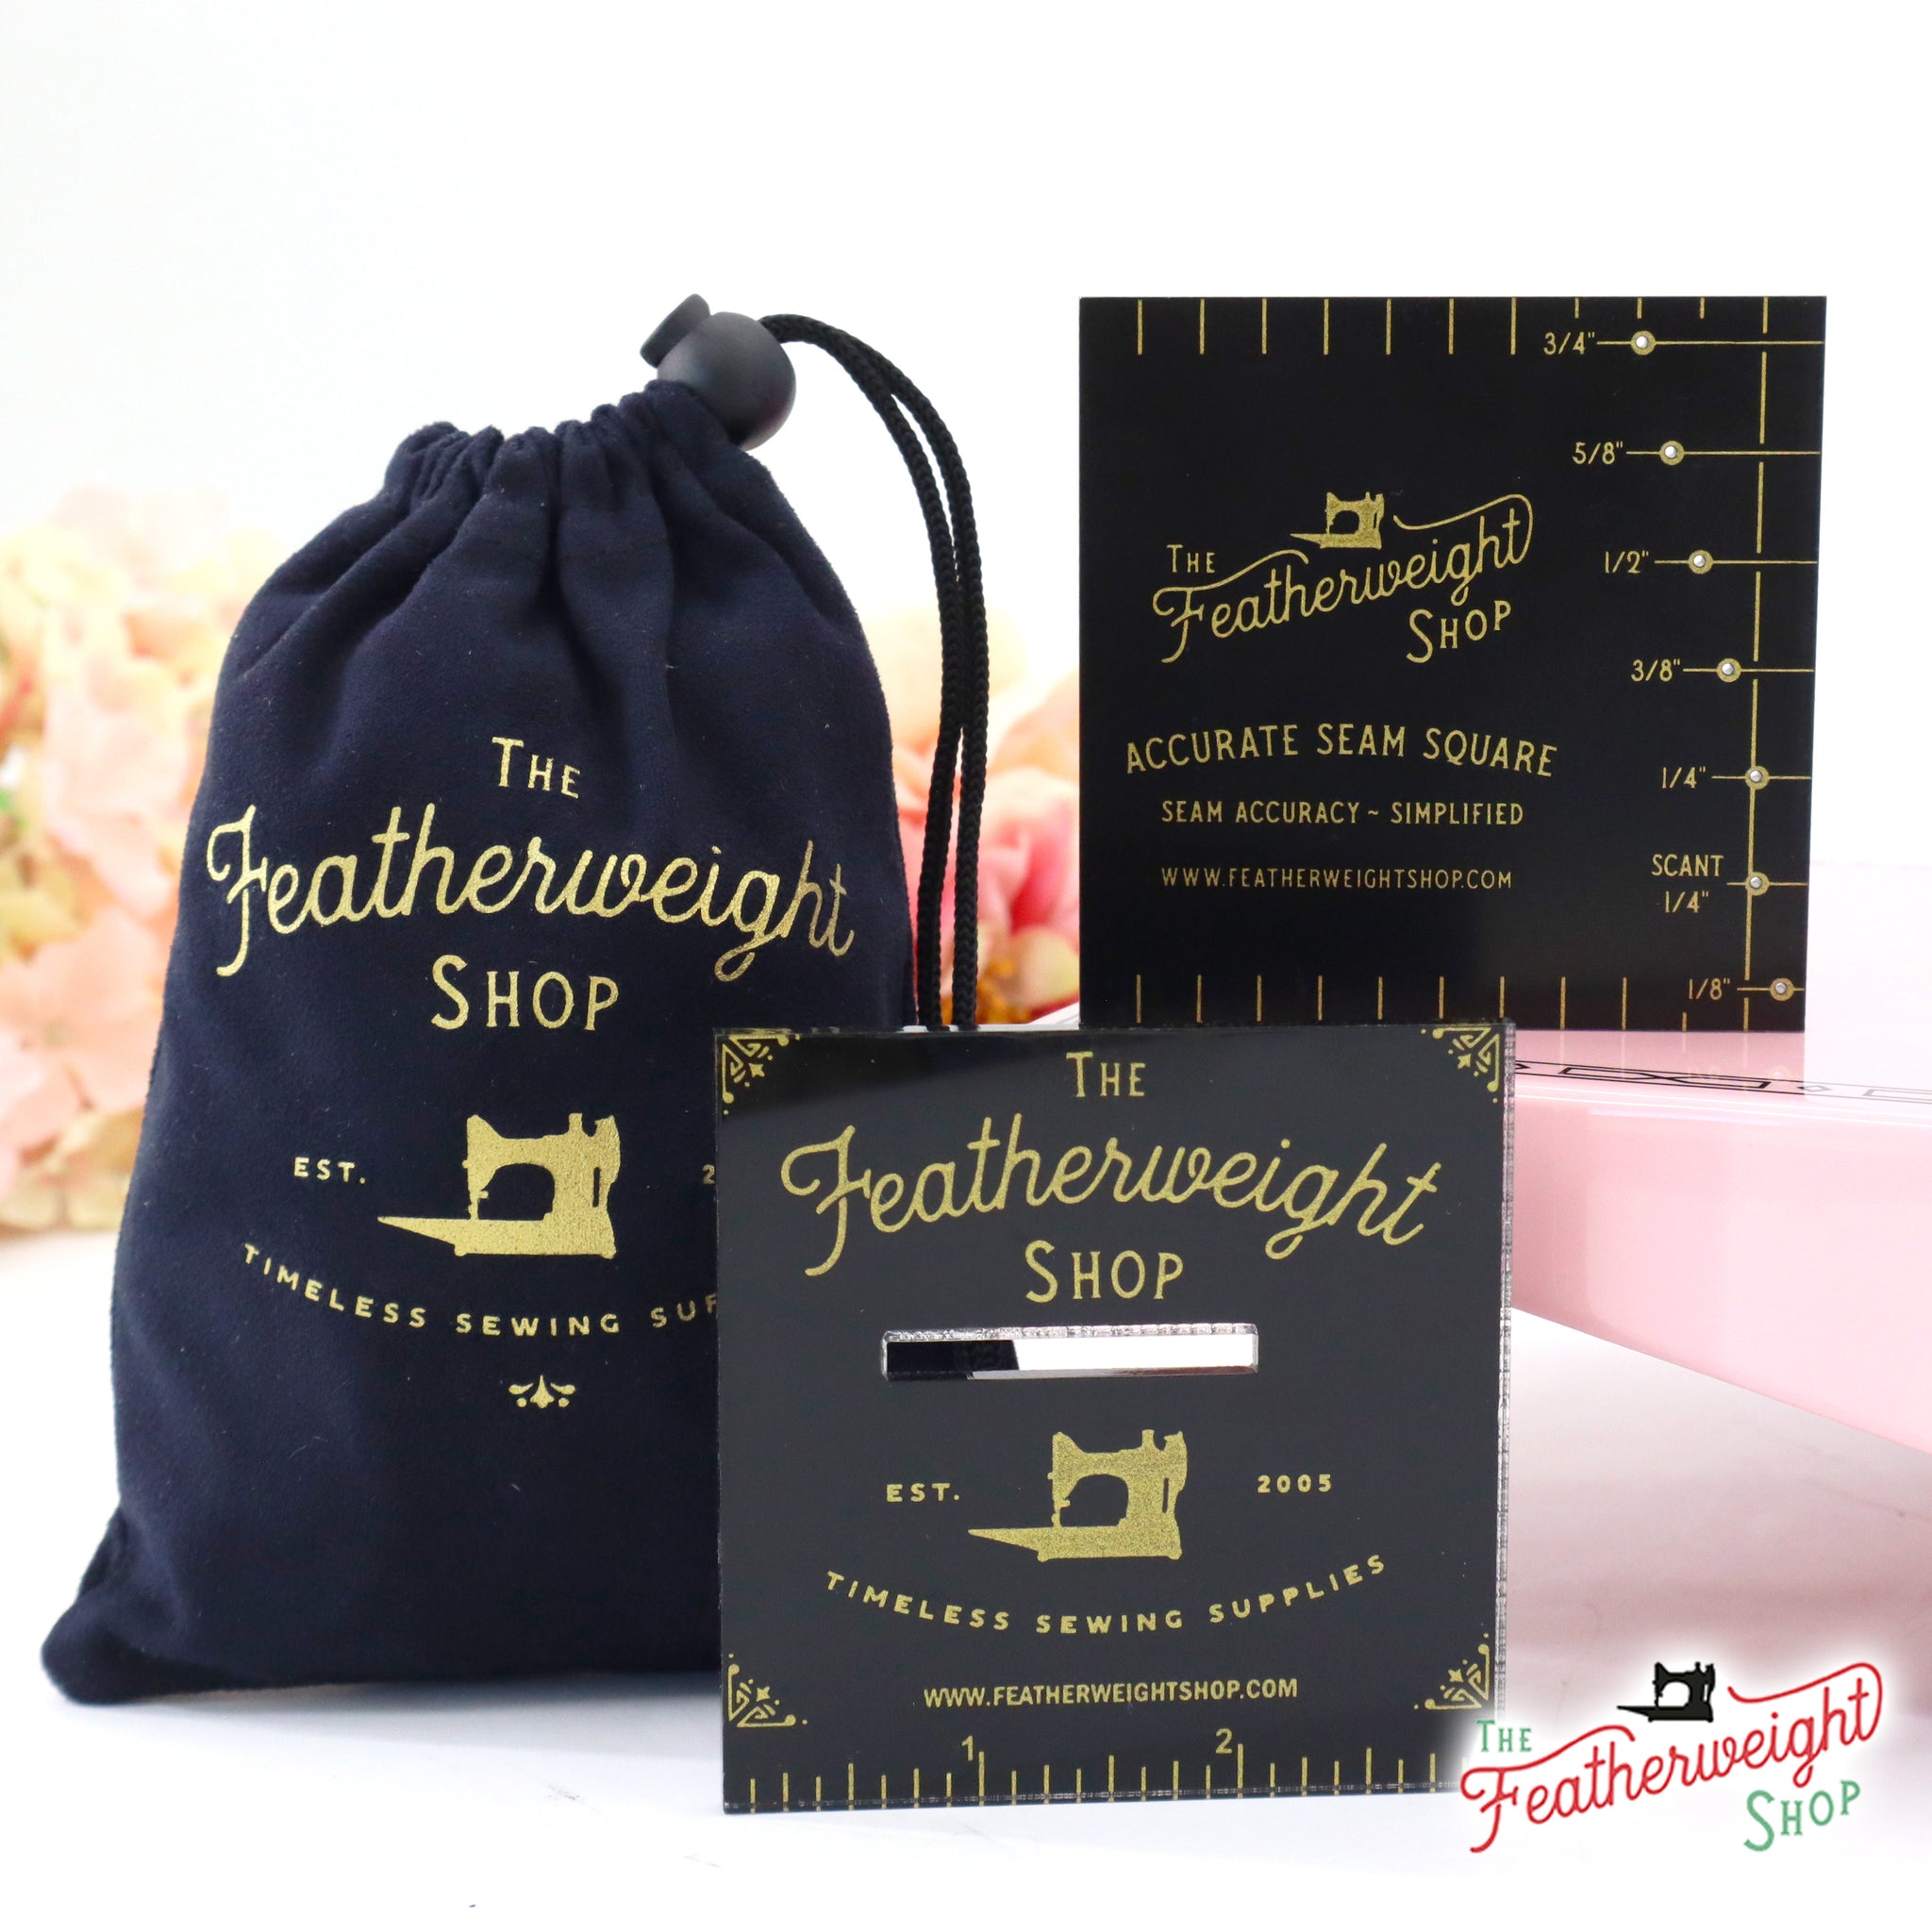
This seam guide is designed so that you can easily and accurately piece your quilt blocks. Whether you prefer a scant or a true quarter inch (1/4") seam (or even beyond), your seams will have consistent seam allowances throughout your quilt or sewing project. Some people prefer a 1/4" foot attachment and those work very well, too, but other quilters prefer something more fixed and secure to the machine bed. The smooth acrylic finish of the Featherweight Accurate Seam Guide is safer for the machine surface as well. It is much better than using adhesive or metal seam guides which often harm the clear coat.

Fashioned after the design of the Singer Featherweight with cute gold decals on a black finish, the Accurate Seam Guide also includes an easy-to-grip thumb screw and washer. The thumb screw allows you to securely screw down the guide to the machine using just your fingers. Another nice feature is that our seam guide has a 3/16-inch edge - which is slightly taller than others, allowing you more visibility and ease for your fabric to feed against.

Now let's learn how to measure and attach your Featherweight Accurate Seam Guide so you can start sewing!

1.) You will notice the easy-to-grip thumb screw and washer included with the guide. Slip the screw through the washer, and place it in the slot on the seam guide. Using one of the holes on the bed of the machine (see arrow below), turn the screw to the right to just get it started in the threads (see next two photos).
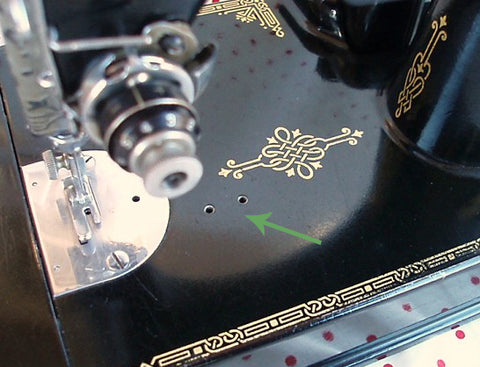

You can get the screw started, but at this point, you want to still be able to slide the guide back and forth. If the screw will not screw all the way down, this is common on these old Singers. This tutorial will be your guide for troubleshooting those screw holes.

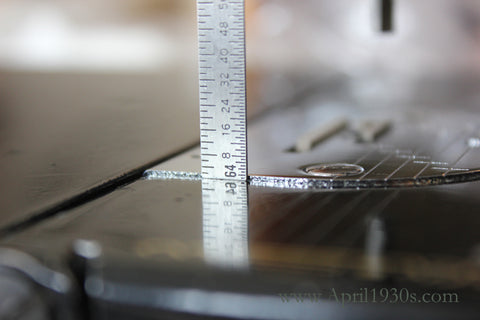
2.) Next, determine whether a true 1/4" seam allowance or a scant 1/4" seam allowance is preferred. (A scant 1/4" is just a hair less than a true 1/4".) Make sure the presser foot is raised and rotate the handwheel toward you to lower the needle through the desired seam allowance hole in the Featherweight Accurate Seam Square (sold separately).
(Sidenote: Always rotate your handwheel toward you when sewing - never rotate it backward or away from you).

You can also use a small ruler to measure from, as shown above, but for greater and consistent accuracy, the Featherweight Accurate Seam Square will provide the best gauging results. If your needle is not centered in the needle hole, that's perfectly okay and is often quite normal. Singer did not always design for this centrality, as they were more concerned about the perfect alignment of the needle and hook. Increasing needle size affects the centrality of the needle anyway, so do not be concerned if your needle is not perfectly centered in the hole. Just make sure to measure from the needle itself.
3.) Once your needle is lowered, slide the Featherweight Accurate Seam Guide over until it is resting up against the Seam Square or ruler. Measure from the needle to the left edge of the Featherweight Accurate Seam Guide.

4.) Slide your seam guide into position at the correct measurement and tighten the screw so that your Accurate Seam Guide is secure. You want it tight so the guide won't shift or move easily. This style of thumb screw makes it easy to quickly tighten or loosen as required -- or even remove the guide altogether if you need to sew half-square-triangles (HSTs).
Now you can begin piecing!
We hope you enjoy your Featherweight Accurate Seam Guide!
For more helpful hints on proper seam alignment, see the tips further below.


HELPFUL HINTS AND TIPS for proper seam alignment:
Tip #1: Not all Featherweights are the same... What that means is - and for those of you with more than one Featherweight in your collection - you've probably noticed there are a few subtle differences or variations in their manufacturing. For example, some Featherweights have throat plates that are perfectly flush with the machine surface. Other Featherweights have throat plates that sit up a teensy bit higher than the surface.
This is common, but here is a quick remedy. It's actually one of the reasons we opted to keep our guide the same small, square size as the one Dave McCallum had originally made. This remedy came from Dave and is so simple, but it works perfectly!
If your machine is one that has a throat plate that sits a tad higher than the machine bed, then this sometimes causes a "fabric-thin" gap towards the front of your guide and the bottom fabric can slip underneath if you're not careful.
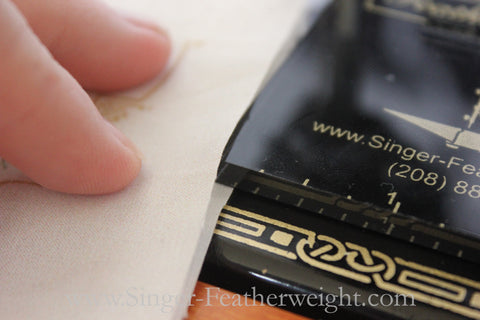

To remedy this, loosen the thumb screw slightly and simply place the enclosed card* under the Accurate Seam Guide (towards the back end) and rescrew the guide down securely again. (You may need to remeasure your preferred 1/4" measurement.) This acts a slight shim to offset the manufacturing height differences in the throat plate.
*A clear card is included for a shim, too, for invisibility and visual preference.
Adding a card to the back end will make the front end of your guide (the part that you use to guide your fabric) flush with the machine bed. It will also prevent your fabric from sliding underneath the guide, keeping your seams aligned and accurate along the left edge.
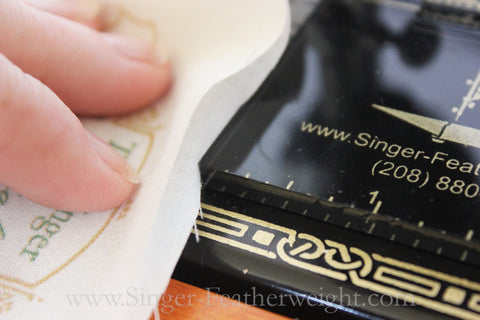
You can see here where I am trying to get my fabric to slip under the seam guide after adding the card, but it is now prevented from doing so. Problem solved! And I now have the nice thick seam guide edge for my fabric to feed against. I love it!
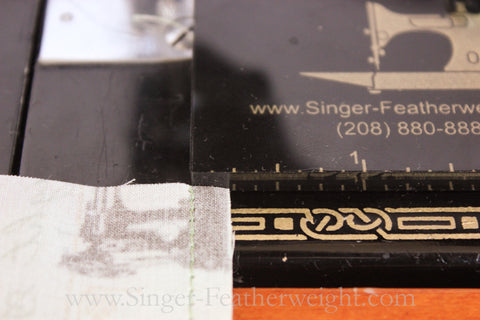
Tip #2: "What are those measurements for on the front edge?" you may ask... Quite frankly, like the cute gold decals, they are there for fun but also a practicality! Because the measuring lines are accurate, you can quickly measure and verify your stitched seam allowances right at the machine.
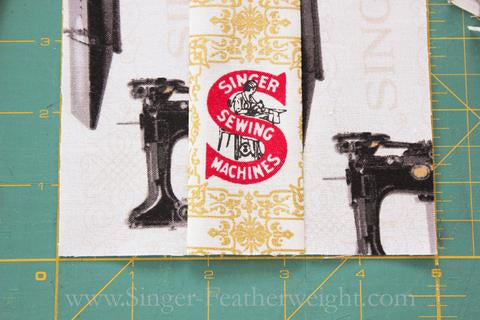
Tip #3: Make a test block to measure for accurate seam allowances. I cut three strips (see above photo), each one precisely measuring two inches wide (watch that cutting - it can make a difference, too!). I then stitched a scant 1/4" seam allowance for the two seams to sew the three strips together. Taking my stitched strips to the ironing board, I pressed my two seams toward the center and then measured them all sewn together. My sewn strips were a perfect 5 inch finished measurement. If you find that your finished measurement is slightly narrower than it should be, then try adjusting your seam guide so that it is more of a scant 1/4".
Tip #4: Pin the opposite direction -- it actually makes matching your seams easier and more accurate. A quilter friend shared a tip with me one time about using the silk, glass-headed pins. I love them for seam matching! They're super fine and don't distort the alignment and I can sew over them with ease. (Yes, occasionally, they'll bend or kink, but that's the nature of having a sewing life, right? <wink-wink>)
Here's a quick video tutorial where I demonstrate how to do this (I was working on a Great-Granny Square Quilt for Ruthie.)
Well, that covers our newest guide - and if you have any questions, let us know in the comments below.