Restore Along Part 5: The Head and The Base

Welcome to part Five in The Restore Along with Tulip! Today, Julia will show us how she finally was able to separate the head from the base of the machine - a process that began in Part Four. If you are joining us, you can catch up with our series here:
Restore Along Part 1: Introduction of Julia & "Tulip"
Restore Along Part 2: Stripping Down Tulip
Restore Along Part 3: The History of Tulip
Restore Along Part 4: Preparing to Separate the Hull
In last week's post, the pins that held the column to the base were proving to be a challenge. Julia's goal this week is to remove the head from the base entirely then investigate what else needs to be done in the areas that were hidden from her view previously. To accomplish this, Julia is using a few different punches. With painstakingly gentle tapping, she is finally making progress on removing the pins.

The pins holding the head to base are slowly releasing their grip.
Julia continues to tediously work on the disassembly. At last, the head and the base come apart, but the pins are still tightly attached to the base of the machine. For stability and support, Julia wants to keep the pins in the base.

Task complete, Julia keeps the pins in the base for safekeeping.

Not pictured, Julia's sigh of relief.
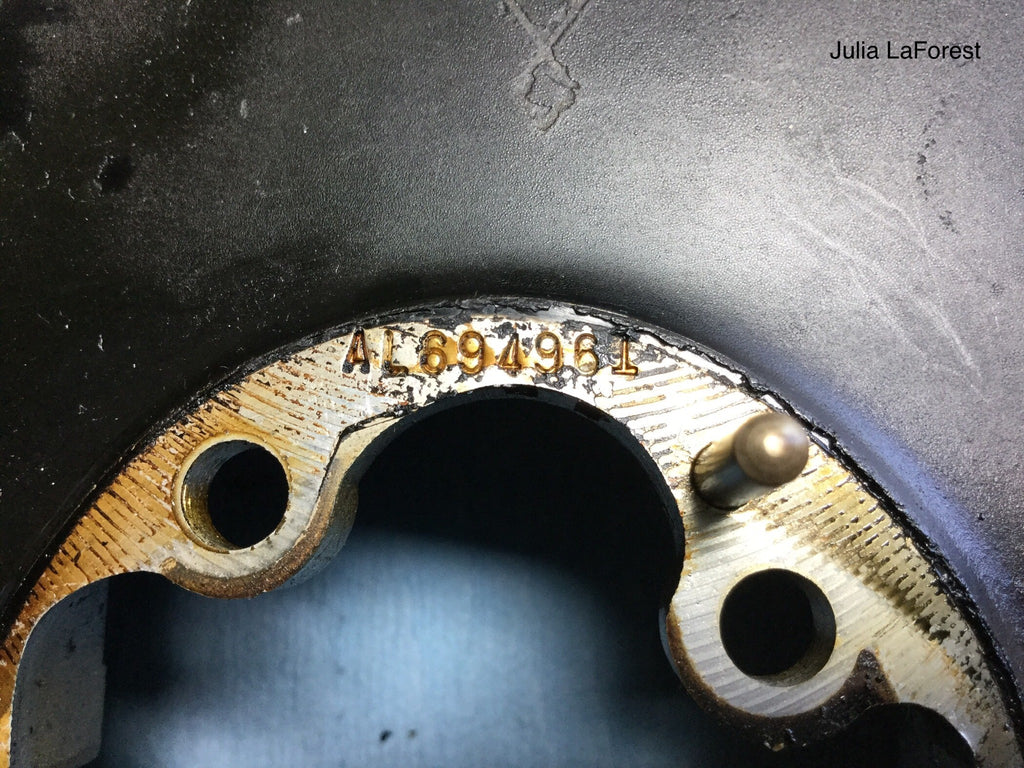
In any restoration process there are always surprises, and today's work proves to be no exception. Today's surprise is another stamp showing the machine's serial number hidden where the neck meets the base.

The US-made 221 Featherweights had the serial number located in two places. The main and easy-to-locate serial number is underneath the machine, but the second location is hidden between the neck of the machine and the base.
 AL694961 serial number gives a commission date of April 22, 1954. To learn more about Singer Featherweight "Birthdate" charts, click here.
Next, it's time to remove Tulip's presser bar lifter from the head and adequately cleaned.
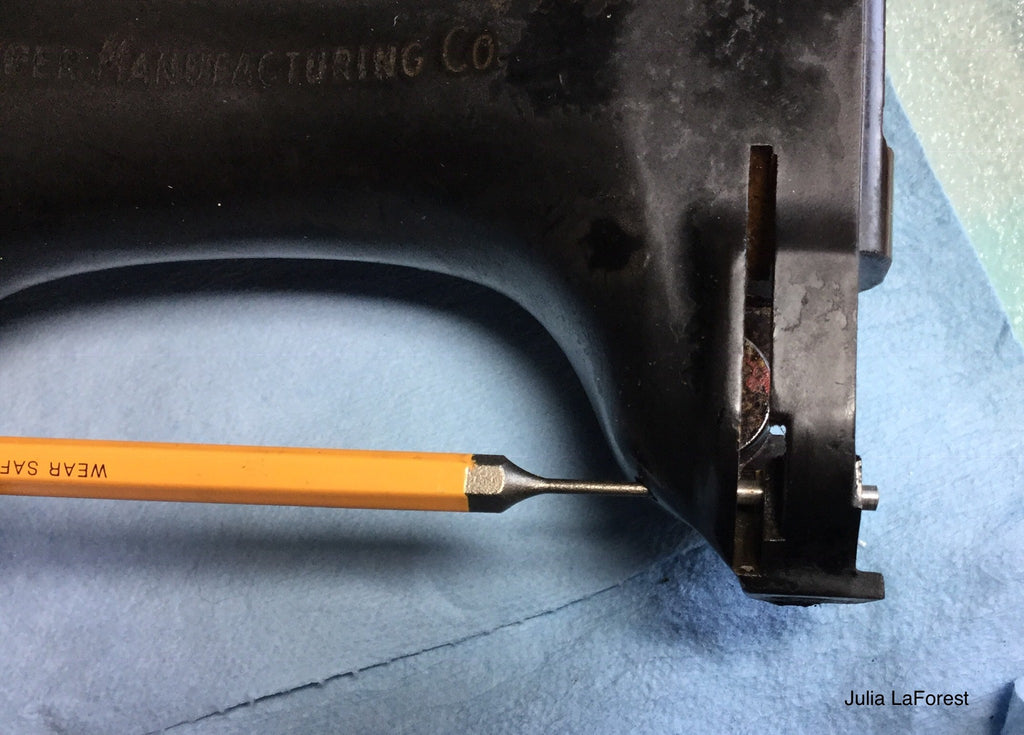
Because the Presser Bar Lifter pin is tapered, Julia pushes the pin out from the head with a punch. Watch Carmon's video tutorial for how to remove this difficult part.

Presser Bar Lifter "before" cleaning

Presser Bar Lifter "after" cleaning

Tulip at the end of Part 5.
Thank you for joining us on the Restore Along with Tulip! We will see you next Wednesday when Julia begins work on Tulip's finish.
Beautiful Calla Lilies from Julia's garden.


