
Sew Along Part 2: Sweet Trellis Mini Quilt Skill Builder
Welcome back to the Sew Along: Sweet Trellis Mini Quilt Skill Builder Part 2! If you are just joining us, catch up on Part 1 HERE. Today, Sarah Baker illustrates the steps of fabric selections, cutting shapes, squaring up blocks, and more! Let's begin...


Tools Suggested for this blog Sew Along:
- Aurifil 50wt Dove Gray
- Lori Holt Cute Cuts 10 1/2” ruler
- Olfa Rotary Cutter
- Edyta Sitar Sweet 16 Fabric
- Lori Holt Cutting Mat, 12" x 18" Self-Healing
Sweet Trellis Mini Quilt Skill Builder Part 2
by Sarah Baker
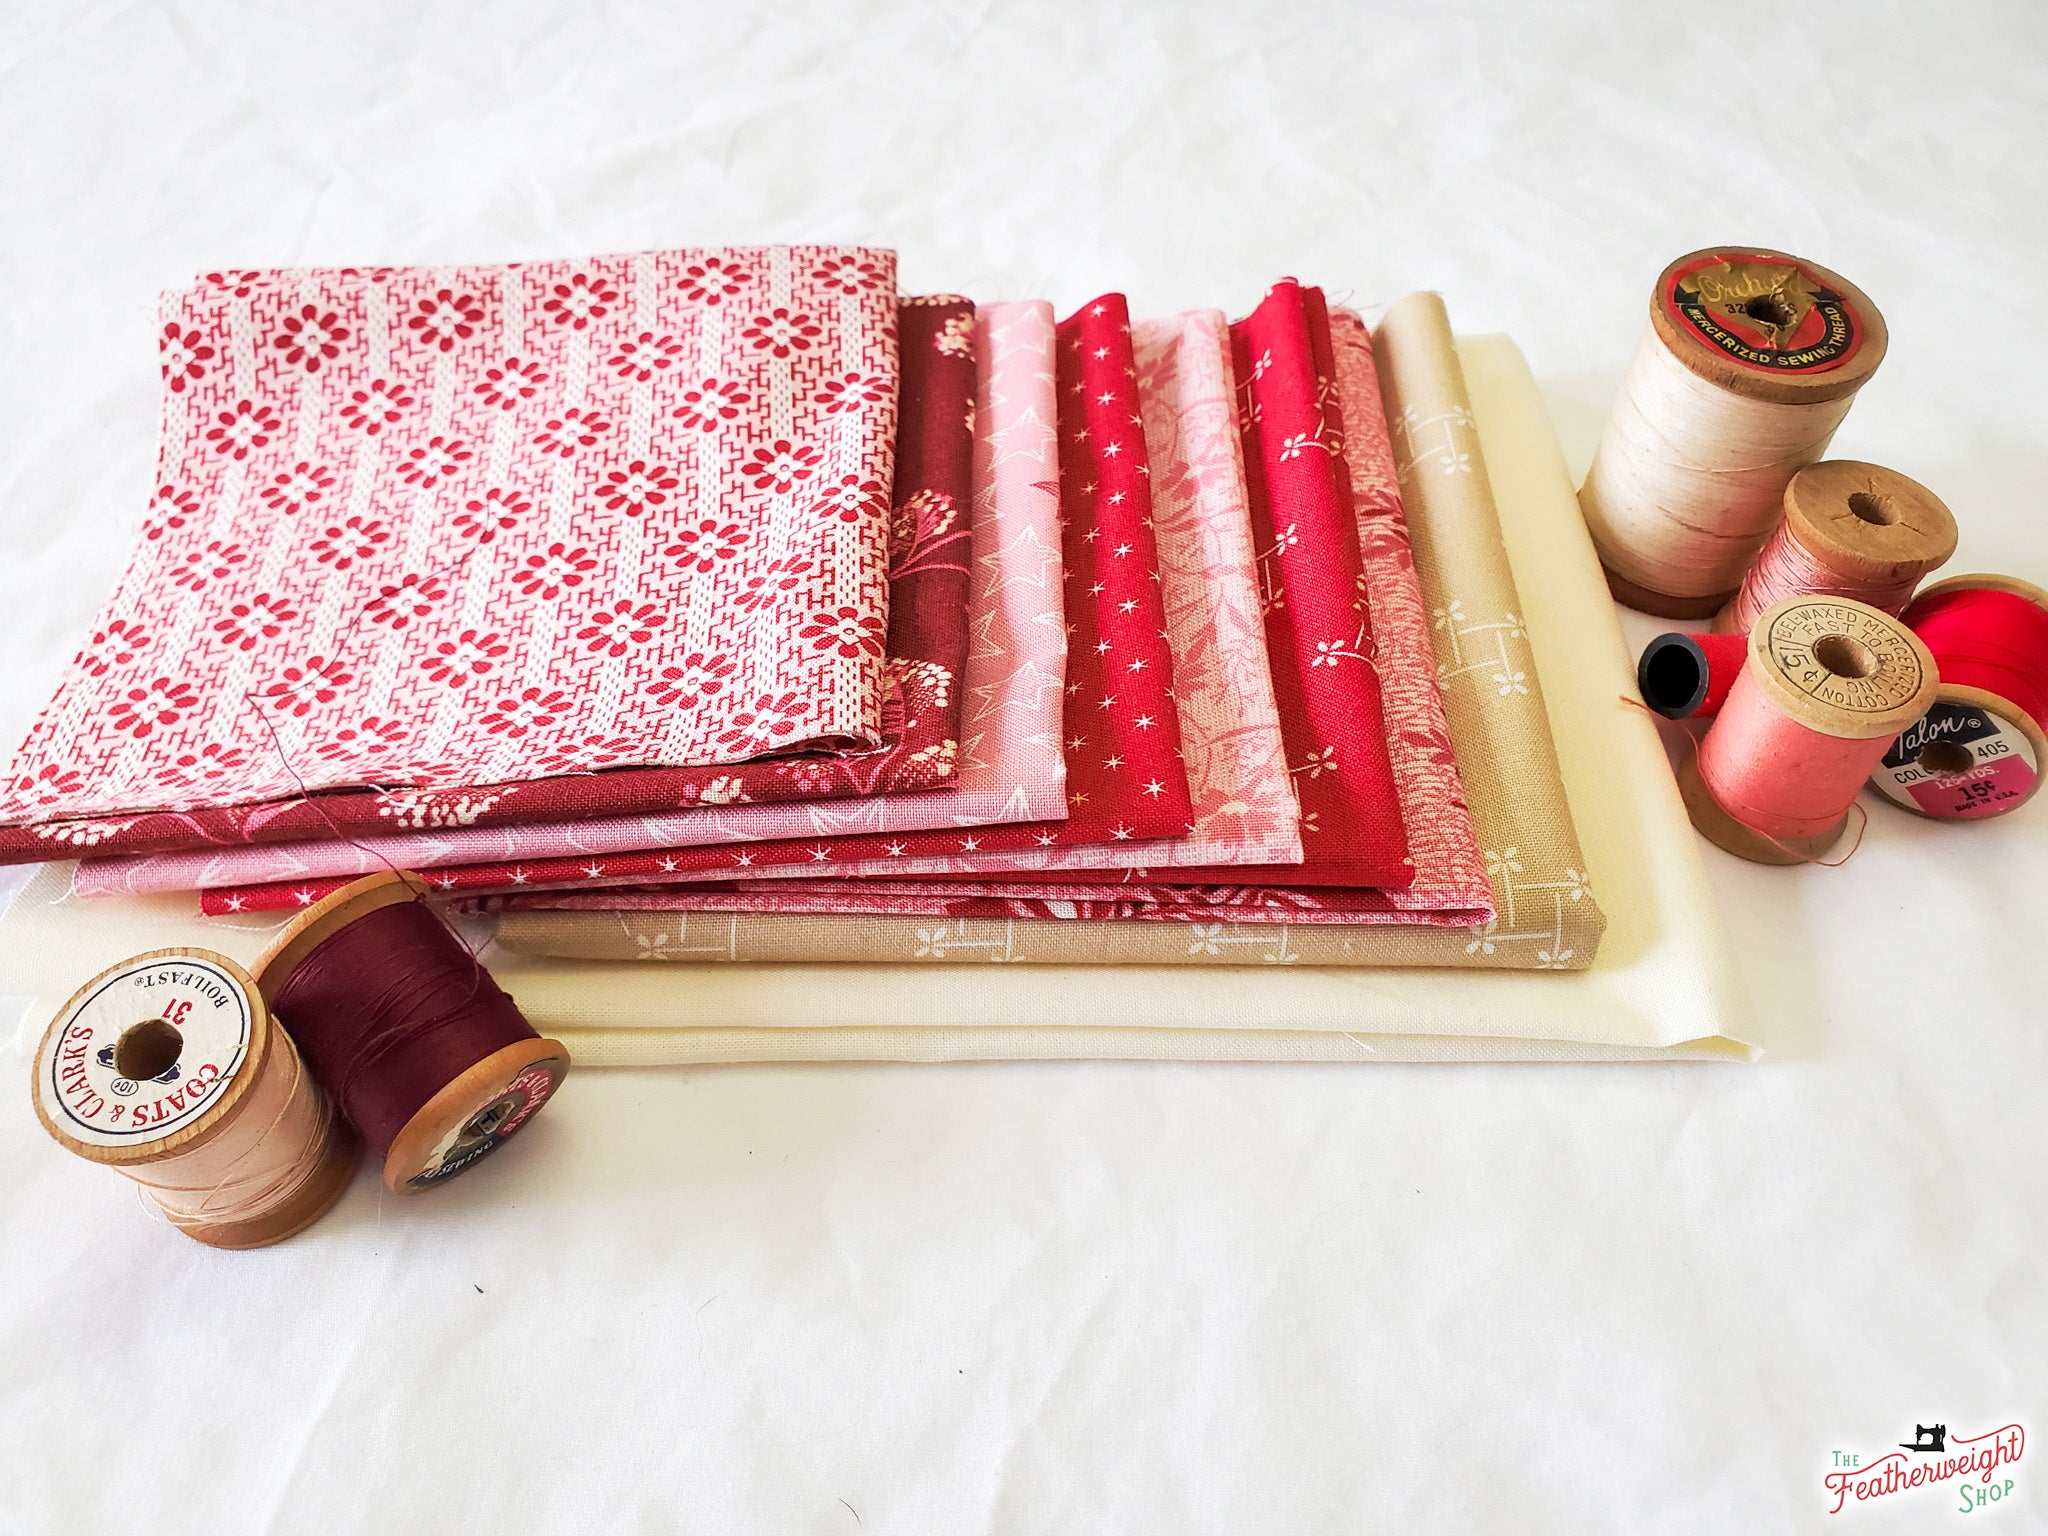
I am using Edyta Sitar’s Sweet 16 fabric for this pattern. We have delegated the color chart you will find in the pattern to the following prints included in the Sweet Trellis Kit.
-
Fabric A = 4 darks (various shades of red) and 3 lights (various shades of pink) all cut to the same size.
Color Chart Key:
Red = Burgundy Leaf
Pink = Red with Stars
Yellow = Pink with Stars
Green = Red with Square Pinwheels
Mint = Pink & Red Daisy Stripe
Blue = Pink with Red Floral
Light Blue = Pink on Pink Floral
- Fabric B = light toffee color
- Fabric C = solid cream O

The thread I am using is 50wt Aurifil in 2600, Dove Gray. This is what I use in 90% of my piecing because it is such a versatile neutral color. I will shorten my stitch length between 12-15.

To cut the Fabric A pieces, I square up my 10” squares with my Lori Holt Cute Cuts 10 1/2” ruler.

Fabric A lined up under the Lori Holt Cute Cuts 10 1/2" Ruler.
In this segment, I cut and stack Fabric A and Fabric B together because all the pieces are cut the same size. Fabric C, however, is cut using a different methodology noted at the end of this post.
Trim each of your squares on two sides, keeping as close to inline with the grain as possible, so you are not wasting fabric. (You will have plenty in this pattern, but that’s not always the case. It’s better to err on the side of caution and to save fabric where you are able!) Line your ruler up on one side and trim. Turn your fabric, lining up your ruler with your even side and trim, again. Do this with each of your pieces. I stacked mine in two layers of 2 and one layered set of 3. Now you’re ready to cut the Fabric A pieces!

Trimming off the edges, keeping as close to inline with the grain as possible! (Fabric C pictured above)

Minimal excess fabric trimmed off when kept close to inline with the grain.

Beautifully squared edge!
I prefer to use my ruler to cut my block pieces vs. using the cutting mat lines. I have often used the mat lines and come up wanting on my fabric pieces. When I started using my ruler as the cutting guide, my blocks became more precise and produced a much more polished quilt block. My days of sloppy quilting are behind me!
All of the pieces are the same size for Fabric A, just different required amounts. I started with the stack of three pieces that will get 4 cuts. Using your ruler to measure, cut a 3 1/2” strip off one 10” side. Now subcut this into four pieces, following the cutting measurements for Fabric A pieces in the pattern. Repeat this step for each required number from your fabrics. This top is scrappy, and if you mix up your colors, it will still turn out beautifully, but to keep things orderly and tidy, I use small post it notes to label the cuts I need from each color. You may set these pieces aside.

Sticky notes used to keep track of the cuts needed from each color!
Let’s cut the Fabric B pieces. Once again, we will be cutting them to the same measurement as our Fabric A pieces, just as the pattern instructs (but we will cut 36 of these!). You will notice if you add up each of your red and pink Fabric A pieces, you also have 36. This is not a coincidence!
Since we have yardage of Fabric B, we will square this one up just a little differently. You will need a longer ruler than I used for Fabric A. Carefully fold your Fabric B in half (it doesn’t matter if right sides are together or not,) lining up the selvedges as evenly as possible. (Selvedge is the tightly woven edge of the fabric that often lists the manufacturer, pictures, and designer name.) When you line up the selvedges, the adjacent cut edges may not line up. With the selvedge edge closest to you and the fold away from you, place your ruler on the selvedge, lining up a horizontal line from the ruler. The folded edge should also line up with a horizontal line on your ruler. This will guarantee that your fabric is straight and when you cut and unfold, there should not be any “elbows.” Watch that you have your ruler over the entire edge of fabric. Trim!

Now that the yardage is squared up, you will cut two 3 1/2” strips. Subcut these strips to the size the pattern instructs. Set these Fabric B pieces with your Fabric A pieces.
Now on to Fabric C! When squaring up the fat quarter of fabric, I line my ruler up on the selvedge. After I have it lined up, I trim as close to the edge, keeping with the grain, and preserving as much of the fabric as possible.
Now that the width is squared to the selvedge, I trim off the selvedge edge. According to this pattern, we need 72 square pieces cut for Fabric C. My fat quarter measures 18” x 21”, and if cutting strips, this means I will need eight (8) strips cut so that I can subcut all the pattern pieces as required by the pattern instructions.

Fabric C trimmed and ready to cut!
Strips cleanly cut!

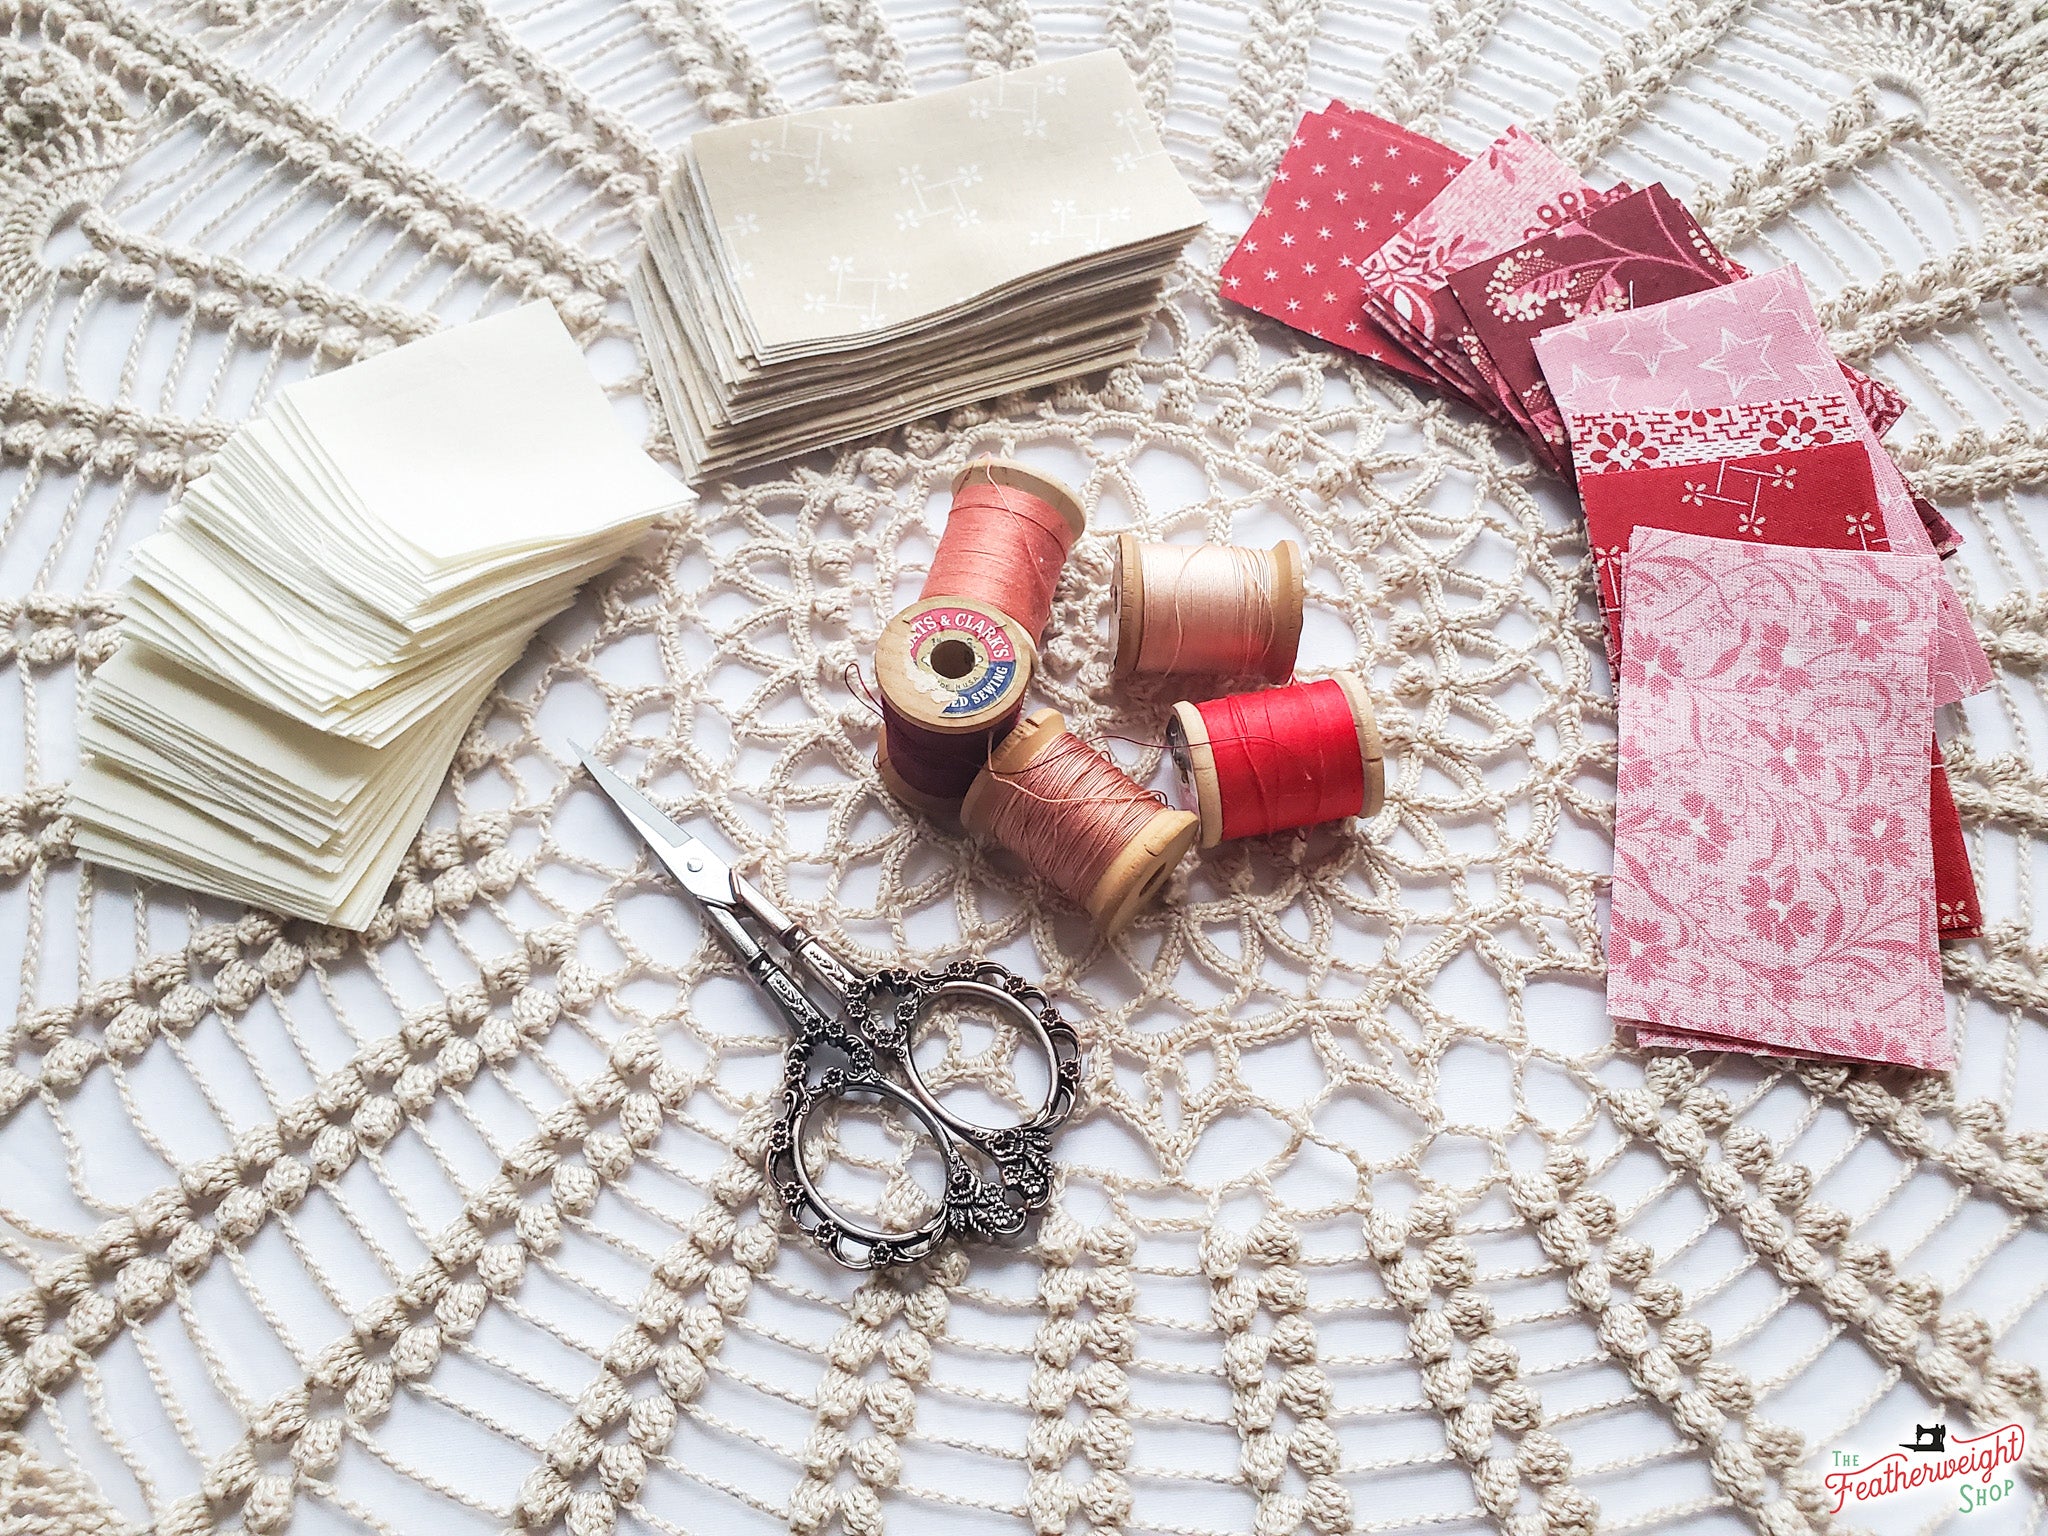
Time to make itty-bitty squares!
Once you have your strips cut, subcut them into the squares as directed by the pattern. I do not recommend stacking strips when sub cutting. Rather, cut the pieces individually from each strip. This is a new routine for me! Too often my strips would wiggle or my ruler would grip the strip, moving it. Learn from my past life of sloppy quilting and take your time to cut your fabric correctly. Doing this now will save you frustration later. Set these Fabric C pieces aside.
Congratulations! You finished your preparations and cutting for the Sweet Trellis Mini Quilt. Next week, we will begin the quilt top assembly.