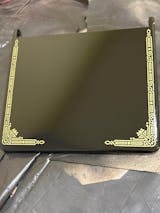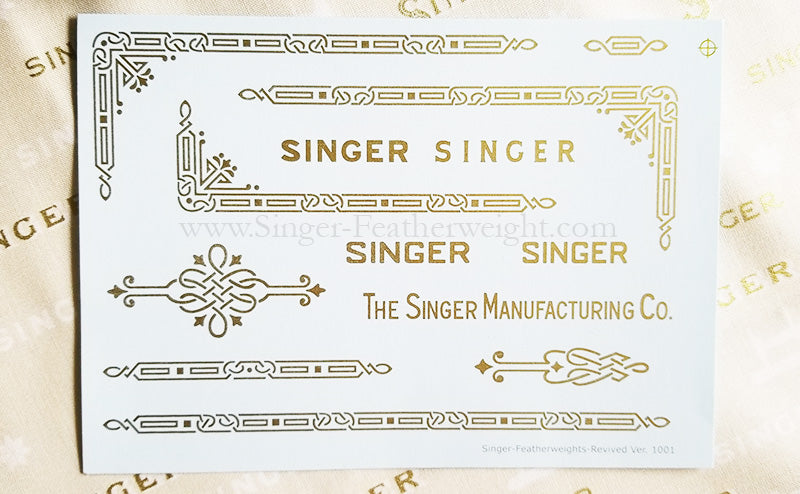
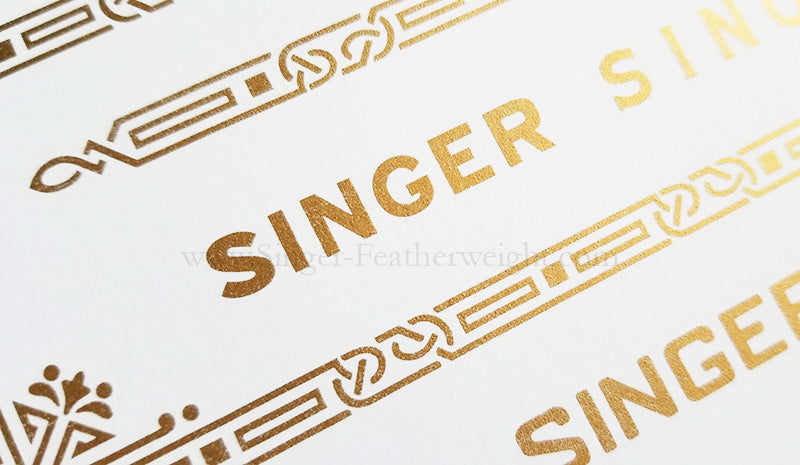
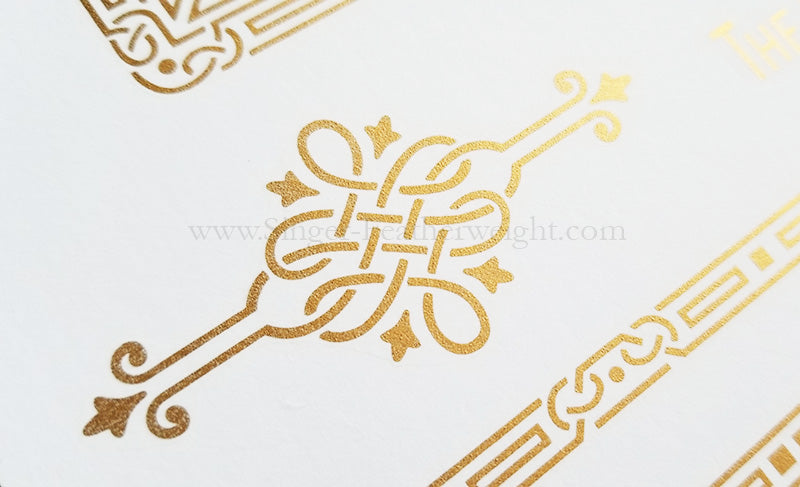
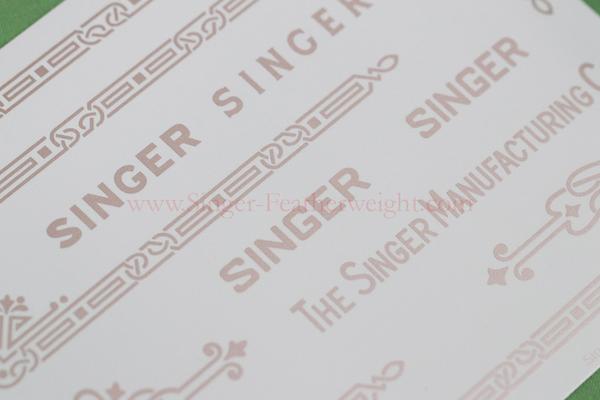
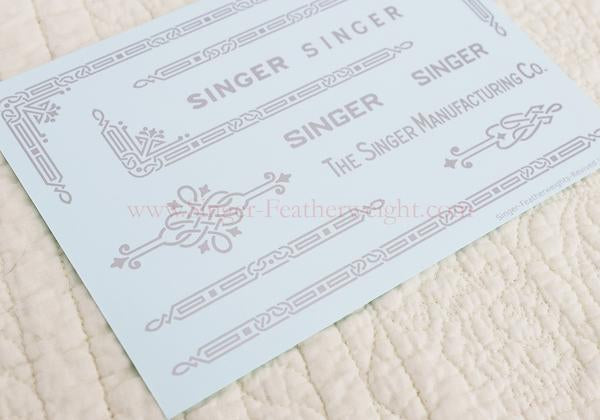
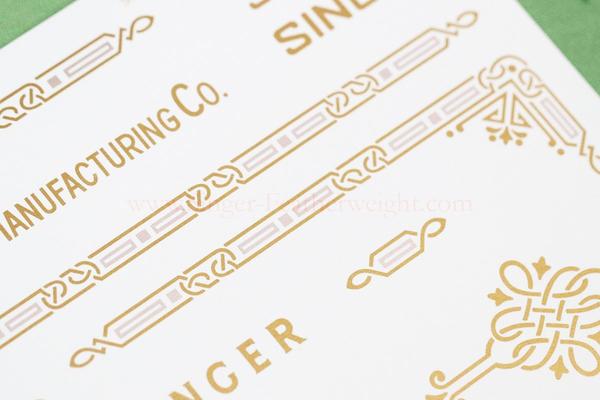
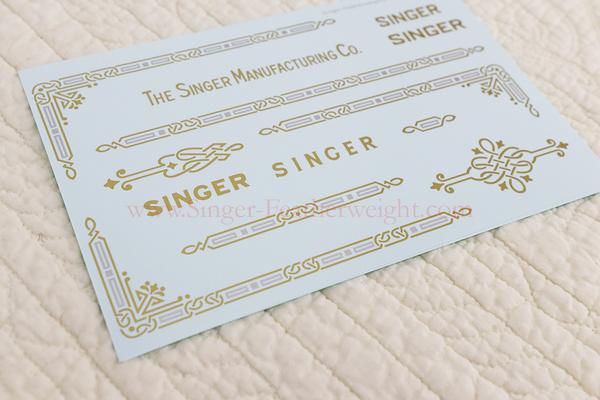
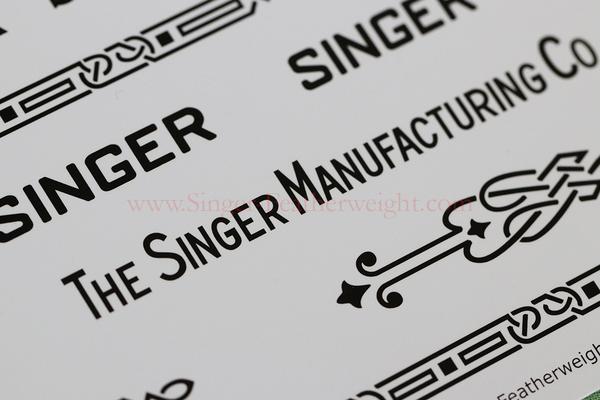
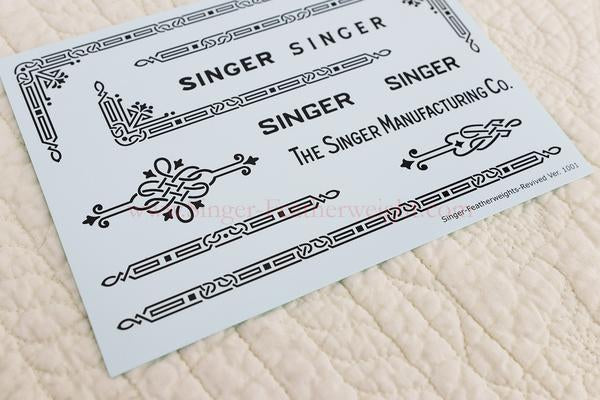
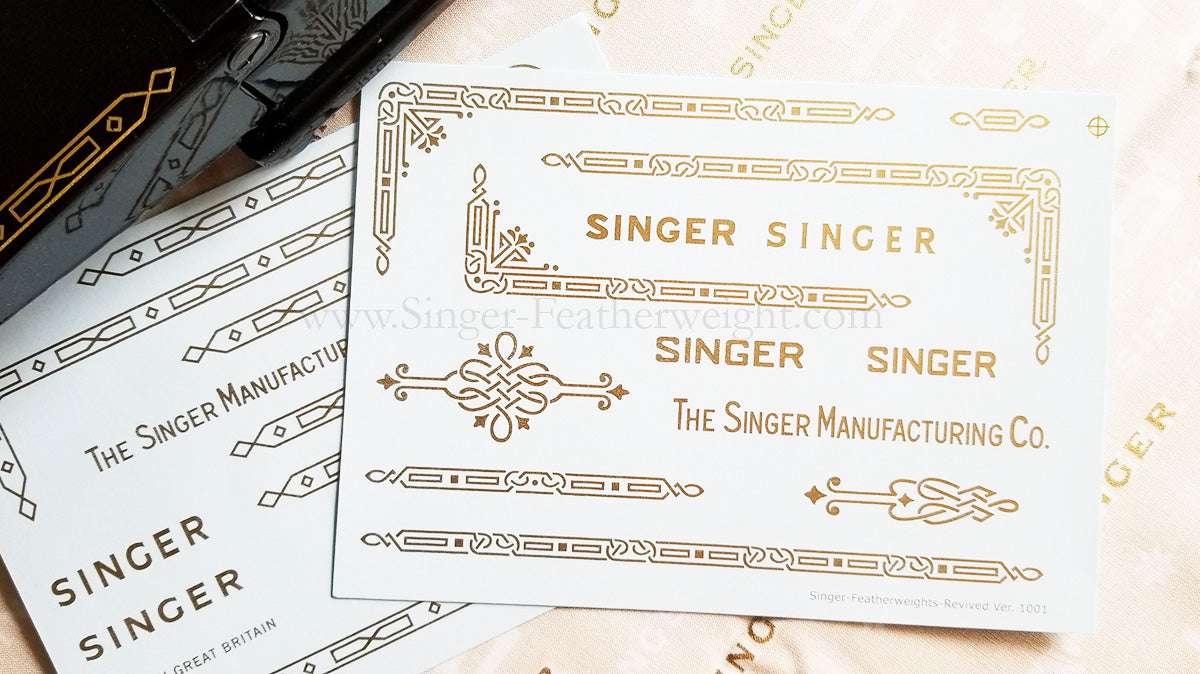
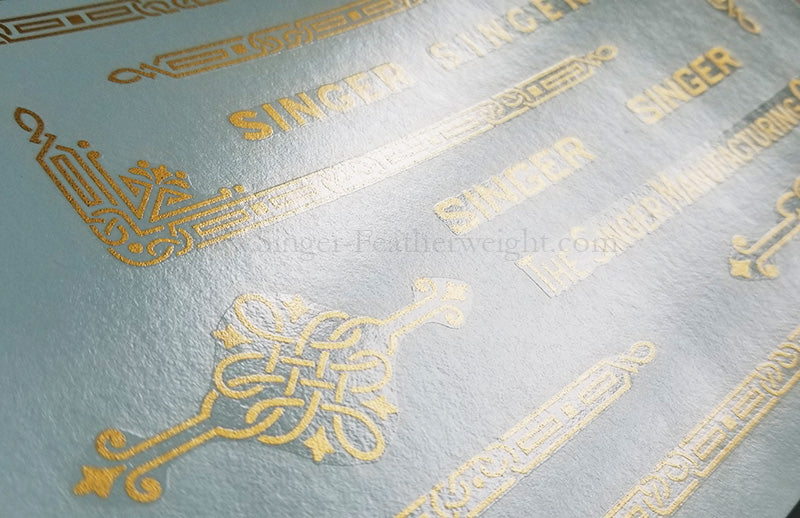
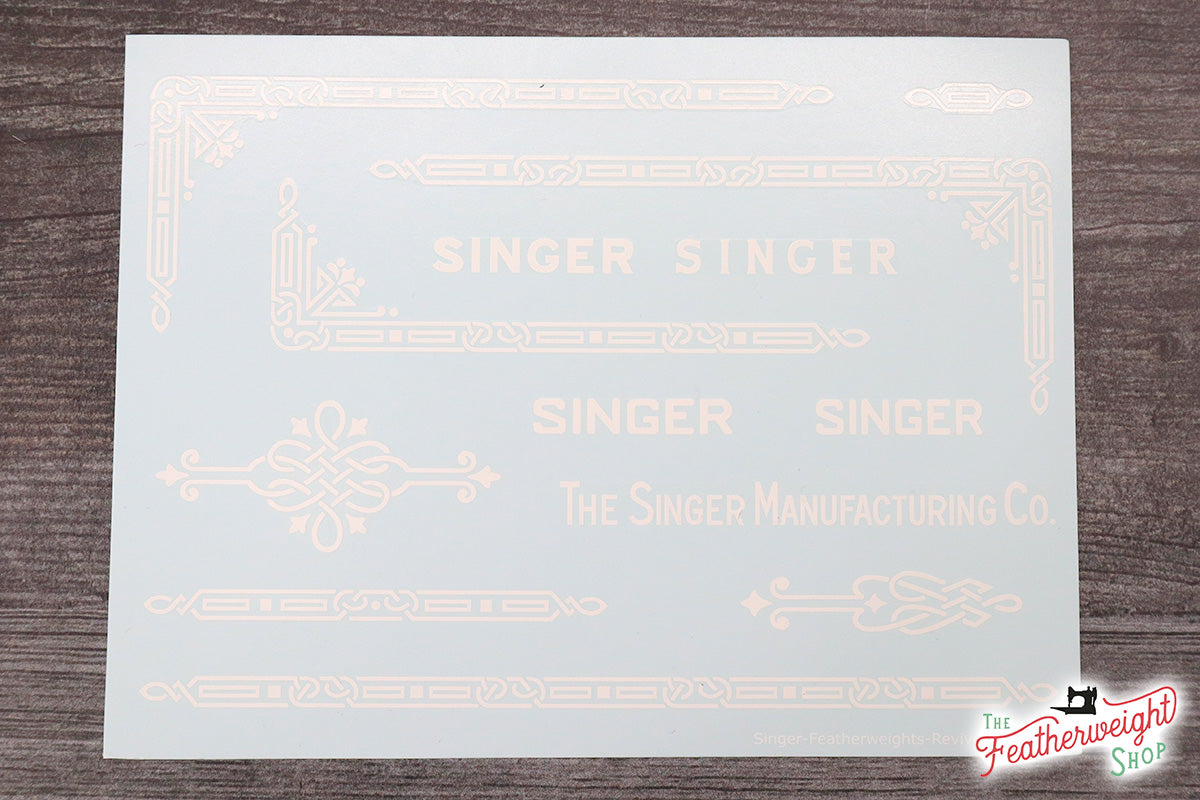
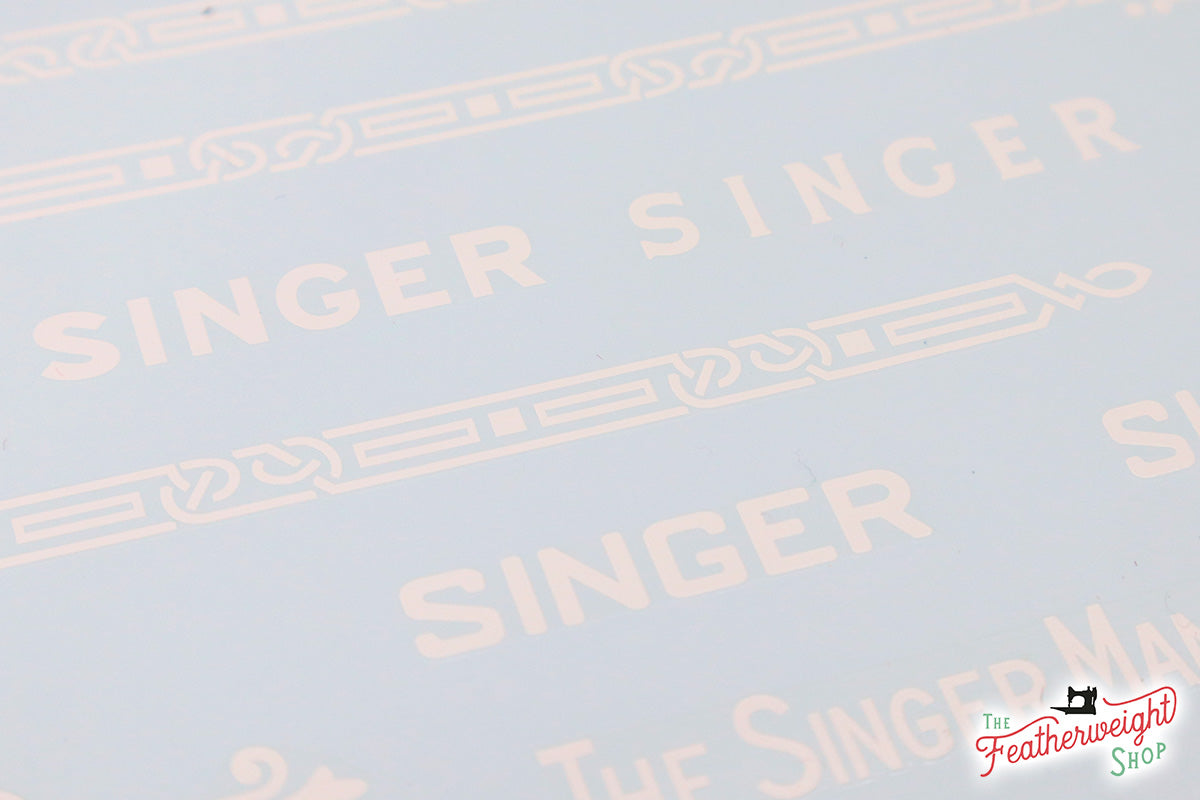
Decals, Celtic Knot Style for the Singer Featherweight 221, 221K Sewing Machine 1937-1953
This "Celtic Knot" Decal Set is for Featherweights made from 1937 to 1953. They are available in original gold, silver, gold/silver, and black. (Select from variant before adding item to cart.) Watch video tutorial for how easily these are to attach to your painted Featherweight surface.
We have received many requests over the years to offer special decals for those venturing into the process of repainting their Singer Featherweight, and we are very pleased to now make them available! Please note, however, that at this time we cannot offer any advice for disassembly, what brand or products to use, the painting process or anything related to this type of Featherweight restoration, except what is already supplied in the decal instructions below. These decals are provided as a courtesy to those wanting a do-it-yourself (D.I.Y.) venture. Please read through all the material before proceeding.
After making many comparisons, these decal sets are extremely sophisticated for clarity and meticulous in design, catching all the details to restore your machine to accuracy based on the original era of your Featherweight. The Singer Featherweight restoration process just got better and is now so much easier for decal application!
Price breaks available for multiple sets:
1 Set = $22.95 each
5 Sets = $17.95 each
10 Sets = $13.95 each
20 Sets = $10.95 each
**********************************
WATERSLIDE DECAL APPLICATION TIPS
(Download a PDF of these written instructions here for easy printing.)
Tools Required:
- Sharp scissors
-
Pan of clean, lukewarm water
(distilled water is preferred) -
Small, soft paintbrush
- Paper towel
Recommended Product Option: Walthers Solvaset (which can usually be purchased from most hobby stores). This is used after the decals have been applied and allowed to dry for 10 minutes. The Solvaset softens the decal to help it blend in to irregular surfaces and melts the edges so they blend in with the painted surface.
Warning!
Waterslide decals are extremely delicate and require care. If not applied properly, the decal may rip or tear during application. It is suggested that you test the application process before you apply decals to your machine. (Your machine only requires one "Singer" decal for the light housing, so the extra "Singer" name decal can be used as your test sample for experimentation.)
Due to many variables in the preparation, painting and decal process, the Featherweight Shop assumes no liability for damages to the decals during application or to the surface of your sewing machine.
Application:
- The application surface should be as smooth and glossy as possible. A surface that is rough or dull can create what is called a "silvering" of the decal. This silvering effect is actually a result of microscopic air bubbles that get trapped in the pores of a rough or dull surface, affecting the the final appearance of the decal on the machine. Therefore, having a glossy smooth surface before applying the decal will help prevent this.
- Prepare the application surface by making sure that it is free of any oils, lint or other contaminates.
- Remove the decal sheet from packaging gently.
- Cut out the decals using a sharp pair of scissors leaving at least ¼" - ½” between the decal print and cutting edge.
- After the decal is cut out, submerge it face down in the pan of lukewarm water. It will curl at first then straighten out. Leave it in the water anywhere from 15-30 seconds.
- While it is soaking, wet the surface of the machine where the decal will be placed by dabbing water on with your small soft brush. This will give you some more time to position the decal during application.
- Once in position, gently brush the decal using a small, soft brush to smooth out the decal and help remove the water from underneath it.
-
After the decal is positioned exactly in place, use a (soft) folded paper towel to remove any excess water left by the brush, dabbing very gently on the decal areas.
DECAL FAQS:
Are these decals an adhesive sticker?
These decals are not stickers and they must have a clear-coat applied over them after they are completely dry. It is recommended to wait 5-10 hours depending on ambient temperature before applying a clear-coat.
What clear-coat product is recommended?
The decal manufacturer recommends that you use a 2K catalyzed urethane clear-coat. There are many different clear-coat products available, but not all clear-coat products are compatible with water-slide decals, and some aerosol clears have components in them that can attack the decals. Several variables are also at play with technique, equipment, weather, humidity, ventilation, etc. that we cannot recommend a specific brand, so please use the sample pieces that are included in your decal set to test your clear-coat before using on your final project.
Is there a proper way to apply the clear-coat?
When spraying on the clear-coat, it is very important to lay down one or two "tack" or "mist" coats first and let it flash off for 15-30 minutes before applying wet coats. This helps to shield the decals from any possible reactions with the various brands of clear-coats. That being said, these decals have been specially coated with a very thin layer of inter-coat to help protect them from possible chemical reactions that may occur when using some clear-coats.
Can I use these decals without repainting my whole machine?
Yes & No. It's your machine so you can do whatever you would like to it! That being said, it won't work very well to just place them over your existing decals. While the black japanning paint on the Singer Featherweight was very hardy, you'd still have to remove all the clear shellac and old decals first. Then you could apply the new decals and a new clear-coat (but we cannot give any advice as to the best process for removing the old shellac). This process would still be done at your own risk and level of experience.
We look forward to seeing the beautiful machines you restore... Please feel free to send us your photos for Featherweight show-n-tell!
Quick View


