
Light Bulb, LED
See Every Stitch—Without the Heat
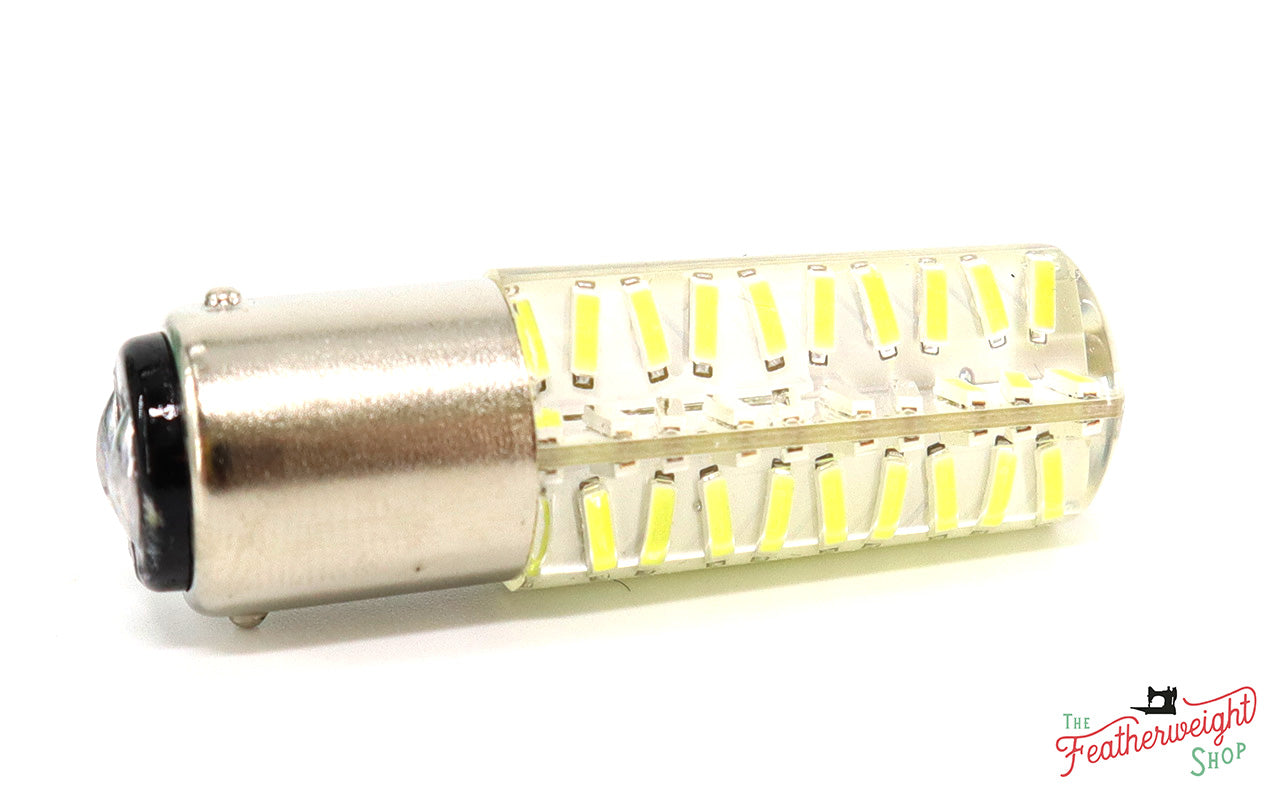
That original incandescent bulb can get surprisingly hot—and your eyes deserve better! Switch to this cool, bright, push-in LED and you'll wonder how you ever stitched without it. Better means brighter, truer, longer lasting—and it will not burn.
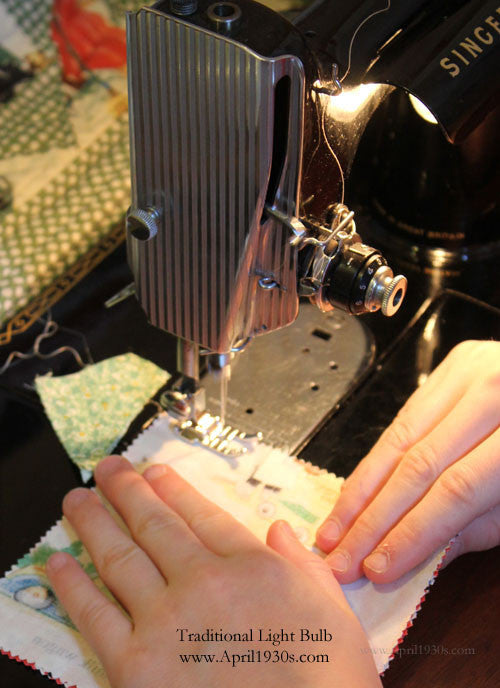
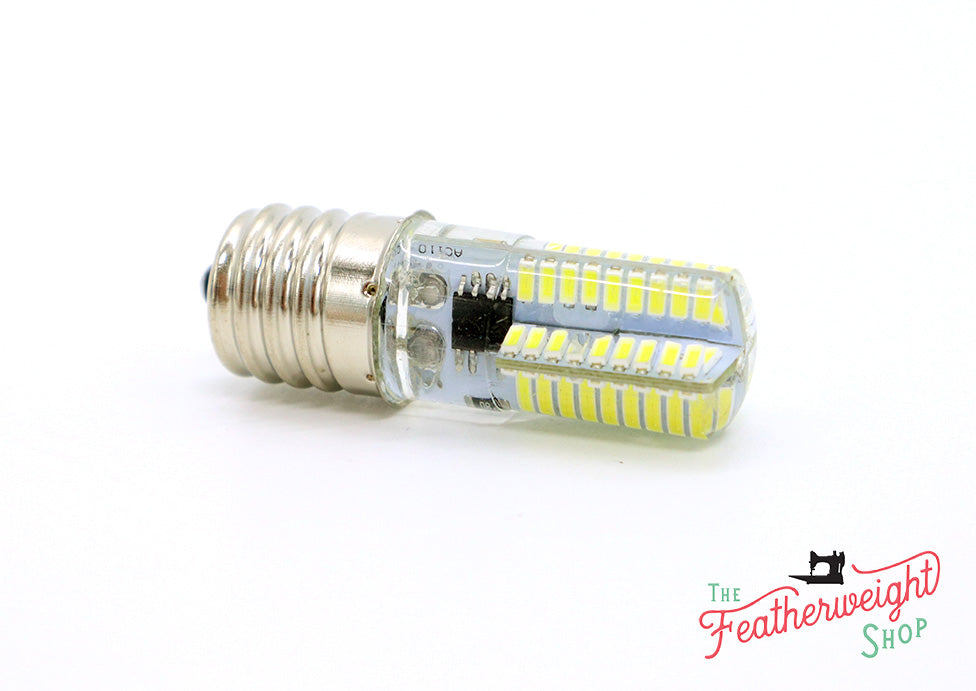
A traditional incandescent bulb gives you 850 LUX; these bulbs illuminate at 2400 LUX—nearly three times brighter. (LUX is the measure of light intensity as perceived by the human eye.) Each bulb contains 80 LEDs: we used to carry 64- and 104-LED bulbs, but the 80-LED version is even brighter than the 104 because each individual diode is much larger—and it fits many more Singer models without any concern about flange or socket depth. A comparison photo of the older bulb versus the newer one is shown above, and our light bulb comparison video is under the video tab.
Unlike the incandescent, this LED never gets hot enough to burn you. After testing one for several hours straight, it was only very warm to the touch—we could even grab it to change it out for another bulb!
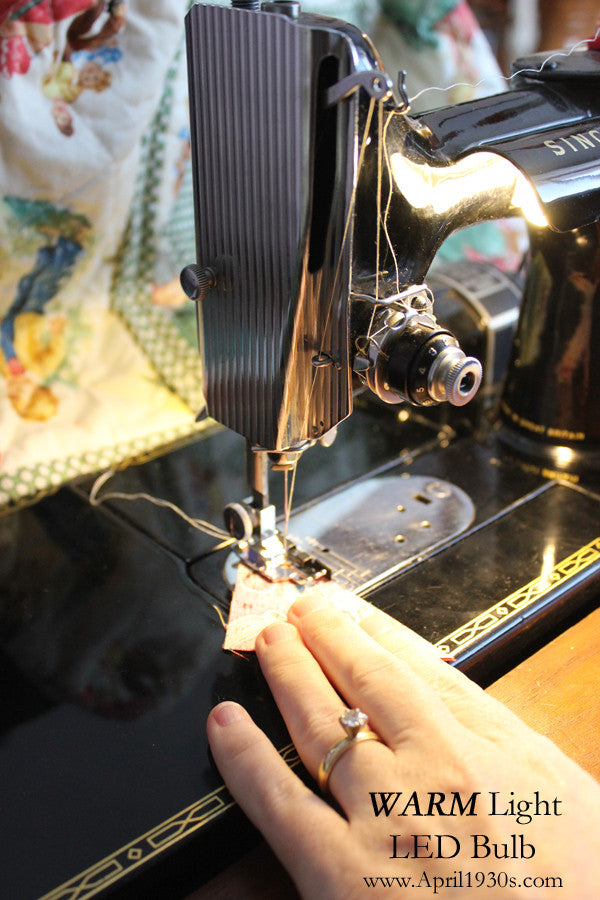
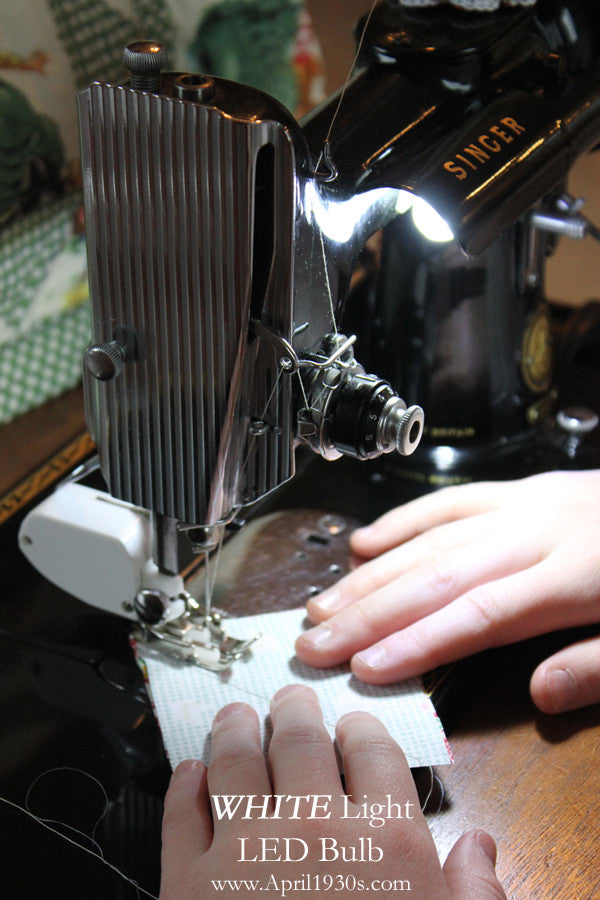
Available in either WHITE light or WARM light—if you prefer a glow similar to an incandescent bulb, choose the Warm light.
Does It Fit?
This push-in bulb fits the Singer 15, 99, 201, 221, 221J, 221K, 222K, 301, 306, 401, 403, 404, and 500. It fits ALL Singer Featherweights—black, white, tan, or your specialty-colored machine. In fact, as long as your old Singer takes the same style bulb as the Featherweight, this bulb will fit. (We also carry the 5/8" screw-in base bulb—that's the diameter of the base.)
Choose Your Voltage
- 110 volt—North American (USA, Canada, etc.) electrical current. (These bulbs will not work in a 220-volt machine, even if your machine uses a special converter box to plug into a US outlet.)
- 220 volt—UK, Europe, Australia, and much of the rest of the world. (If you're using a converter to run your 220-volt machine in North America, you'll want this style bulb.)
Installing Your New Bulb
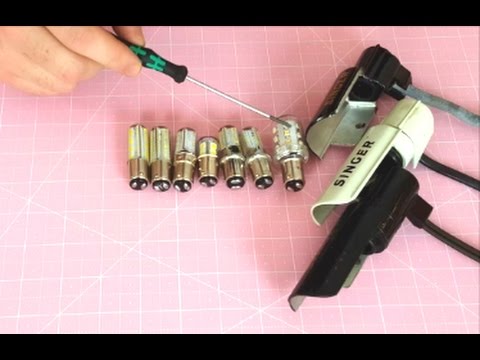
These bulbs can be a bit tricky to install, so set your machine on its end on a soft towel or blanket. Push and twist left to remove the old bulb, then push and twist right to install the new one. Be patient—and if someone nearby has smaller fingers, it may go a bit easier. Once it's in, it will be a lifetime before you have to install one again! (To remove your old bulb, watch our video tutorial under the video tab.)
About the Silicone Covering
Each bulb has a silicone covering, making it easier for your fingers to grab so you can insert the new bulb without touching the tiny diodes themselves. When removing the bulb from its packaging (or inserting it into the socket), a tiny nick in the silicone from a fingernail sometimes occurs—this is common and doesn't hurt the bulb's function at all. In fact, it means the silicone did exactly what it was designed to do by protecting those LEDs. As long as it lights up brightly, go ahead and begin sewing under your new bright light!
These LED bulbs are designed to last for thousands upon thousands of hours. Because they use minimal electricity and have extremely fine wiring, they can be susceptible to the mini power surges and shorts common in vintage sewing machines—so keep your machine plugged into a surge protector at all times, and we will warranty the bulb for up to 1 year.
Quick View