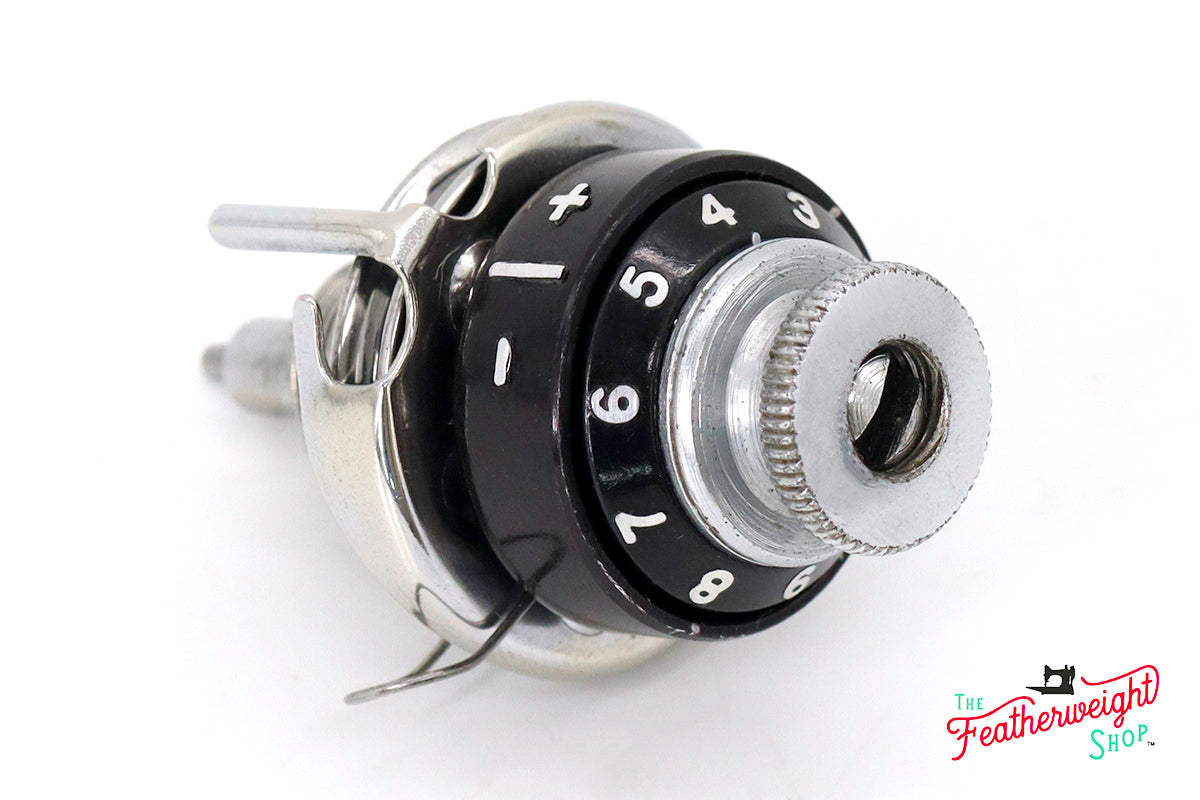
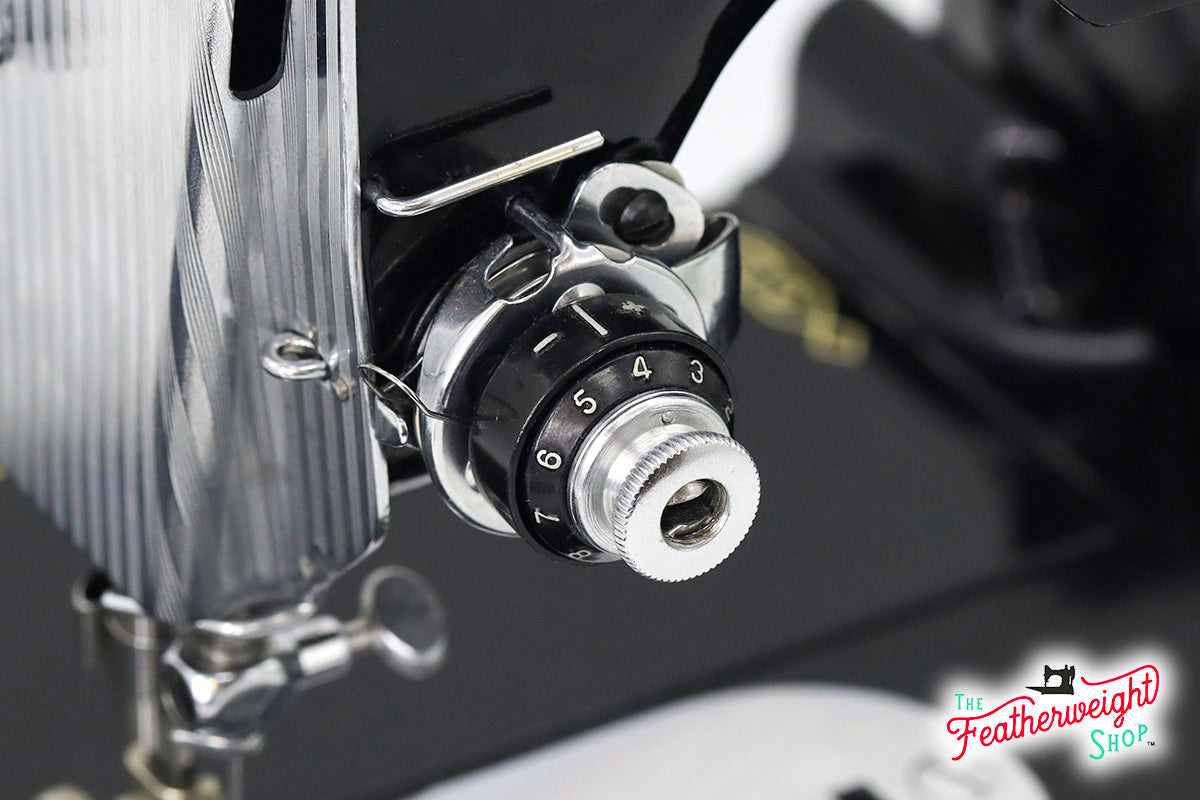
Tension Unit, Singer (Vintage Original) - NUMBERED
Original Singer Tension Unit for the Singer 221 and 222 Sewing Machines. Slack Regulator sold separately.
It really is a matter of ease and preference, but if your old Singer Sewing Machine, including but not limited to the Featherweight 221, has one of the old style Tension Units then you might consider the option of switching it to a numbered tension unit. You can replace them with an original from another old Singer Featherweight machine, which is what we are offering here - a vintage original part and not a reproduction. Having a numbered tension unit makes thread tension adjustments easier, and eliminates the guesswork in stitch formation. (Or if little fingers get curious and turn the dials unbeknownst to you!) Depending on the fabric and thread you are sewing with you can set, change and return to your standard tension adjustment quickly.
We used to carry reproductions, however, upon further examination we have found them to be of inferior quality and have ceased offering them as a complete set. Therefore, it is our suggestion, if you're going to switch, to use an original numbered tension unit.
Even if you make the easy switch, we always advise keeping the original Tension Unit for the sake of originality to the machine.
***********************************************************************
The standard tension is set at 3-4 for quilter’s cotton weight fabric. However, if your standard tension is set considerably different, you might try calibrating it by disassembling and reassembling the Tension Unit completely - starting the gauge from scratch.
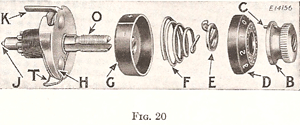
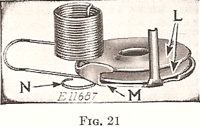
Following the illustrative photos, use the following information to calibrate your Tension Unit.
To Disassemble the Needle Thread Tension

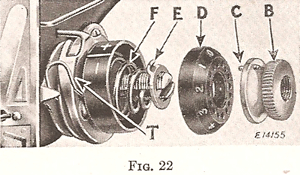
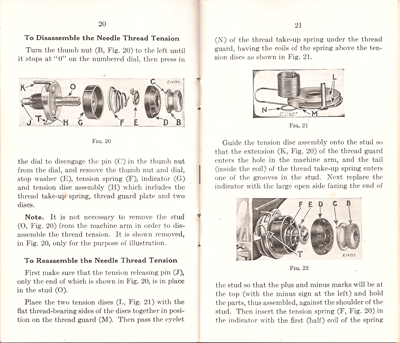
Turn the thumb nut (B, Fig. 20) to the left until it stops at “0” on the numbered dial, then press in the dial to disengage the pin (C) in the thumb nut from the dial, and remove the thumb nut, number dial (D), and dial stop washer (E), tension spring (F), indicator (G) and tension disc assembly (H) which includes the thread take-up spring, thread guard plate and two discs.
Note. It is not necessary to remove the stud (O, Fig. 20) from the machine arm in order disassemble the thread tension. It is shown removed, in Fig. 20, only for the purpose of illustration.
To Reassemble the Needle Thread Tension
First make sure that the tension releasing pin (J), only the end of which is shown in Fig. 20, is in place in the stud (O).
Place the two tension discs (L, Fig. 21) with the flat thread-bearing sides of the discs together in position on the thread guard (M). Then pass the eyelet (N) of the thread take-up spring under the thread guard, having the coils of the spring above the tension discs as shown in Fig. 21.

Guide the tension disc assembly onto the stud so that the extension (K, Fig. 20) of the thread guard enters the hole in the machine arm, and the tail (inside the coil) of the thread take-up spring enters one of the grooves in the stud.

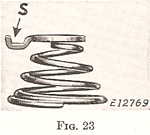
Next replace the indicator with the large open side facing the end of the stud so that the plus and minus marks will be at the top (with the minus sign at the left) and hold the parts, thus assembled, against the shoulder of the stud. Then insert the tension spring (F, Fig. 20) in the indicator with the first (half) coil of the spring straddling the lower of the stud. Guide the stop washer (E) onto the stud so that the extension will be above the tension stud. If the spring and stop washer are in correct position, the extension will clear the first (half) coil of the tension spring as show in Fig. 23.


Next place the numbered dial (D, Fig. 22) on the stud so that the numeral 2 is opposite the stop washer extension, then push the dial to compress the spring so that the thumb nut can be turned onto the stud, carefully guiding the pin in the thumb nut into one of the holes of the numbered dial. Then lower the presser bar and turn the thumb nut (B) to the left until it stops at “0”. Thread the tension and pull the thread through the tension discs to test the amount of tension on the thread at the “0” position. At this point there should be a slight pull on the thread to indicate that there is a minimum tension, which gradually increases with the turn of the thumb nut to the right, providing a full range of tensions from light to heavy within on revolution of the thumb nut.
If the pull is too strong for a minimum tension, press in the numbered dial to disengage the pin in the thumb nut from dial, and reset the pin in one of the holes to the left of the previous setting. This resetting of the pin will produce less tension at zero. Repeat this process until the minimum desired tension is obtained.
On the other hand, should there be no tension at zero, press in the dial and reset the pin in one of the holes to the right of the previous setting, repeating the process until a slight minimum tension is obtained.
The tension on the thread take-up spring (T, Fig. 22) should be just sufficient to take up the slack of the needle thread until the eye of the needle reaches the goods in its descent.
If the tension on the thread take-up spring requires adjustment, remove the tension disc assembly, disengage the end of the spring from the groove in the tension stud, revolve the spring and place its end in the groove which produces the correct tension.
If Correct Stitching is Not Obtained:
If the bobbin thread tension has been disturbed, or a correct stitch cannot be obtained without a very heavy or very light needle thread tension, then the following procedure is recommended:
Using No. 50 thread in the needle and on the bobbin, adjust the needle thread tension as instructed above. Then turn the tension thumb nut to “3” and, with two thicknesses of thin material in the machine, adjust the bobbin thread tension ... until the stitch is correctly locked in the material....
A wide range of materials and threads can now be accommodated without further adjustment of the bobbin thread tension.
Quick View


