Skip to content

Cart

Your cart is empty

This order will earn you 0 POINTS in Sewciety Rewards
Find out how to redeem your points

Article: Adding Pompom Trim to Quilt Binding

Adding Pompom Trim to Quilt Binding

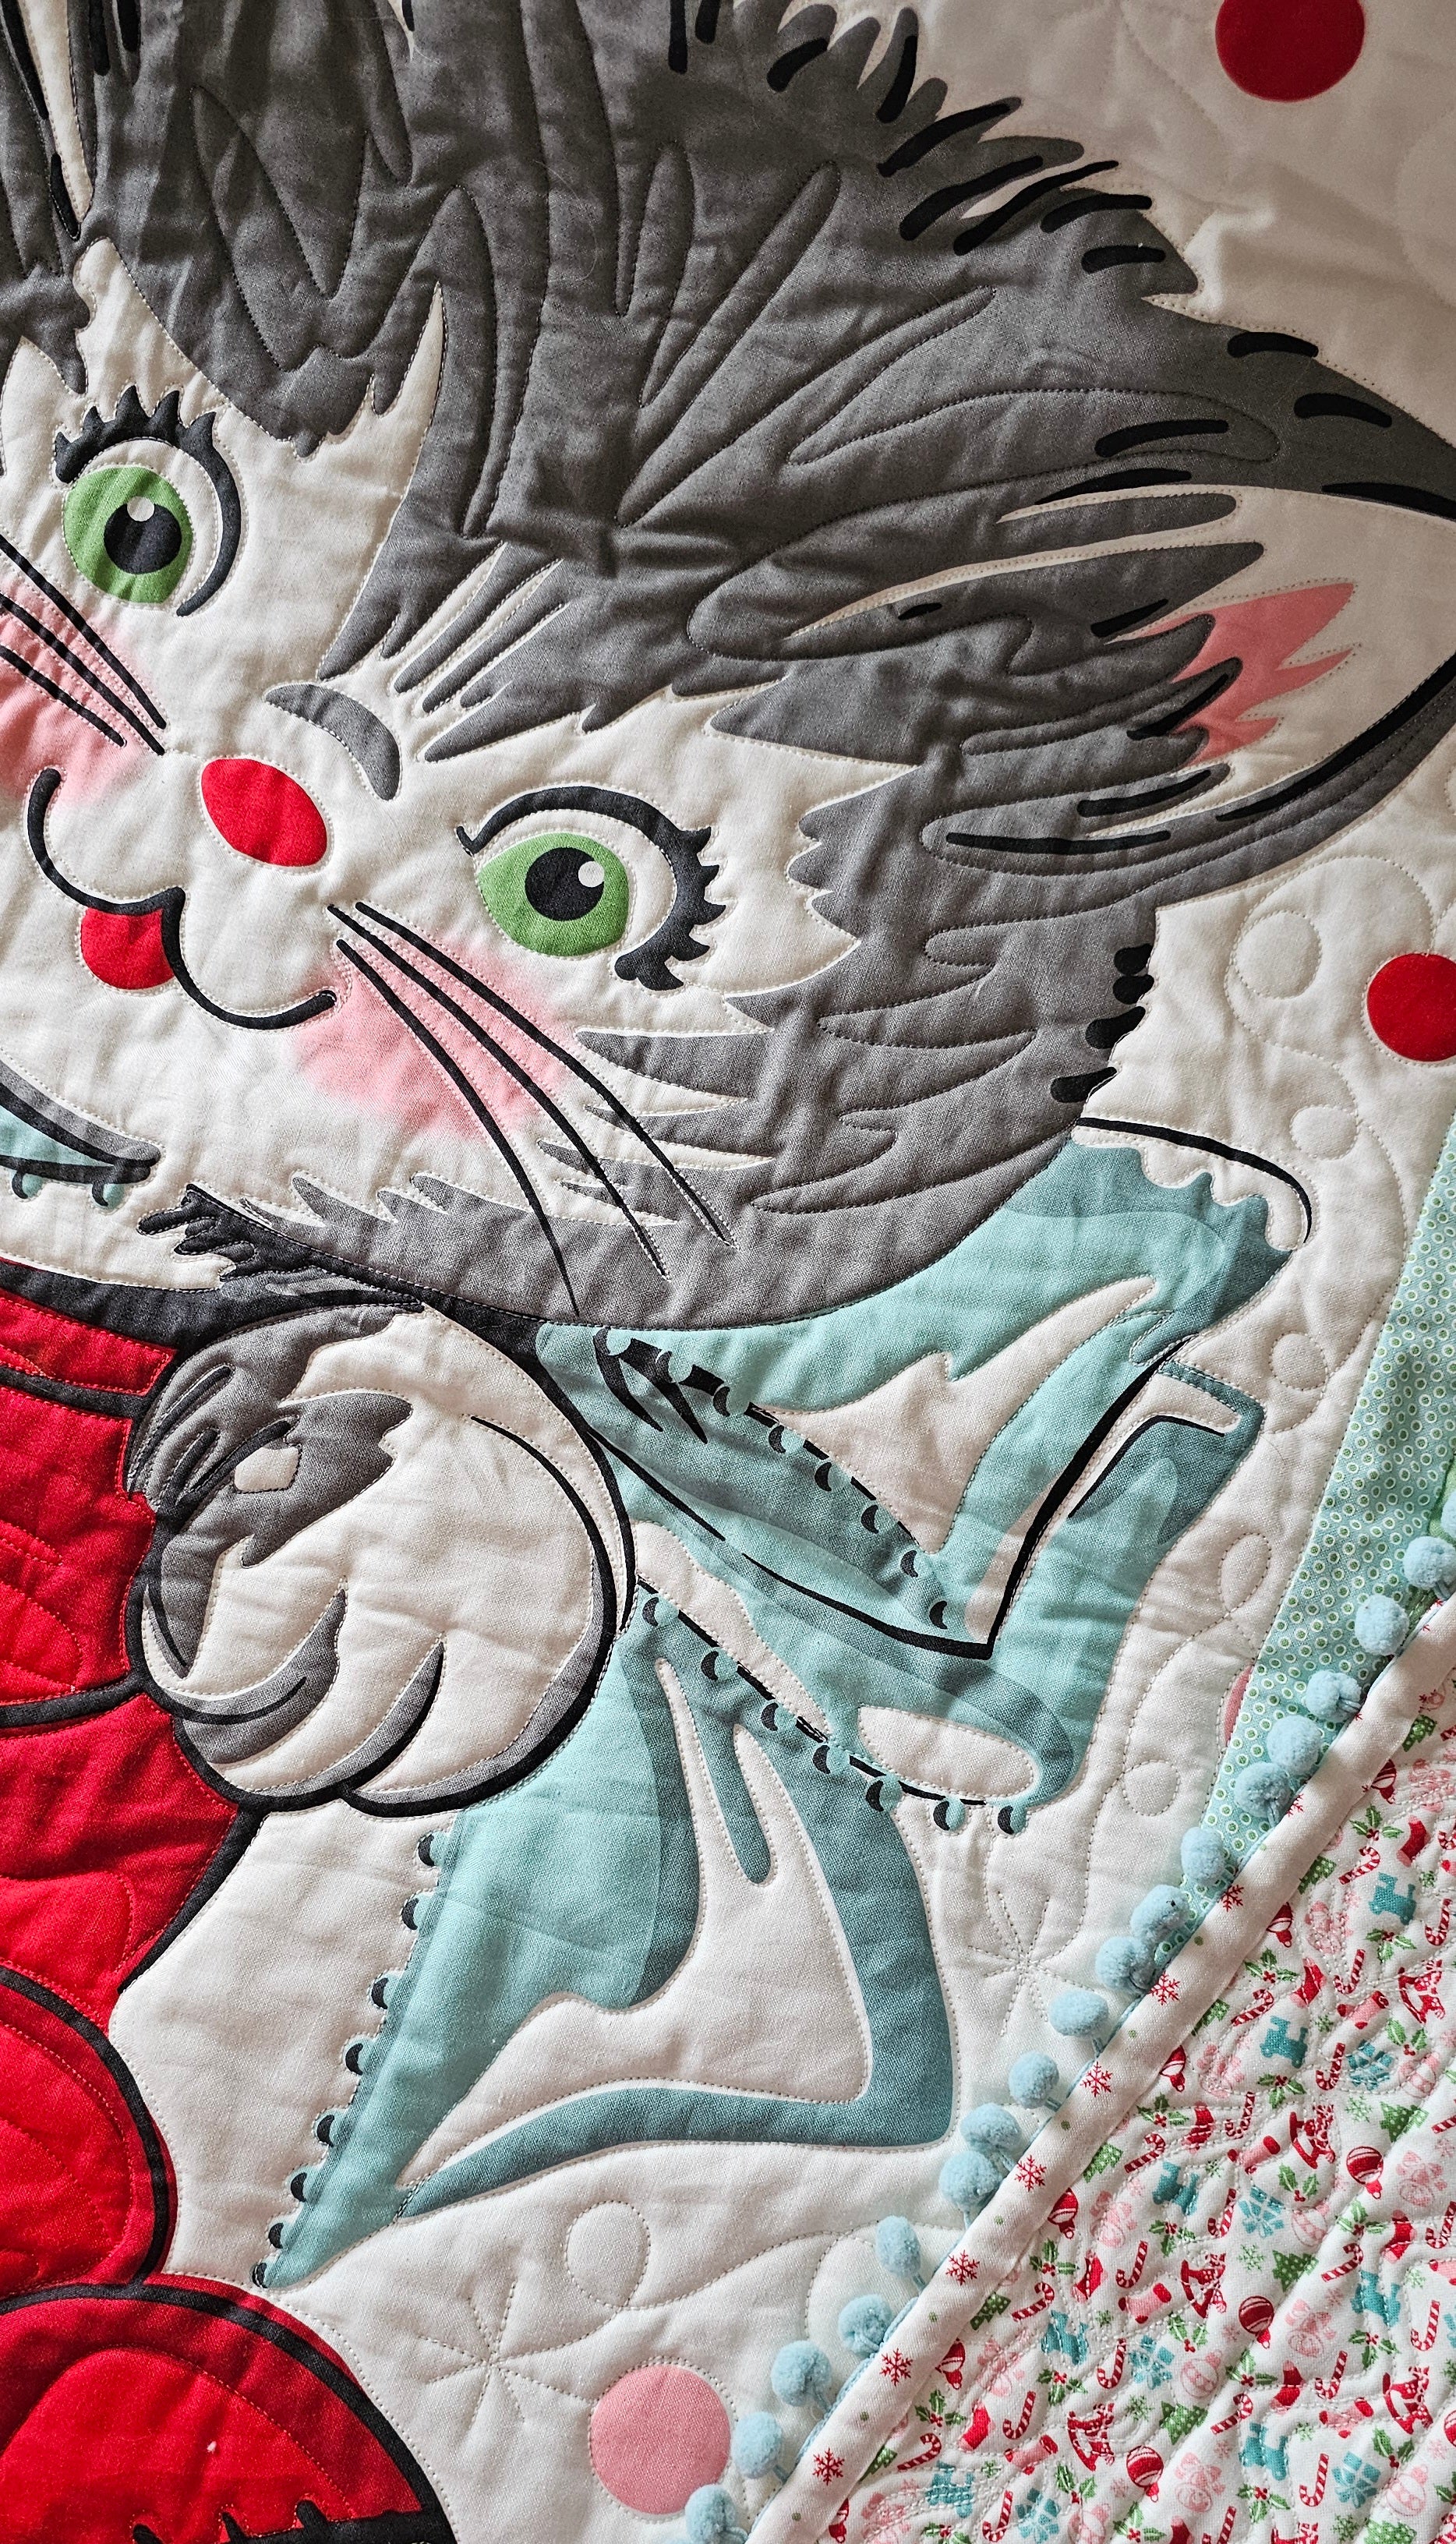
For years, I've loved finding vintage linens and apparel accessories where little pom-poms were trimmed along the edges. It's whimsical, nostalgic and sweet!  So, when this Kitty Christmas panel came to the shop and the illustration included a pom-pom ribbon tied around the kitten's neck, I knew I wanted to feature that by accenting the quilt with real pompom trim along the edge.

This technique breaks from sewing traditional binding, yet adding pom-pom bauble trim instead has always daunted me.  I could never quite figure out how to do it properly while still maintaining a quality finish and seam alignment without adding too much bulk to the edge.

However, after reading this blog, it took me a little while to work up the courage (okay, a long while—over a year!), and to start the process and transfer my sewing steps to the Singer Featherweight so as to successfully bind a quilt with little pompoms. To my surprise, it honestly was not that hard to do at all! And I'm actually inspired to do it again!

If you would like take your quilt binding to the next level, feel free to follow Suzy's blog link above and then follow along with the photos and my brief commentary below to help you add some tactile flair to your quilt edge using your own Singer Featherweight.

NECESSARY TOOLS (These are what I used to do this process on a Singer Featherweight.)

  1. Pom-Pom / Baubles Trim of your choice
  2. Cutting Mat and Cutting Ruler
  3. Narrow Zipper Foot Attachment
    (either a vintage original attachment or replica foot will work perfectly)
  4. Wonder Clips or Sewing Clips of choice
  5. Karen Kay Buckley Scissors (because they are so incredibly sharp at the point!)

BEFORE YOU BEGIN

1. Using a cutting ruler and cutting mat, trim and square up your quilt all the way around. 

2. Make sure you have the full length of yardage required of pompom trim equal to the perimeter of your quilt plus 12 inches for wiggle room. For this Kitty Christmas quilt, I needed 8 yards as one continuous length.

4. CUT & PREPARE BACKING STRIPS (to be sewn with Pompom Trim) 
  • Measure Width of Trim (WOT). There is the actual pom-pom baubles and then there is the flat woven stabilizing tape. Typically, pompom trim is measured as a whole, but for this tutorial, we will only be using the measurement of the flat stabilizer tape. Mine measures 1/4" wide, but there is a formula below, so you can accommodate any pompom trim width.

  • Multiply WOT x 4 and add 1/2". For example, my trim measures 1/4," so I will need to cut my backing strips to be 1 1/2" wide.   

  • Measure and add together all four sides of quilt, then add 12." Divide that number by 40." 42"-44" is typically the width of fabric (WOF) measurement, but dividing by 40" will give assurance that you will have enough with varying selvedge widths and print designs. The result of this dividing quilt math will be the number of backing strips you will need to cut from the full width of fabric. The Kitty Christmas quilt measures 60" x 68". The perimeter measurement of all four sides is 256."  Thus, 256" / 40" = 6.4. Therefore, I will need to cut 7 strips, each 1 1/2" wide. 

  • Join the backing strips together with diagonal seams. Trim and press open.  


Fold and press the beginning end over 1/4" and then press the backing strip in half lengthwise, pressing the full yardage length.  This end will be what you use to overlap and tuck the opposite end into when joining the ends together on your quilt. 

The pom-pom trim will begin being basted just below the starting folded edge.

Now, it's time to make your Featherweight skills shine! Using the narrow zipper foot attachment (either vintage original or a new foot will work great!), set the zipper foot so that the needle goes down through the left side notch of the foot. Using approximately 1/8" to 1/4" seam allowance, baste the stabilizing trim to the raw edges of the folded backing strip. (The folded edge of the backing strip binding is on the left side in the image above.)

Just keep basting! Because of the multiple layers, you will need to hold the trim and backing strip taut as you sew.

Using lots and lots of sewing clips, clip your backing binding strip to the front side of your quilt and all around the edge, making sure to sandwich the baubles / pompoms between the backing strip and quilt. I tried to clip between no more than 5 pompoms.

Just keep clipping...all the way around the quilt!  

Reminder:  You are clipping the backing strips to the right side of the quilt edge because once it's sewn, it will get turned and hand stitched to the back side of the quilt.

Once you've clipped all the way around the quilt, you will be ready to stitch the pompom-lined backing strip in place.  Again, use the narrow zipper foot attachment with a full 1/4" seam allowance on your Singer Featherweight.

This is a slow-stitching process, going from clip to clip, all the while making sure that all the little baubles are pulled out of the way as you stitch around the quilt.  

Only remove the next clip when the front toe of the foot touches it. This will help keep the layers aligned while you sew slowly and carefully.  

Again, because of the multiple layers, you will need to pull taut as you stitch.

Corners are not hard, but do require some careful stitching, so you can pivot with the needle down and still maintain the 1/4" seam allowance.


As you approach the corner, pull pompom backing strip to the corner as much as you can and clip up to the basting stitching line, but NOT through it.  

Add more clips as needed. As you approach the corner with your needle, stitch slow and careful, making sure to leave the needle down at the corner (to the left and outside of the basting stitching line), so you can pivot and continue sewing a 1/4" seam allowance down the adjacent side of the quilt. 
(I attempted a photo, but it was too bulky with all the fabric folds, so just remember to pivot with the needle down at the corner using the point at which you clipped as a guide.) 

Once your pompom backing strips are sewn to the front side of the quilt and joined together, begin using your clips to fold and hold (again) the binding to the back side of the quilt. I prefer to clip with the flat side of the clip facing up so that the binding lays flat.

Hand stitch like you would with quilt binding.

As the corners approach, miter each one and stitch down.

The Christmas Kitty Quilt Kit includes enough fabric to bind the quilt with standard binding, but depending on the width of your personal pom-pom selection (sold separately), you may have enough to convert the fabric for using the technique outlined in this blog tutorial.

ENJOY!