Fat Quarter Pop-Up

Let me introduce you to this darling little Fat Quarter Pop-Up pattern by The Fat Quarter Gypsy! It is such a fun and easy pattern for all skill levels, and stores everything from your sewing scraps and threads to your favorite quilting notions!

Products Used:
Fabric
Shape Flex Interfacing
Ric Rac
Pop-Up Spring Hoop
Safety Pins
Featherweight Accurate Seam Square & Seam Guide or 1/4" Foot - Low Shank Scant
Olfa Rotary Cutter
12" x 18" Lori Holt Reversible Cutting Mat
Sewline Water Erasable Roller Ball Pen
Super Fine Glass Head Pins
Aurifil Thread
Creative Grids Ruler Itty Bitty Eights
Quilter's Pressing Fleece
I gathered all the pieces of the kit I needed just like a mother hen would do with all her little spring chicks! I l.o.v.e. this cherry fabric. It is so cheery. (I think I will have to make about 5 of these for myself and to give away as gifts. This is something you could even make assembly style. They are so fast and easy.

I followed the pattern to lay out my fabric and made sure I had it turned correctly for my two round pieces, in addition to the body.

I cut and trimmed the pieces out.


I ironed the interfacing on to the body to make the pop-up stand up sturdier. (I always like that part. Something about taking what is weak and making it stronger.)

Then I continued on to press and sew the little “handle” loop.


All three loops (the elastic, the ric-rac and the fabric loop) were then pinned and sewed onto the body at their proper heights.

I folded the body in half RST and sewed a seam.

I pressed this seam open.

Marking the top and bottom of the body I made four equal parts. (The seam that was just sewed became one of them.)


I turned the body inside out halfway so that only the right side of the fabric was showing on both the inside and outside of the tube. (The inside and outside need to be as even as possible.)

I top-stitched around the folded edge.


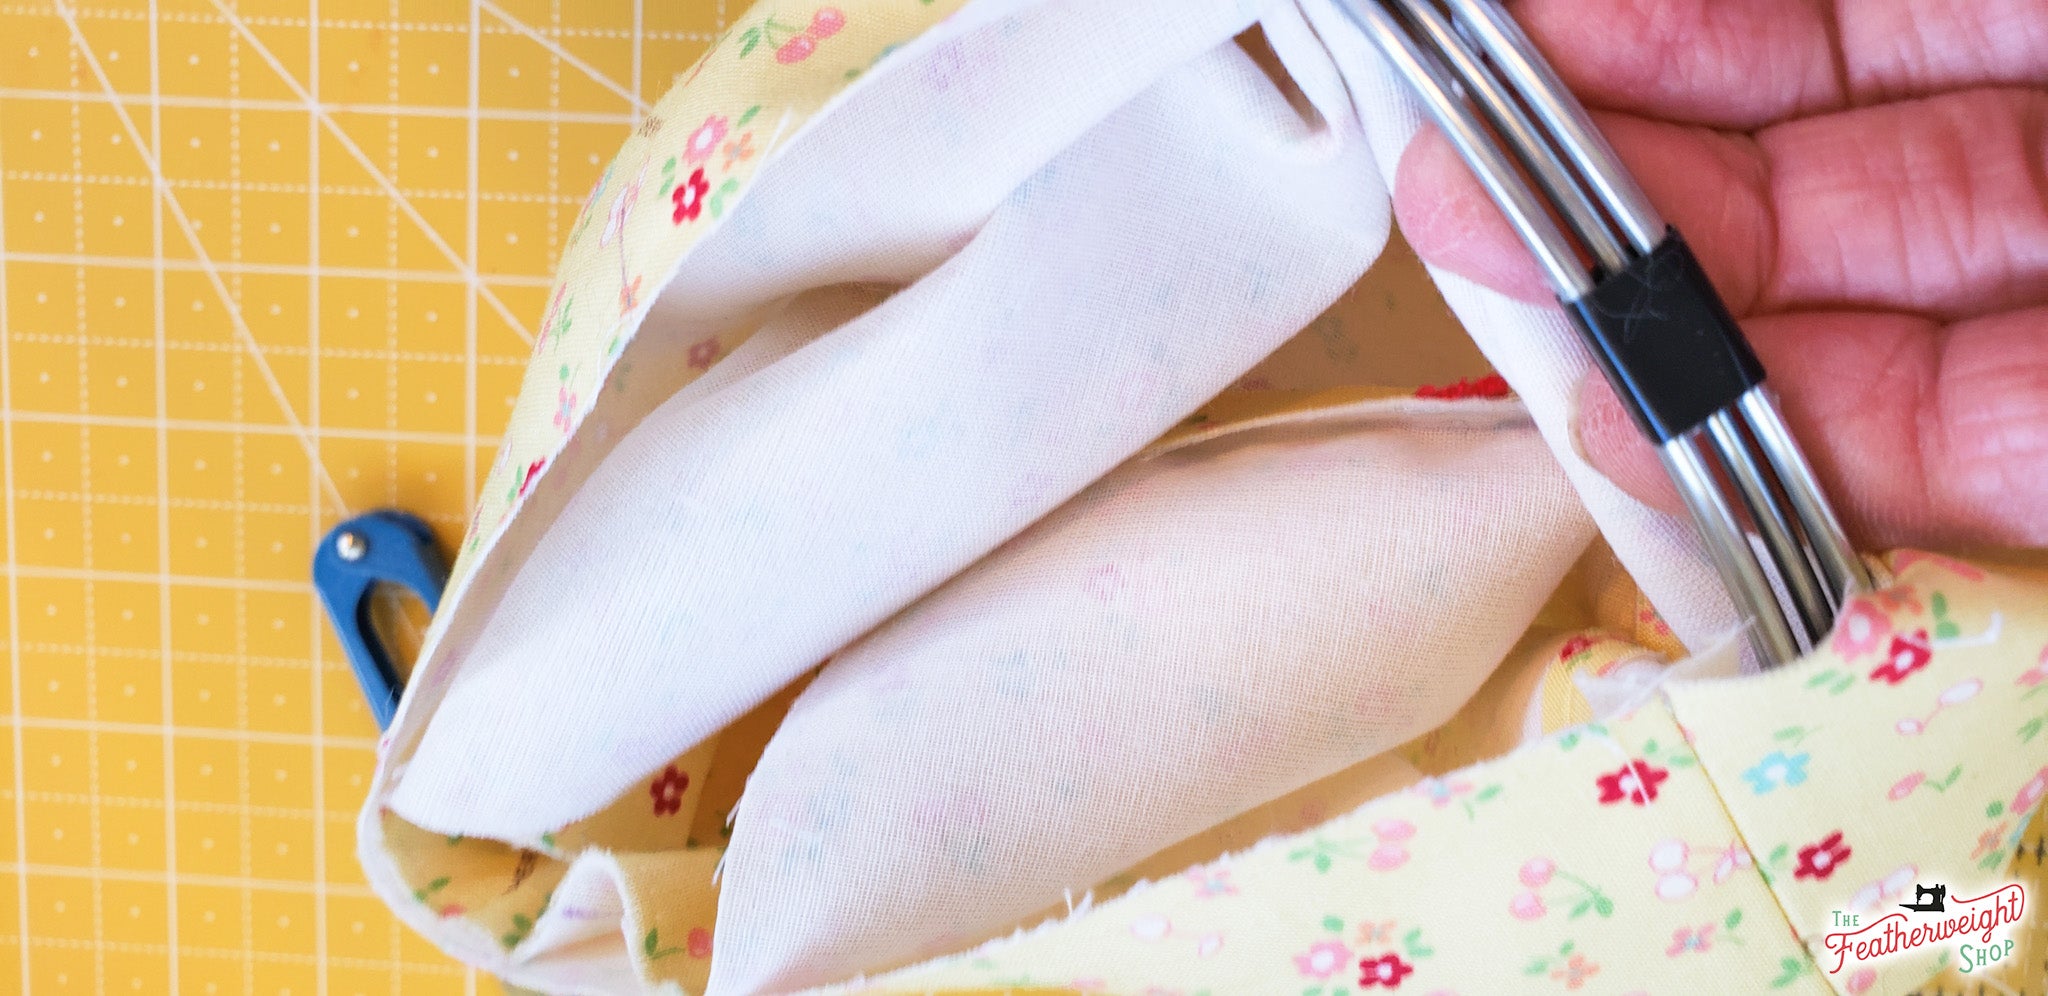
Placing the spring inside the open edges of the pop-up, I was careful to put the black tape where the pattern directed me to. I secured safety pins on all sides. These held the spring in place while I continued sewing.

Reaching down to catch hold of the spring, I cut both pieces of the black tape and removed them. (Be careful to only cut the tape and not your fabric!)
Now I sewed the raw edges with a 1/8” seam to secure the inside and outside of the pop-up together.

I marked the four equal parts of the two circles. Then I placed the circles wrong sides together, matching up the marks. I basted all the way around and then carefully pulled on the thread to gather it, so the circle would match the circumference of the raw edge of the pop-up. I pinned these onto the tube, matching the four marks I made and sewed all layers together using a ¼ inch seam. (I made sure to cover my previous basting stitches.)


Gently coaxing the inside to the outside, I worked to make sure the fabric was rolled over on the correct side of the spring. Once the pop-up was formed, the safety pins were taken out.
Now there it is! I have a pretty little basket that I can take along with me because it has a handy little elastic loop to shrink it for packing. It can be used for quilting scraps, a mini trash can in the car or to hold all my cell phone gadgets!


Make one for you and your friends with additional Fat Quarter Pop-Up hoops here!
And now that you know how easy these are to make, you can make several more for your friends and family! (It comes as a “refill” with just the spring!) And of course, you will have to make more for yourself for all the uses you will find for these cute little pop-ups! I’m going to make more for sure!