
Featherweight Embroidery: Part 1 ~ First Stitches
I'm Kristen from Verity Vintage Studio who walked you through stitching the beautiful Featherweight 221 counted cross-stitch last year! In the coming weeks, I'm excited to demonstrate the lovely, Featherweight Embroidery - "A Quilter's Dream"!
Exploring the Kit
This sweet kit combines several things dear to a quilter's heart: a vintage Featherweight in embroidery with a quilt under the needle, and an adorable pieced and embellished frame! It's the perfect way to do some relaxing needlework of different kinds, ending up with beautiful artwork for your sewing room wall.
The folks at The Featherweight Shop have put together all the supplies you will need to make this picture, so let's explore the kit they provide*.
 *Kit fabrics may vary depending on manufacturer availability, but an autumn theme and like colors will be provided.


Order "A Quilter's Dream" Featherweight Embroidery Kit in your color preference (Vintage Autumn or Lori Holt Sewing Happy)
Just joining us? Click here to start following along at the very beginning.
Supplies Needed:
- A Quilter's Dream Kit - Vintage Autumn- If it is sold out, you can sign up for the in-stock notification at product link, and you will be notified as soon as we have more kits available.
- 4-inch or 6-inch Embroidery Hoop
- Glass-Head Pins
- Iron
- Sewline Water Erasable Roller Ball Pen
- Embroidery Scissors
- Hand-sewing needles in various sizes
- Needleminder
- The Beekeeper Thread Minder by Lori Holt
- Already have the supplies on hand?
Printed Pattern only is available here.
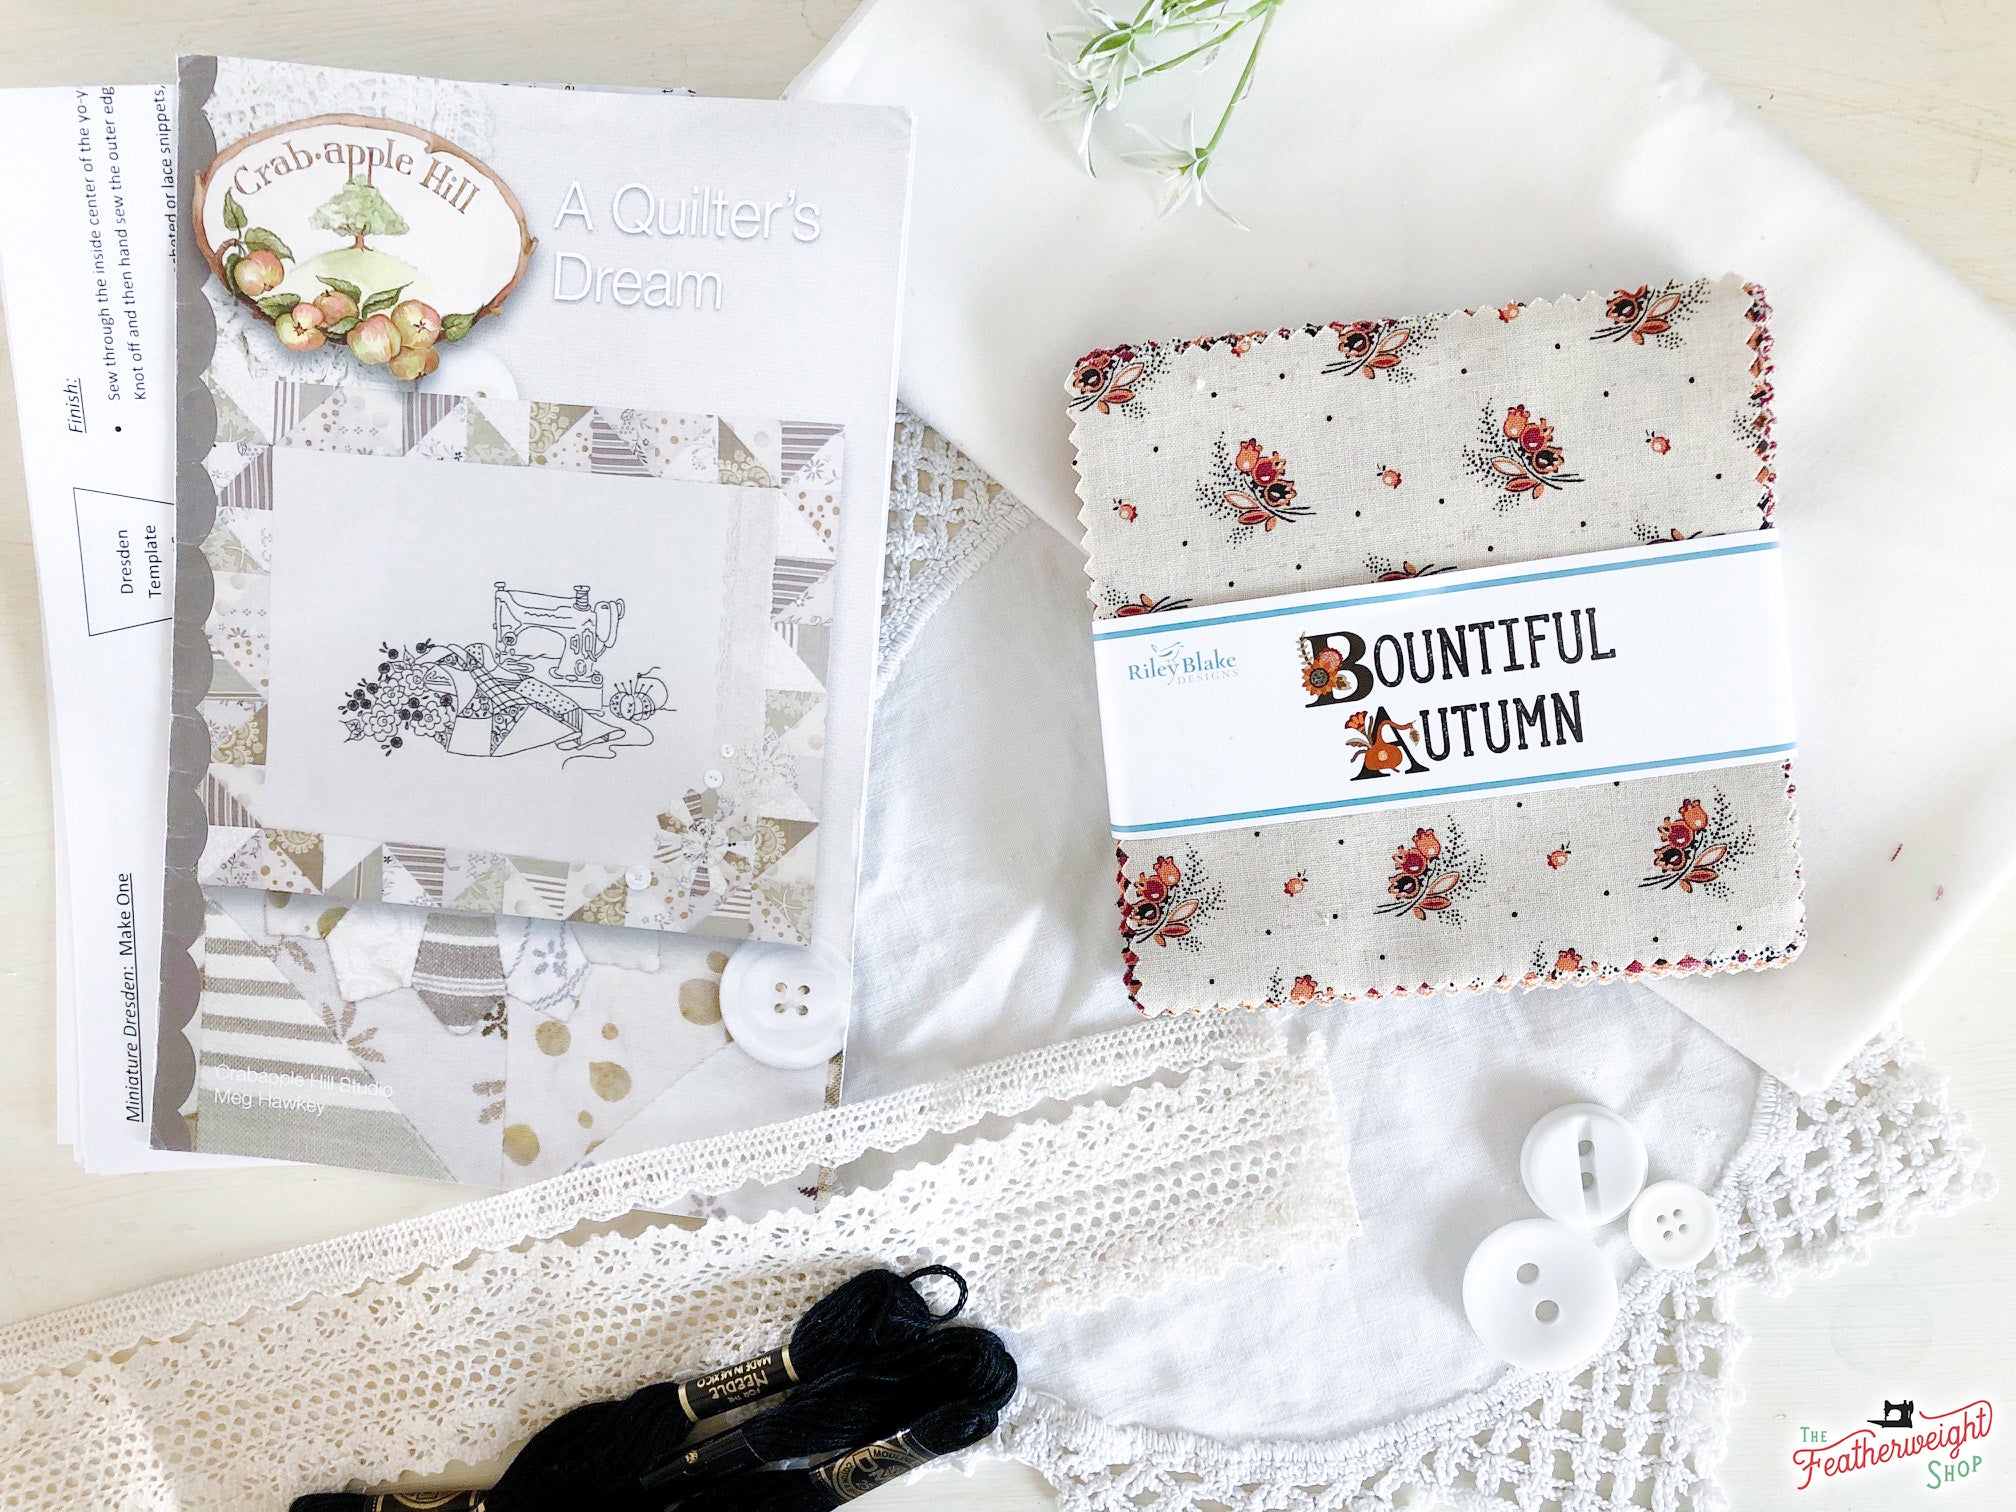
The kit includes two instruction sheets, the cover illustrations which also include a list of supplies, two pieces of background fabric, embroidery floss, a 5” charm square pack (this will be more than you need, so you can choose your favorite prints!), and some sweet cotton lace and buttons for embellishing.

The instruction sheets include a stitching guide and a pattern tracing sheet.

You will also need your own basic tools: an embroidery hoop, small sharp scissors (this style from the Featherweight Shop are just right, and beautiful too), a tracing implement (I use a fine point water soluble marker), and, of course, needles. You will want small, sharp needles for the hand embroidery. Later on, you'll need your sewing machine too for the pieced frame.

Preparing to Stitch
The instructions are detailed, precise, and easy to follow. The first step is to unfold and press both pieces of the background fabric.

The instructions call for a piece of stitchery background fabric and a piece of muslin; the two pieces included in the kit are a vintage cream and a bright white. Choose one and fold it in half, then in half again, and finger press the center to mark it.

Now match the center of the crease you just made, with the center of the pattern to be traced—also handily marked with fold lines. (The fabric needs to have the wrong side, if there is one, towards the paper.)

The instructions call for using a light box. If you don't have a light box, a window works great. You can tape the pattern and fabric to the window for your tracing. But in this case, the pattern lines were heavy enough I could see them through the fabric, so I ended up just using my ironing board to trace it.

Pin the fabric in place through the pattern, if you are not using tape. You don't want any shifting.

Now start tracing. This is time consuming, so I don't recommend starting if you have to run out the door in 5 minutes.
The instructions give tracing instructions; I did not follow them exactly, but you can feel free to do it any way that makes sense to you!
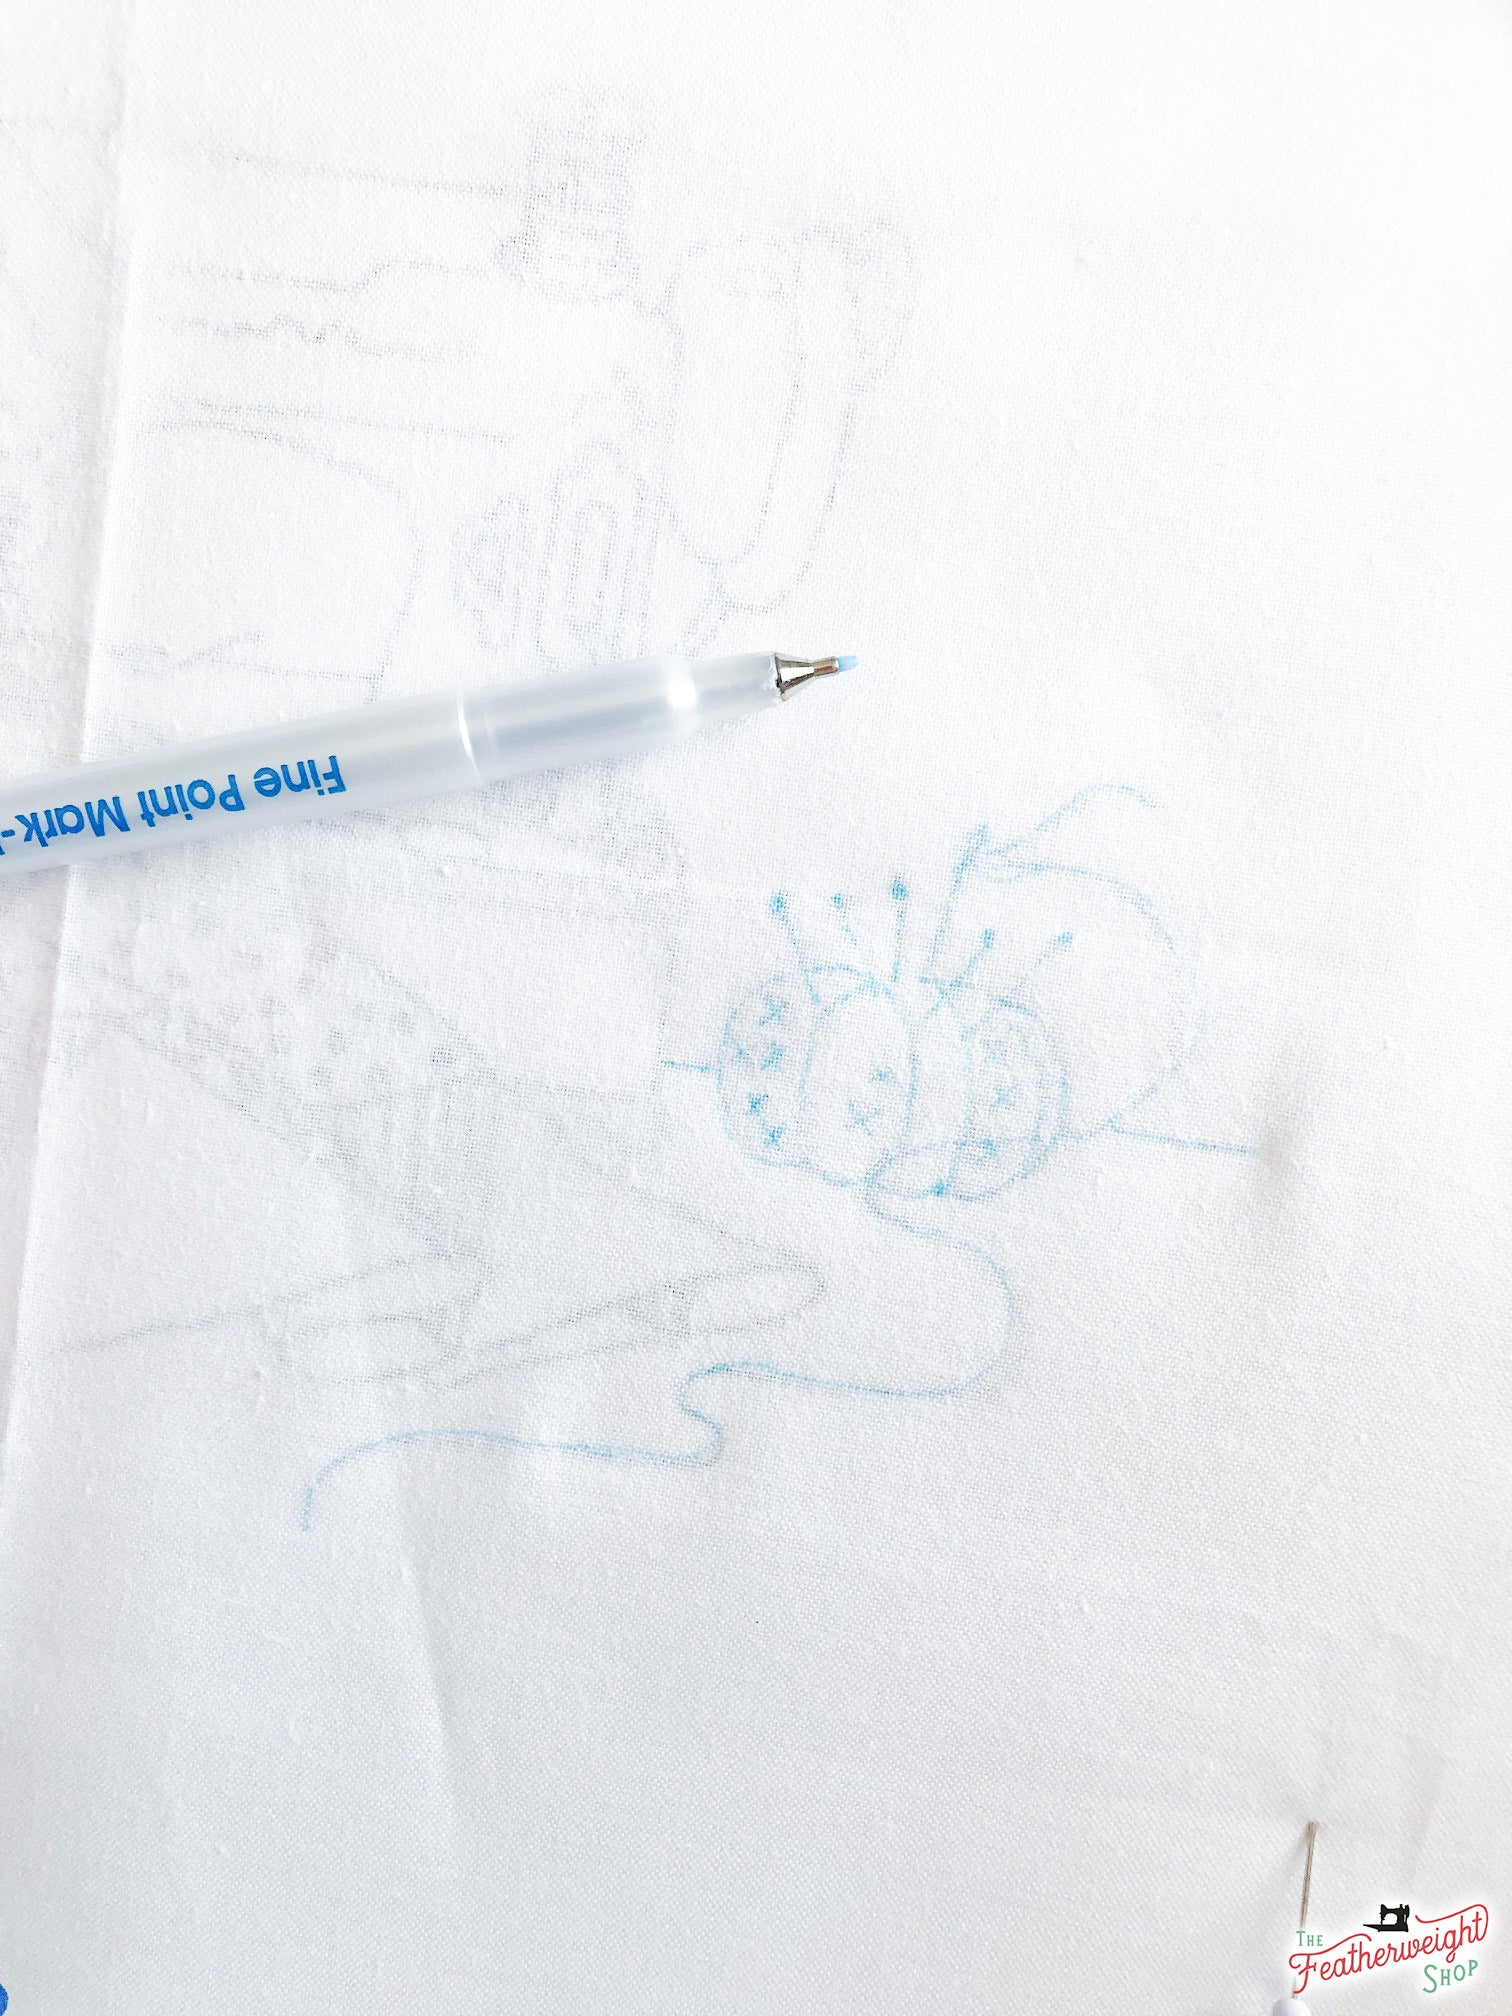
Of course even with the pins, the fabric may shift a bit and some lines will look a little different than the pattern. Unless you make an obvious mistake, don't worry about it! Just like quilting lines or real flowers, a little organic feel will just make it unique.

After the pattern is all traced, I checked it against the original to make sure I didn't miss anything, then it's on to the basting. For this I just used some leftover thread on my needles and did some giant stitch basting around the edges and close to the embroidery in a few open spots.
This is just a precaution to keep the layers from shifting while you work. Of course, as soon as you start the embroidery, that will anchor the fabric quite well.

All basted and ready to start stitching!

Embroidery Time!
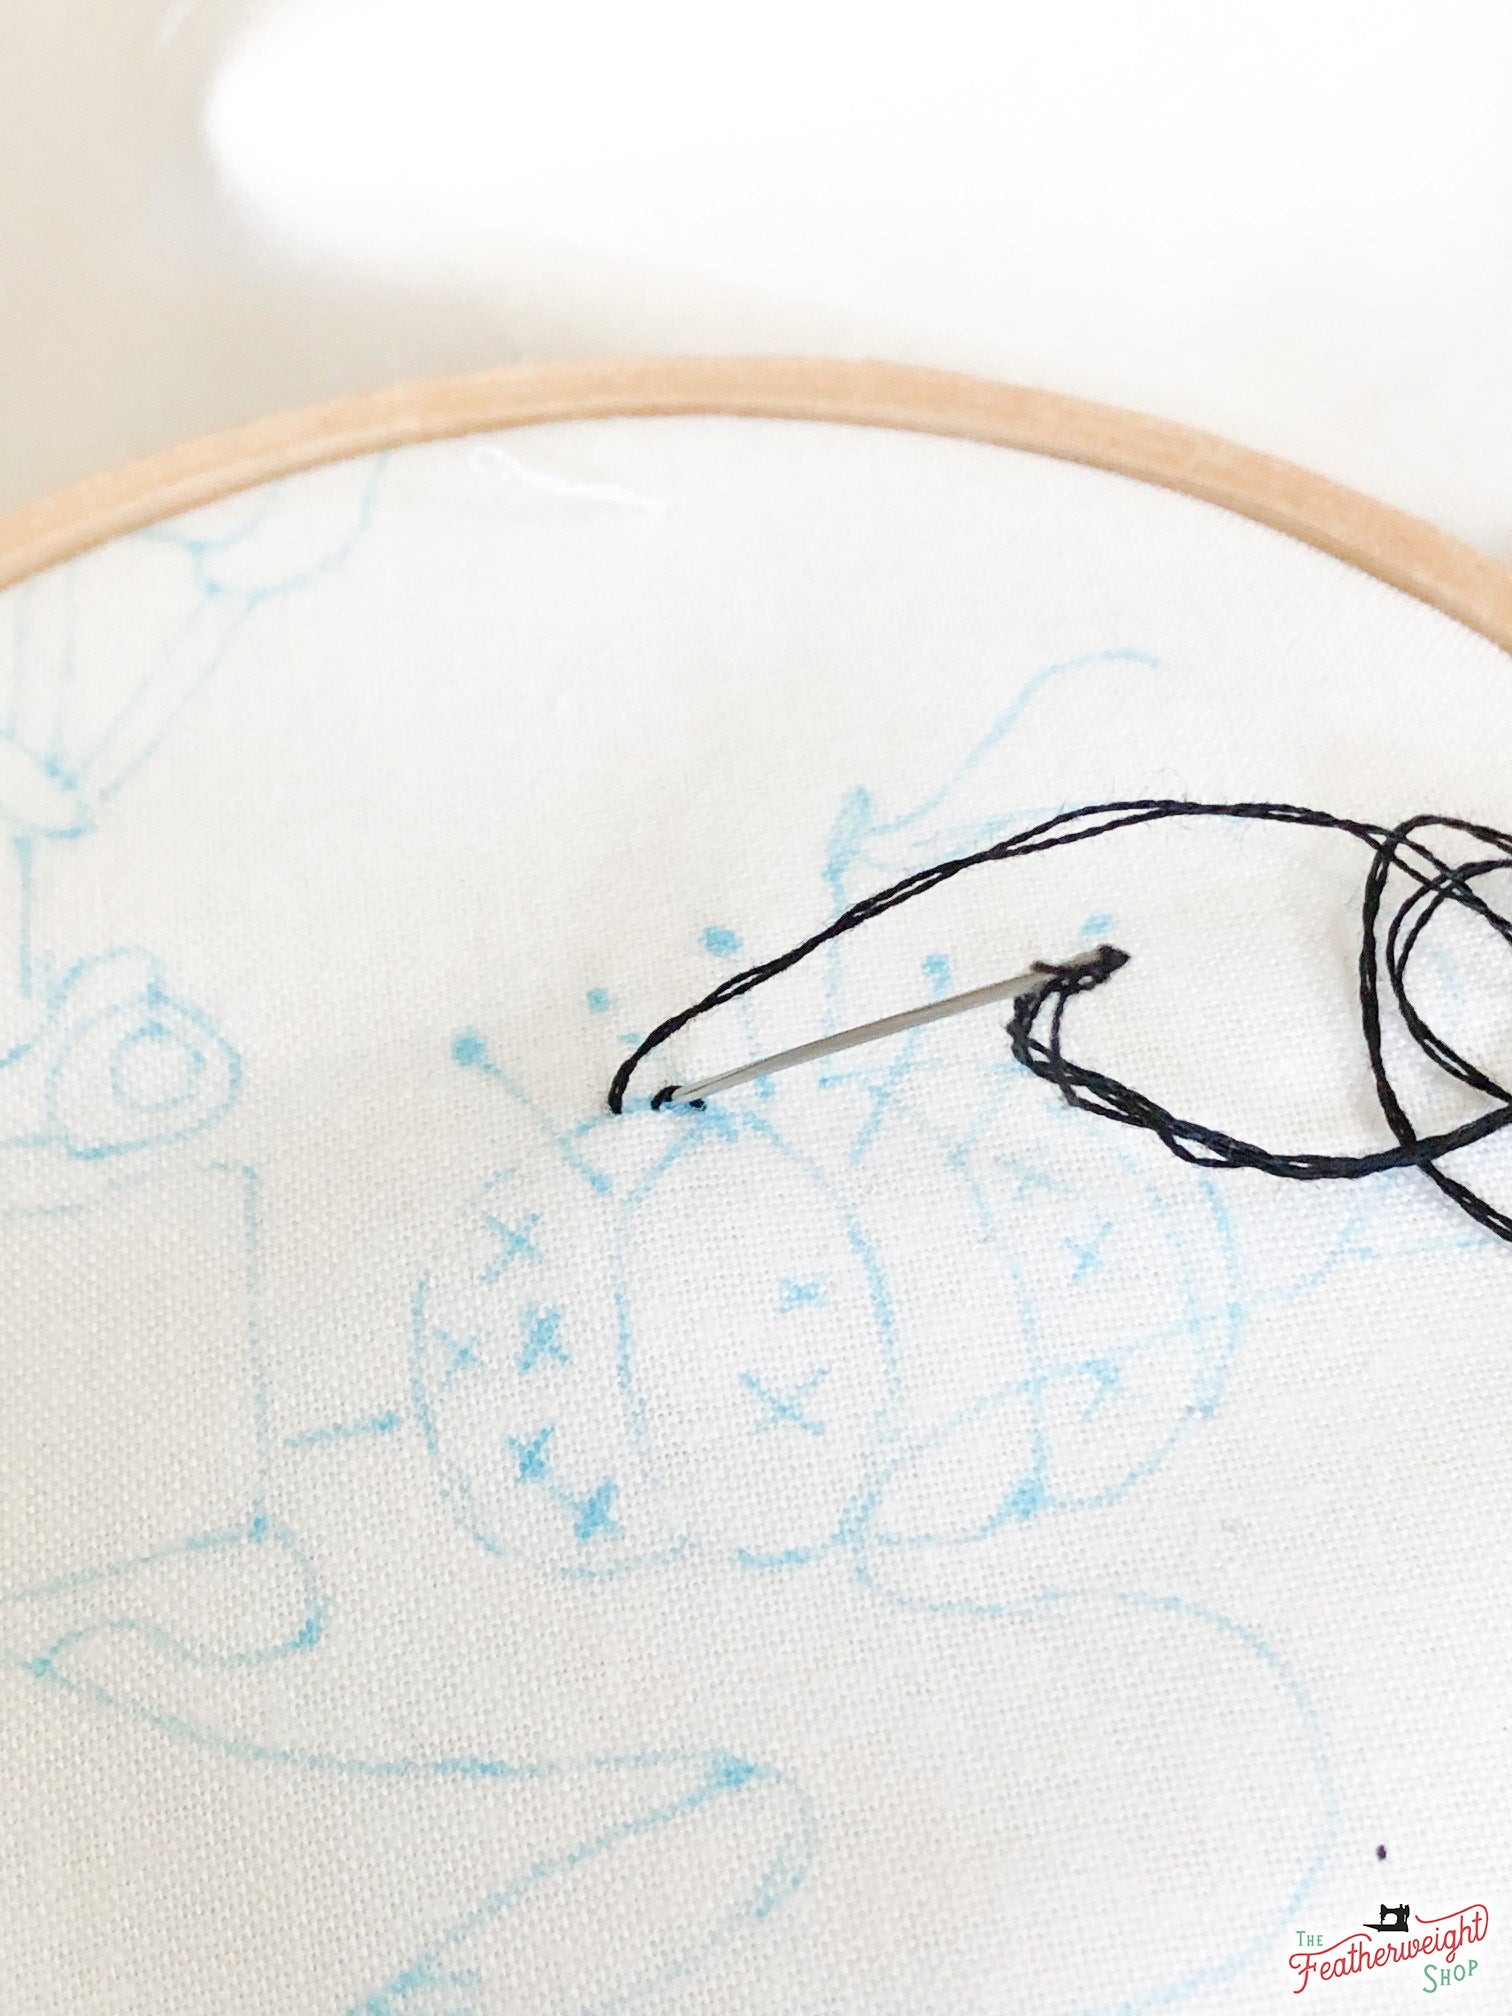
You can start anywhere you like on the design. I decided to work from one end to the other, so I am starting at the tomato pincushion.

The embroidery floss included is your typical cotton floss that has 6 strands. You will want to separate two of these strands, pulling them gently loose from the other 4.

Thread your needle and knot the other end. Unlike counted cross-stitch, we do use knots on the wrong side for this project.

Most of the embroidery is done with a running stitch, though there are a few special stitches we will learn as well. A running stitch is just a matter of coming up and down to make a stitch...

...Then come up again a little space in front of the stitch you just made, and put your needle back down through the fabric, pushing aside the end of the previous stitch so that the ends hug each other.
You can go up and down with each stitch, moving your hand front to back each time, or you can opt to work mostly from the front, sliding the needle in where it needs to go by the previous stitch, and at the same time out where it needs to come for the next stitch.

The goal is to have a smoothly running line of stitches. In the old days they used to count their threads to make sure each stitch was exactly the same size. We don't need to be that precise, but I do recommend trying to make each stitch close to the same size, and avoiding large stitches. If you switch directions by turning your hoop and working on it from another angle, make sure you are still going down on the same side of the previous stitches.
If you start like I did at the tomato pincushion, you will run into a special stitch right away. I couldn't tell from the photo if the pin heads are supposed to be French knots or not, but that made the most sense to me, so that's what I did. First I made sure any pincushion under a pin is finished, then I did a long straight stitch for the pin (you could use the running stitch instead if you prefer).

Come up just above it for the French knot “head.”

Holding the needle down close to the fabric, wrap your thread 3 times around the needle.

Keeping the thread taut, put your needle down right next to where it came up, keeping the 3 wraps snug around the needle. The thread will pull through and make a tiny nest which creates the knot.
(If you have not had experience doing French knots, I recommend trying them out first on a piece of scrap fabric before attempting to work them on the embroidery. We will do more of them later on the flowers, so you want them to be snug and pretty.)


When your thread gets short and you need to start a new one, leave a few inches to work with. On the wrong side of the fabric, tie a knot around the threads nearby, and pass the needle through a few stitches one more time to keep the tail out of the way before cutting it off.

That's it for startup! Now we just keep stitching along in the same manner, and see how much we can get done by next week's check in.

Happy stitching!
Kristen
from Verity Vintage Studio
< Back to Preparation Vintage Autumn Part 2 >