How to Use the Singer Style-O-Matic Attachment
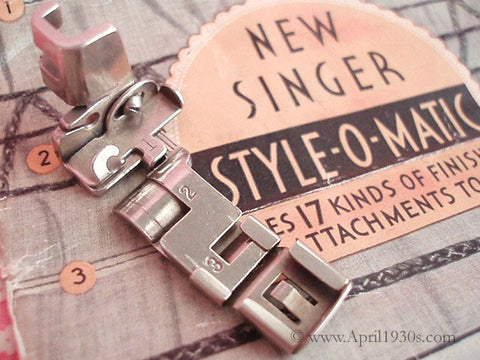
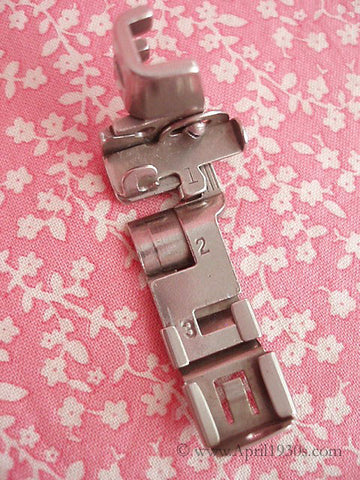
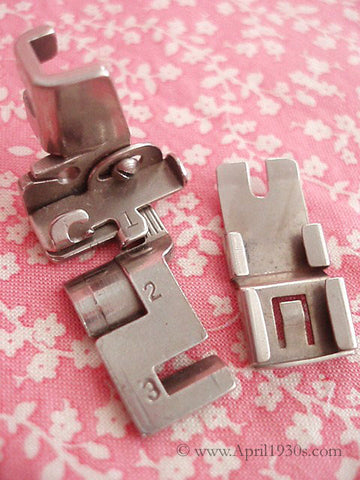
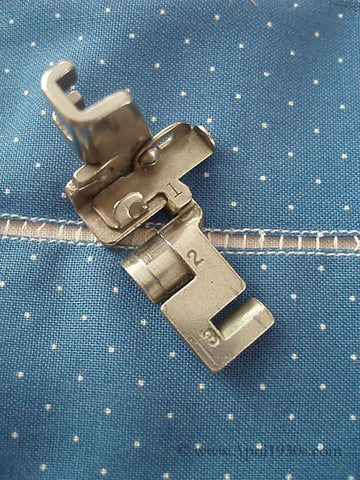
The SINGER Style-O-Matic Attachment with 17 Different Finishes all in one Attachment. Singer introduced this amazing little gadget in 1934 and after that, it has been referenced in very, very few publications and advertisements. A very short-lived attachment - making it a very scarce collectible today.
This extensive photo tutorial took me two weeks to complete to illustrate all that this amazing little gadget can do, so be sure to scroll down to view just a sampling of the photos.
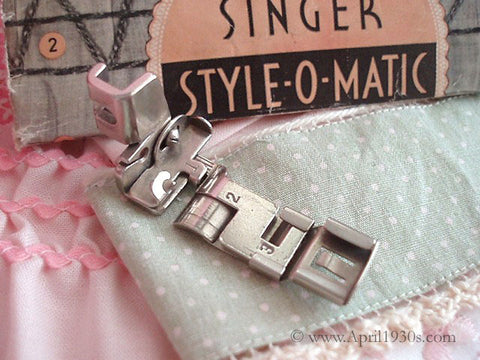
Yes, my Stitchery Friends, this Attachment is very scarce to find! The SINGER Style-O-Matic Attachment with 17 Different Finishes all in one Attachment.
Appropriately fits the Singer Featherweight 221, 222K and all low, vertical shank Singer Sewing Machines including the 15, 27, 28, 66, 99, 127, 128, 185, 192, 201, 306, 319, 328, etc...
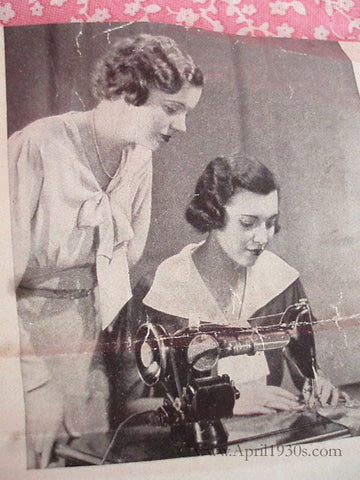
This attachment is quite extensive so you please note the numerous photo illustrations. Take your time and scroll through the photographs one by one - I truly want you to enjoy learning about this wonderful 1933-Depression-Era Singer Invention!
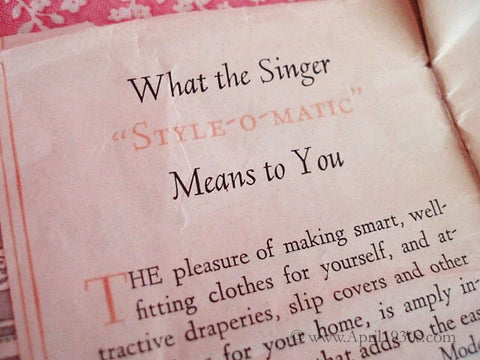
What the Singer "Style-O-Matic" Means to You...
The pleasure of making smart, well-fitting clothes for yourself, and attractive draperies, slipcovers and other furnishings for your home, is amply increased by anything that adds to the ease and speed of construction... Now the Singer Style-O-Matic removes the last vestige of tediousness - the making of those professional touches that add a smart finish to the garment... Binding, Gathering, Edge-stitching, Tucking - in all seventeen different kinds of finishes - actually flow from your machine with amazing ease... The machine does the work, leaving nothing to mar the pleasure of creating and developing your attractive garment...
The following examples illustrate how this Style-O-Matic presser foot makes finishing a pleasure - not a task...
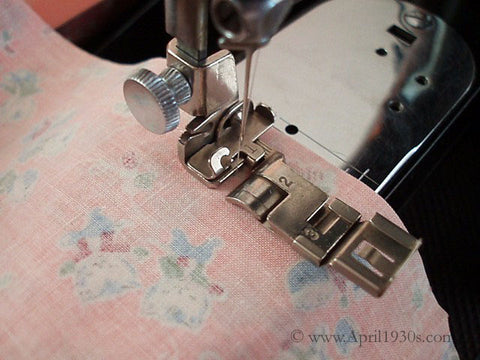
Plain Stitching & Binding
SEWING TIP: Lower your needle into the fabric before lowering your presser foot. This will lock the thread in place and prevent it from slipping out of the needle.

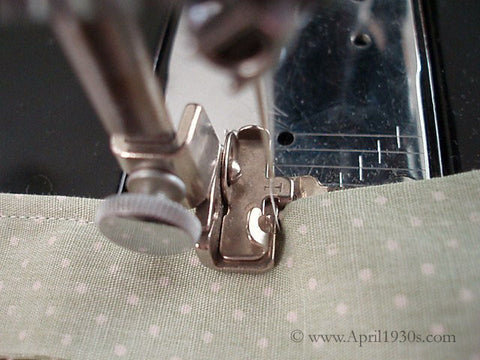
French Seams ~ Makes a very nice old-fashioned finish!
I love French Seams for pillowcases, heirloom garments or for those inner seams that might get a closer inspection.
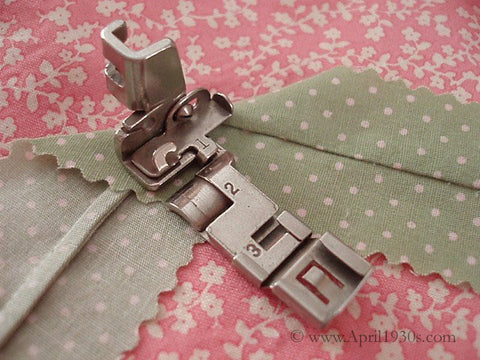
Tucking & Edge-Stitching
SEWING TIPS:
When Tucking ~ Make your stitch length very short for pin-tucks. I usually set my machine at 15-20 stitches per inch. This makes for a very fine high-quality appearance. After all, the beauty is in the tuck, not the stitch... so you want the stitch to blend as much as possible with the fabric.
When Edge Stitching ~ Don’t forget to trim the excess fabric after Edge-Stitching. You can use this technique for inserting lace to an outgrown hem!
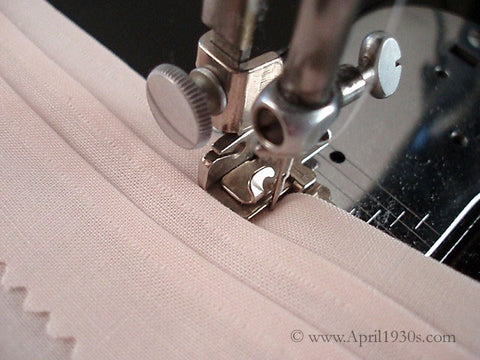
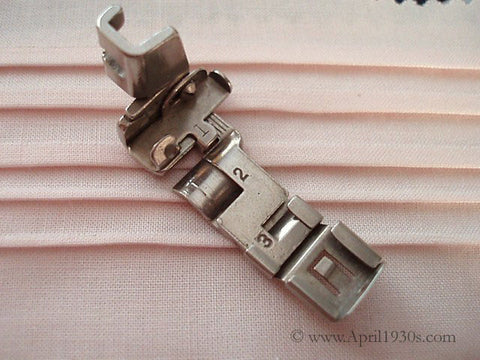

Shirring
SEWING TIP: The front piece of the Style-O-Matic slides off and into the lower position. This enables shirring capabilities. (Whoever designed this attachment thought of everything!)
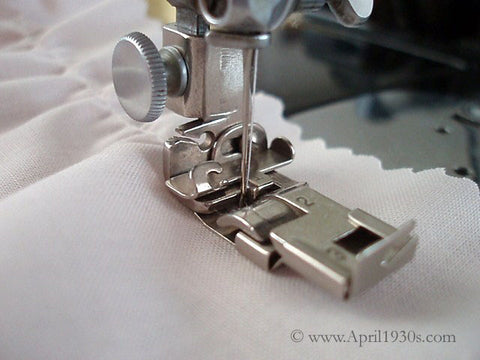
Ornamental Stitching
SEWING TIP: Try some homespun, natural dyed yarn, or twist colors of embroidery floss or rick rack together. When working with braid or rick rack, be sure to work slowly and carefully.
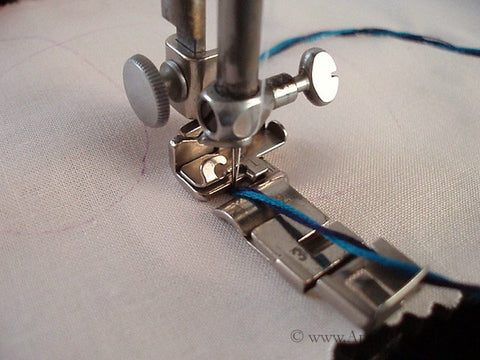
Invisibly Stitched Braiding
The needle catches the braid from the underside so the stitching is not seen from the top - it appears as if the braid is floating on top of the fabric.
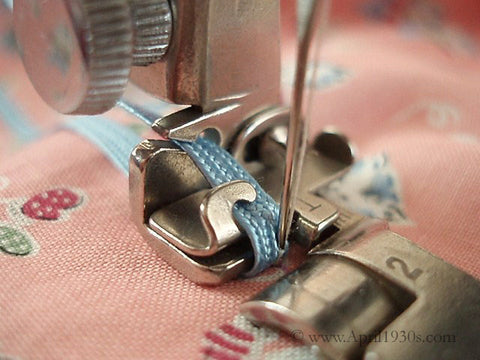
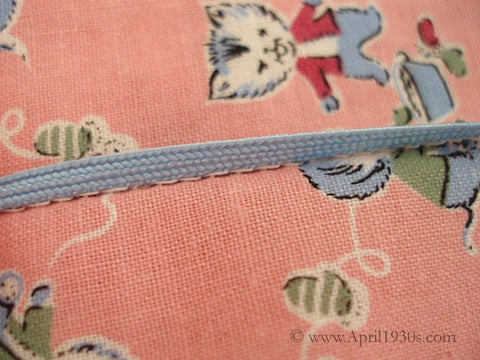
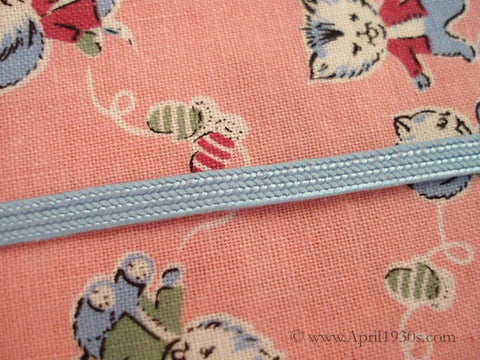
Shirring with Ornamental Stitching & Invisibly Stitched Braiding
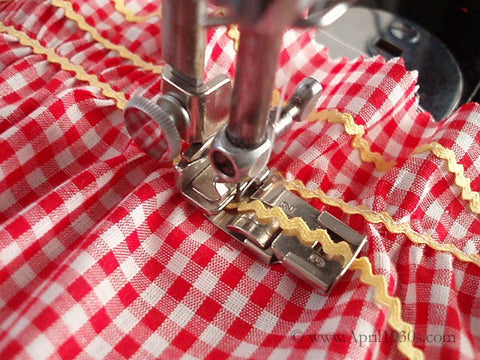
Very carefully, slowly and methodically I used rick rack as my ornamental embellishment. Watching closely I could see how the braid would rotate back and forth around the needle and thread creating a wavy stitching row... all-the-while shirring the fabric! Going very slow is the key to using rick rack.
In the last few photos, you can see how the top yellow ricrac row was just simple invisibly stitched braiding whereas the lower yellow ricrac rows were accomplished all while shirring. This creates the "smocking" effect.
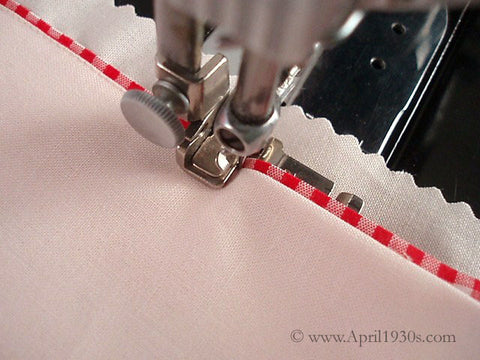
Piping
This type of piping does not have any cording inside. It's more of an ornamental embellishment to highlight or accentuate a particular color or border.
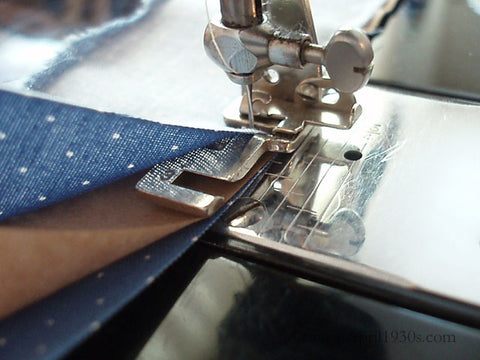
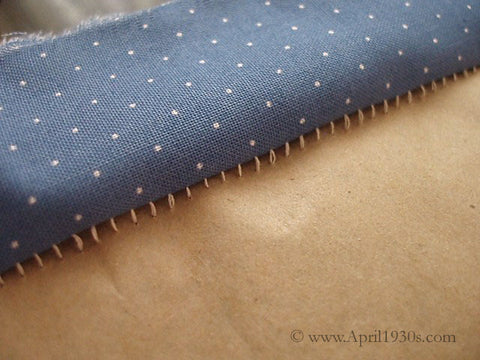
Hemstitching (Veining) and Picot Edging
SEWING TIP: Adding a thin piece of paper between the fabric pieces will stabilize the fabric and help keep your hemstitching even and consistent. Carefully remove it when hemstitching is complete. This particular technique was probably the most tricky of all seventeen, so be patient and work different samples with varying tensions on your machine.
Preparing for a crocheted edge on an old Singer was something entirely new for me and actually relatively easy! Believe it or not, it seemed easier than the hemstitching and picot edging! Feeding yarn or thick cotton thread through the attachment, you stitch much the same way as you would for hemstitching. Then following the directions it creates a border or an edge by which to use for a crocheted or knitted edging! I followed it up with a crocheted sample so you could see how this works. (Just like with edge stitching, don't forget to trim close to the edge on the reverse side of the fabric.)

Plain Stitching
French Seams
Binding
Tucking
Edge Stitching
Fancy Edgings
Lace Insertions
Shirring
Ornamental Stitching
Invisibly Stitched Braiding
Shirring & Ornamental Stitching
Shirring & Invisibly Stitched Braiding
Smocking
Piping
Hemstitching
Picoting
Crocheted Edging
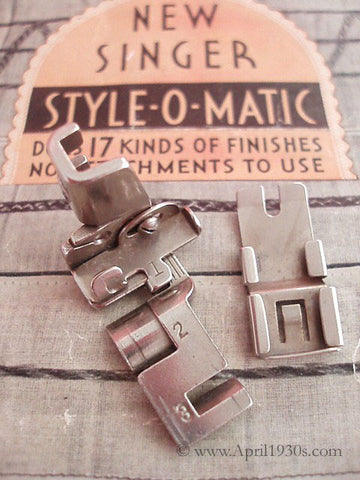
Occasionally, we will have the opportunity to offer these rare attachments available for sale here in our Shop. Sometimes the original instruction manuals can still be found with the attachment, but often times they have been misplaced or cataloged elsewhere. In those instances, a high-quality replica Style-O-Matic Instruction Manual is provided clicking here, because instruction is necessary for proper technique. In the meantime, be combing through old attachments boxes and scouring antique shops - make sure all the parts are present so that you, too, can accomplish all 17 finishes in one Attachment!

