,%20which%20is%20located%20right%20above%20the%20tension%20unit.%0A%0AThre...)
Thread Guide Replacement Tutorial
Welcome to The Featherweight Shop. In this tutorial, we are going to take you through the steps to replace the Thread Guide (as pictured below), which is located right above the tension unit.
Featherweight Shop Thread Guide Replacement Video Tutorial
At The Featherweight Shop, we commonly receive Featherweights that are badly damaged with corrosion or physical damage.
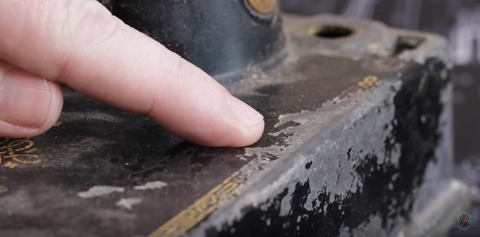
Corrosion on Featherweight
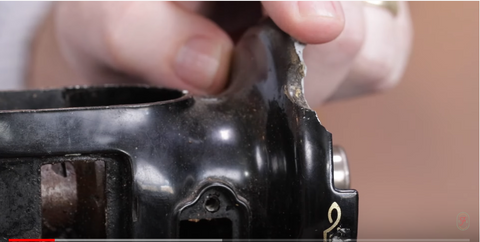
Physical damage on Featherweight
Although these machines are severely damaged, they still have value in that they have usable parts on them. What we do is take the serviceable parts off of these Featherweights and use them on your Featherweights to keep them in tip-top shape!
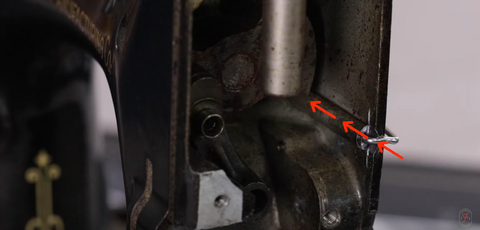
The Thread Guide is one of the common, broken off pieces on a Featherweight. For example, this Thread Guide is wholly sheared off.
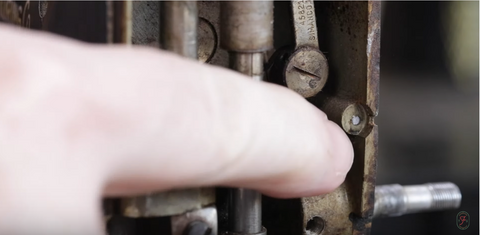
On this machine, there is still a little piece left of the Thread Guide so that is what we will be working with today!
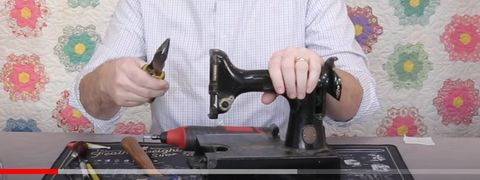
Now that we have selected the machine to work on let's get down to business!
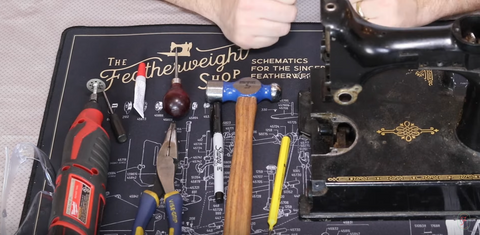
Tools used in Thread Guide Replacement Tutorial:
1. Featherweight Servicing Mat
2. Needle-Nose Pliers
3. Hammer
4. Diamond Wheel on a Dremel
5. Punch
6. Small Screwdriver
7. Old needle
8. Sharpie
9. Superglue
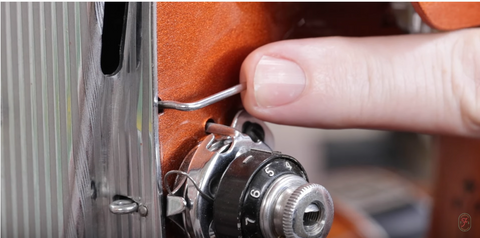
The first step to replace a Thread Guide is to remove the old, broken one. There are a couple of options for this step. The first option is to grab it with a pair of needle-nose pliers. The Thread Guides are in there pretty tight that this rarely works, but it does not hurt to try!
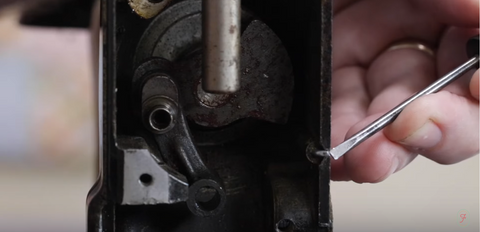
The other option is to try tapping the Thread Guide out with a hammer and small screwdriver. If there is a little bit of the Thread Guide left, you can get the screwdriver hooked behind it for better leverage. Gently tap to see if the Thread Guide will come out this way. There has to be enough of the Thread Guide left to hook the screwdriver on for this method to work.
If the hammer and screwdriver method does not work, you will need to use a diamond wheel on a Dremel.
Diamond Wheel on Dremel

Searing off the Thread Guide
The goal is to cut off the remaining piece of the Thread Guide as close to flush as possible.
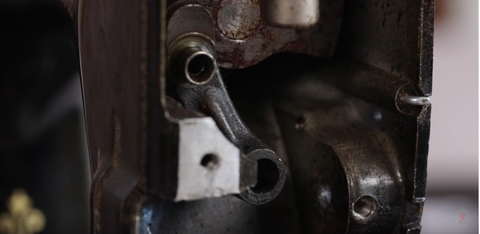
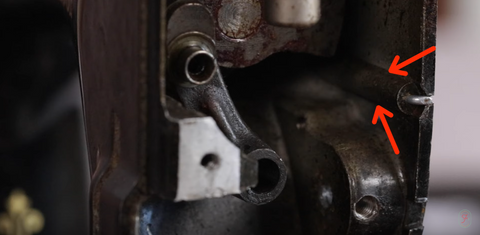
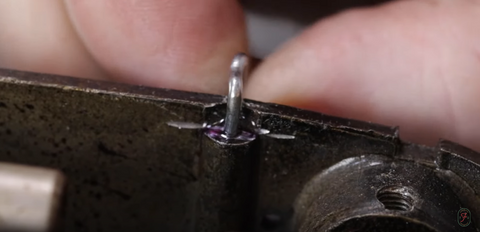
Because the Thread Guide fits in a large tube, (pictured below) after the Thread Guide is cut off, we are going to drive it into the machine using a punch and a hammer. This will allow us room to put the new Thread Guide in.
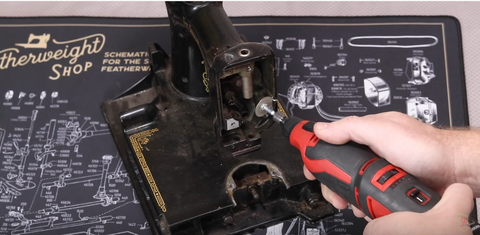
Now that the Thread Guide is cut off, flush, we will take the punch and hammer and drive the remaining Thread Guide further into the machine.
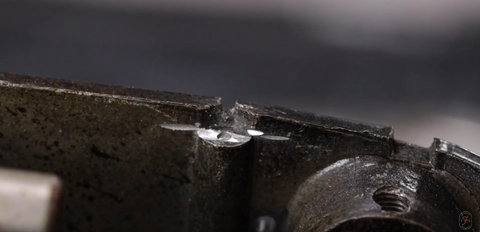
Flush Cut Thread Guide

Punch and hammer driving the cut off Thread Guide further into the machine.
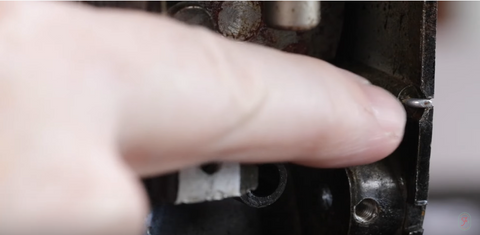
Once the Thread Guide is tapped into the barrel, we need to make sure that we have tapped it in far enough. The new Thread Guide needs to go in flush with the front of the machine; otherwise, when you put the faceplate back on, it will be hitting the piece of Thread Guide.
Using an old needle, we measure the depth of the hole by marking the side of the needle and comparing it against the new Thread Guide.

Compare the Thread Guide with the mark on your needle, and if your Thread Guide is a bit long, you may need to trim off a small amount with your Dremel.

Next, put a drop of superglue in the hole.

Insert the Thread Guide and let it dry.
The Thread Guide is now replaced, and the glue is dry. A few notes: make sure to wear safety glasses when you use the Dremel and punch. Also, you are only able to do this repair one time per machine. Since we have already tapped the broken piece of the Thread Guide into the barrel, there is only enough room to do this one time. If the Thread Guide were to break off again, the Featherweight would need to go into a machinist to be drilled out.