
Tension Unit Post Removal Tutorial
Learn how to properly remove the Tension Unit Post or stud in this step-by-step video tutorial by Carmon Henry from The Featherweight Shop. The transcript of the video tutorial, as well as all products needed to follow along are below. Please contact us with any questions or comments. Enjoy!
There are a few reasons to remove the Tension Unit Post. These would include: performing a deep cleaning to the machine, preparing the machine for repainting, or if the Tension Unit has been damaged.
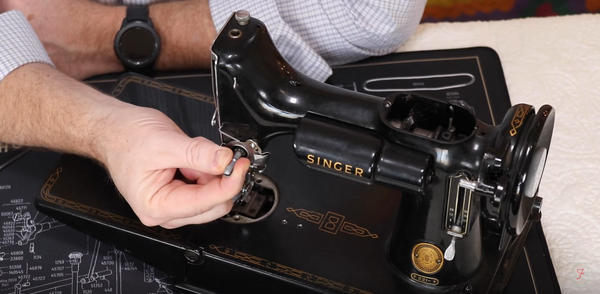
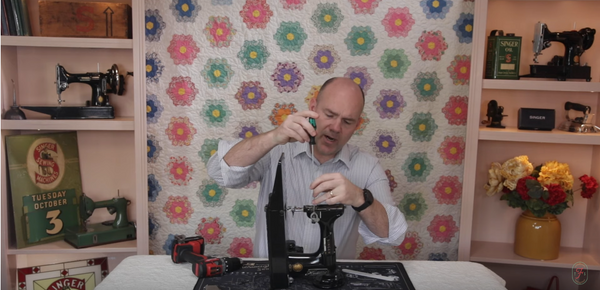
The first step is to locate the set screw that is holding the tension unit stud in place. To do this, remove the faceplate thumb screw and then remove the faceplate.
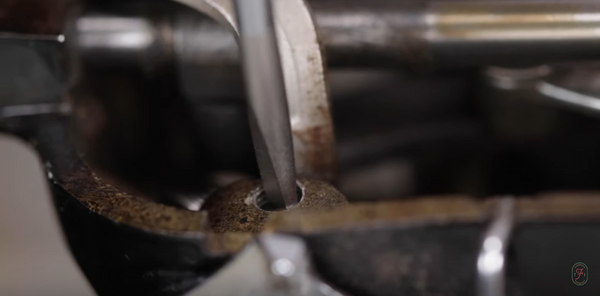
Located behind the faceplate, the set screw is recessed in the front area of the mold of the machine as shown in the photo below.
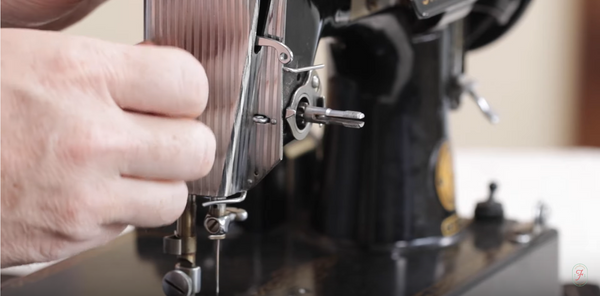
To loosen the screw, it is imperative to use a properly-sized screwdriver. We suggest using the Wera Mid-length Maintenance Screwdriver, which has the proper length as well as the right width so as not to damage any part of the screw or shaft.
While completing this task, stand the machine on end with the handwheel side down, so that when the screwdriver is recessed in the hole, sufficient downward pressure can be achieved to turn and loosen the screw.
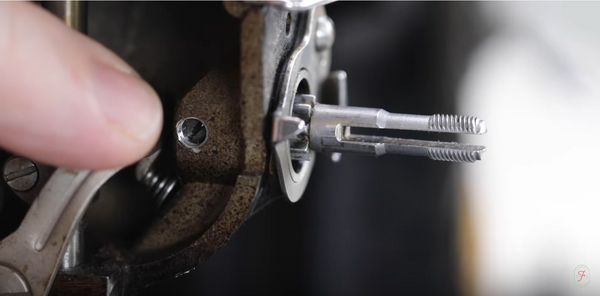
Only loosen the screw a couple of turns; removing it is not necessary. Once the set screw is loose, the Tension Unit Post should pull right out, but if it does not, continue reading for further instruction and troubleshooting.
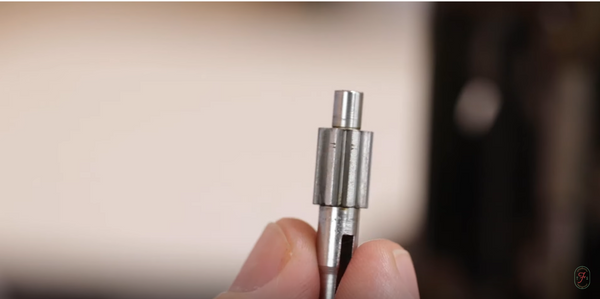
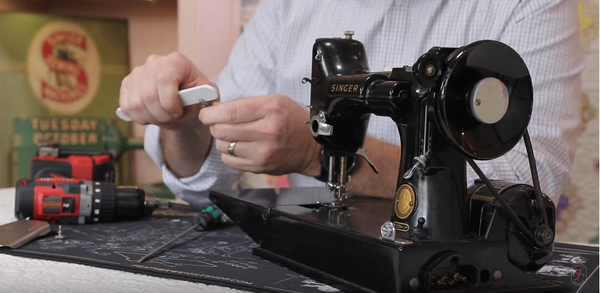
Tension Unit Stud removed from a Singer Featherweight machine.
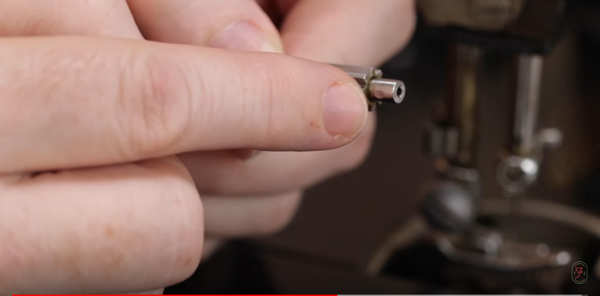
The tension unit stud can be difficult to remove because the set screw has been pressed up against the base of the tension unit stud for years or even decades. This pressure causes an indentation at the end of the post, making it very difficult to pull out of the machine.
An ordinary household drill will help to overcome the additional resistance caused by this indention. First, make sure all pieces of the Featherweight tension unit are removed. (Watch this tutorial here for how to disassemble and reassemble the tension unit.) Then, using the drill, place the drill chuck onto the stud and tighten it down.
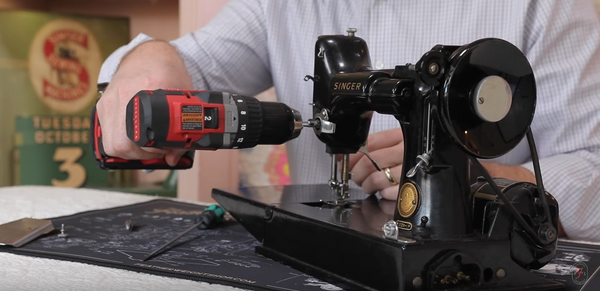
Begin running the drill slowly, while gently pulling out and and the stud will come come loose from the machine!

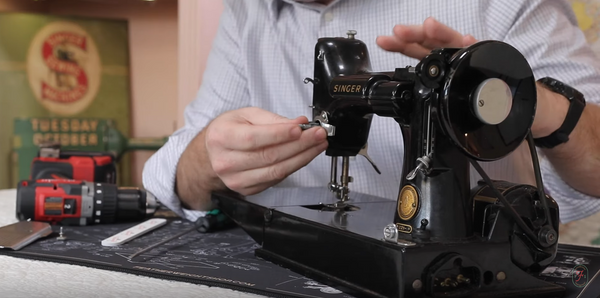
When replacing the tension unit post, make sure to use a vintage original part to ensure correct thread pitch for the thumb nut.

If reusing the same tension unit post, before re-inserting it, sand down the little divot on the side of the post by using sandpaper, or even a nail file. The Featherweight Shop Nail File works perfectly!
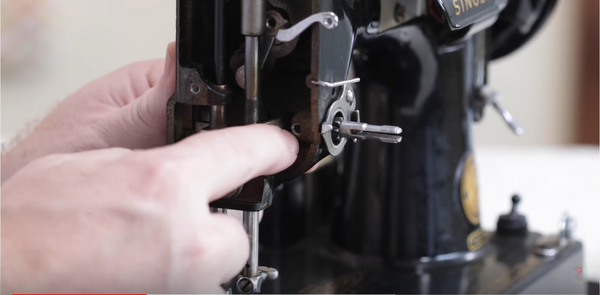
Once the divot is smooth, slide the tension unit stud back onto the machine.
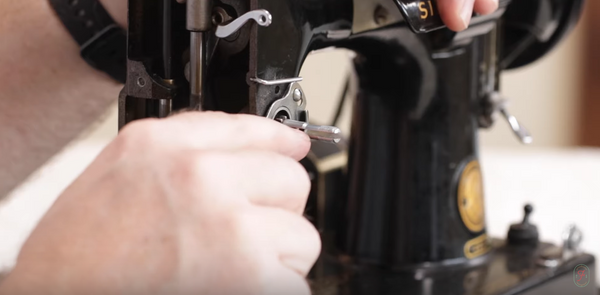
Make sure the slot in the tension unit stud is horizontal, then tighten down the stud with the set screw.

Lastly, reassemble the Tension Unit following the Tension Unit Disassembly & Reassembly Instructions here.
Products We Used & Mention In This Tutorial:
1. Set Screw
3. Tension Unit
4. Wera Mid-length Screwdriver
5. Striated Singer Featherweight Faceplate
6. Featherweight Shop Nail File