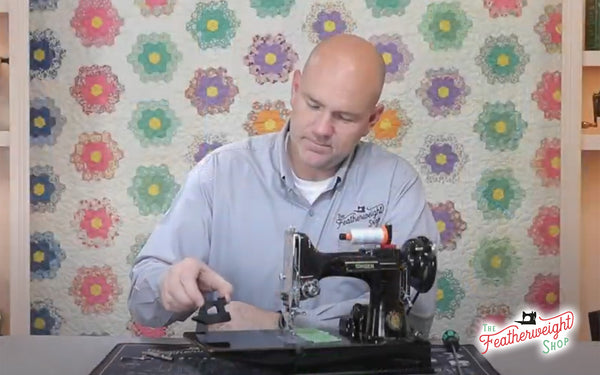
Presser Foot Height Adjustment and Alignment
Is the presser foot misaligned? Is the fabric swimming or wandering under the presser foot? Are their skipped stitches when sewing over thick seams? Then this tutorial will help with troubleshooting these common problems.
In a previous tutorial we showed how to properly adjust the actual pressure on the presser foot. Today we will discuss the proper height and position of the presser foot and how to set it accurately.
Parts Discussed:
- Presser Foot
- Faceplate Screw
- Faceplate
- Presser Bar
- Presser Bar Clamp & Screw
- Pressure Knob
- Singer 221 Feed Dogs
- Throat Plate
- Presser Foot Gauge
The pressure on the presser foot as well as its height and position are important to proper stitch formation. When the presser foot is lowered and compressed on the fabric, a balanced pressure to hold and feed the fabric is required. This pressure can vary, depending on the type or thickness of fabric layers. The previous tutorial illustrated how to add more pressure to the foot, but if the foot is not at the right height to begin with, adding pressure will not help.

NOTE: Setting the presser foot height and alignment is best accomplished using the vintage original presser foot that came with your Singer Featherweight 221 or 222. It must not be bent or twisted in any direction so that it sits evenly on fabric. If you do not have an original presser foot, a new replica presser foot will work as well.
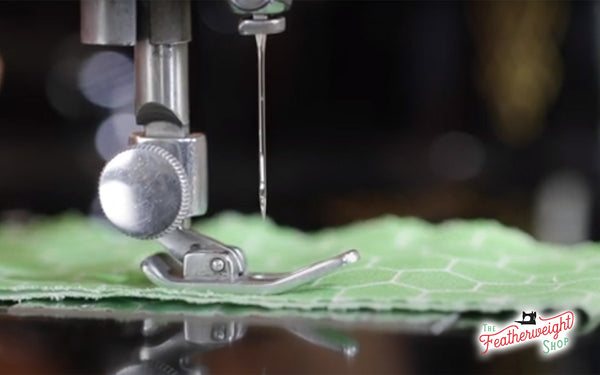
If the presser foot is set properly, the space between the underside of the presser foot and the throat plate will be 5/16 of an inch when the presser foot is raised.
If the presser foot is set too high, it will not have enough compression, inhibiting complete contact with the fabric.
This causes stitches to wander or skip and feels like the fabric is "swimming".
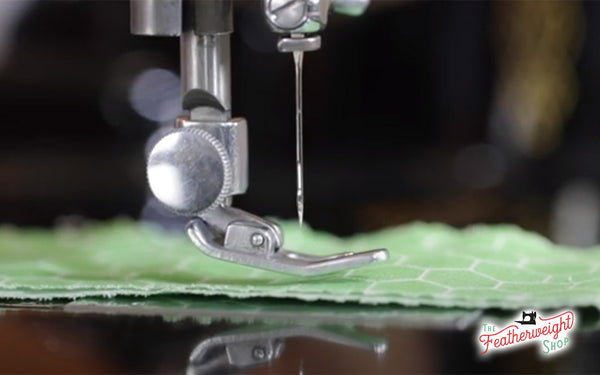
If the presser foot is set too low, this causes too much compression. The fabric will pucker and pull, preventing the fabric from feeding easily and forming an accurate stitch length.
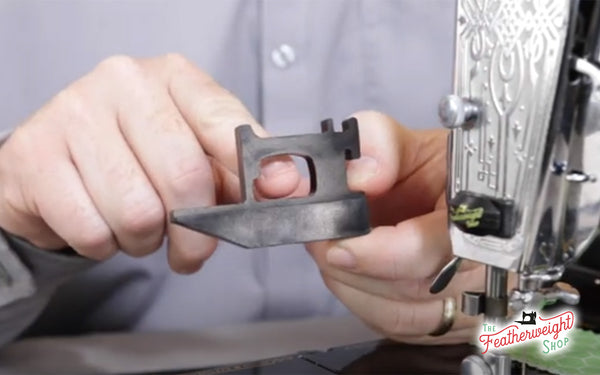
Adjusting the presser foot height is not a difficult task, but obtaining the exact 5/16 height measurement, aligning and centering the presser foot as well as allowing needle clearance (all at the same time) takes mechanical strategy. Here at The Featherweight Shop, we are always thinking of ways to help the Featherweight community accomplish maintenance adjustments simply and without the downtime of taking the machine in to a repair shop. Therefore, for this type of adjustment, we have manufactured a Presser Foot Gauge that accomplishes all three alignment tasks. And, in true Featherweight fashion, we designed it to look like a little Singer Featherweight.


The Presser Foot Gauge has a precise 5/16" thickness, a raised guide along the side for the presser foot alignment, and a hole for the needle to pass through while making adjustments simultaneously.
Here's how to set the height and alignment of the presser foot:
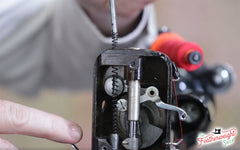
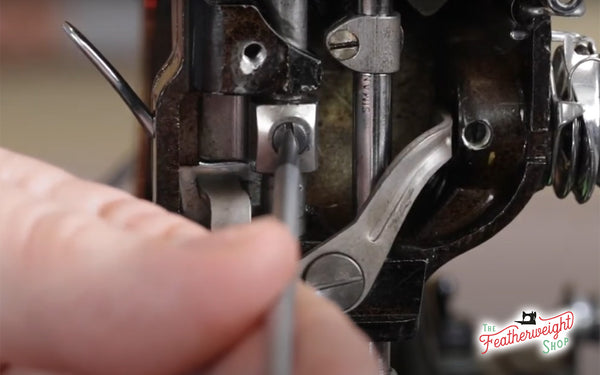
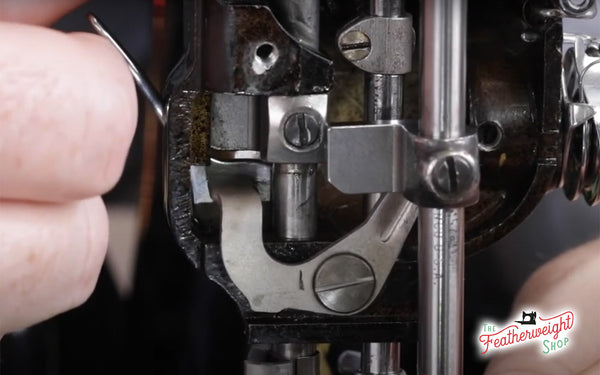
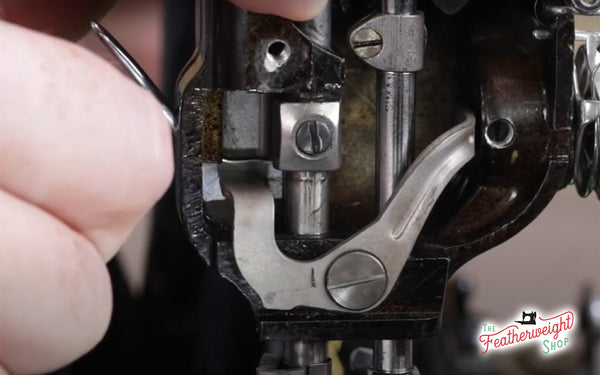
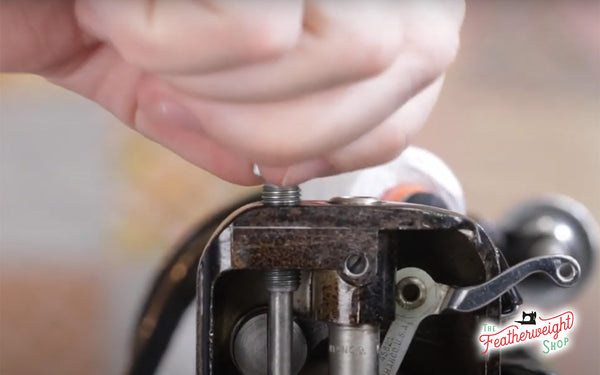
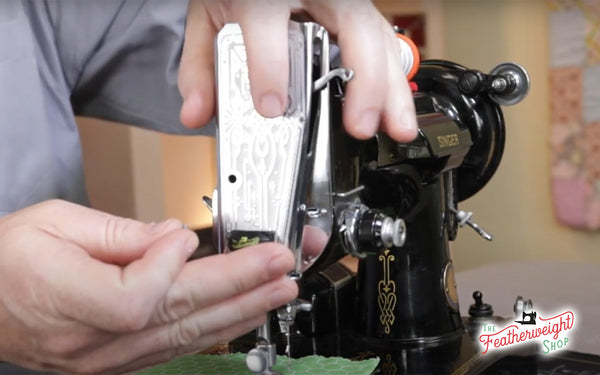
- First, remove the faceplate and the presser foot pressure knob.
This will take the pressure off the foot.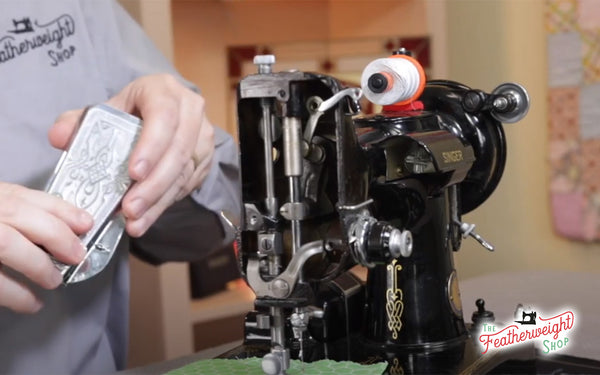
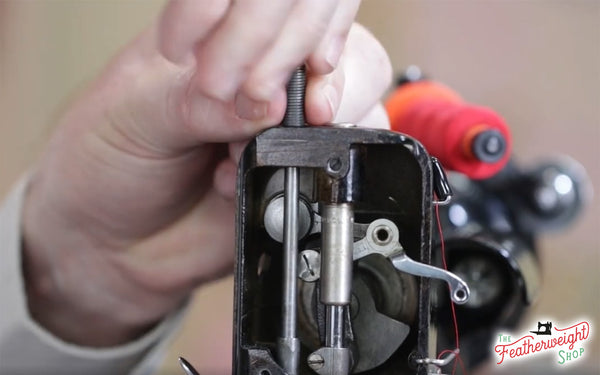
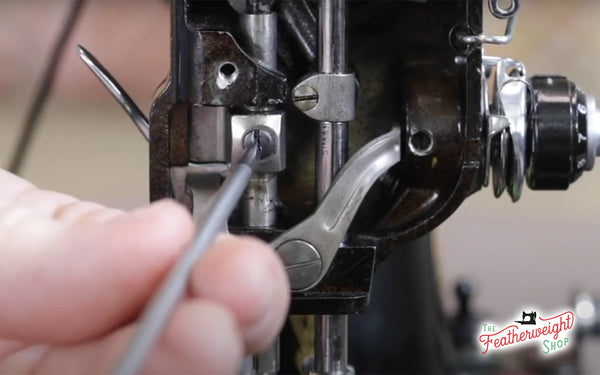
- Put a drop of oil on the presser bar and clamp so that adjustments will be easier to maneuver.
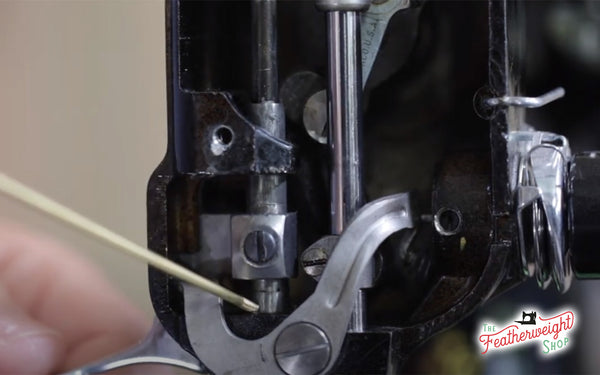
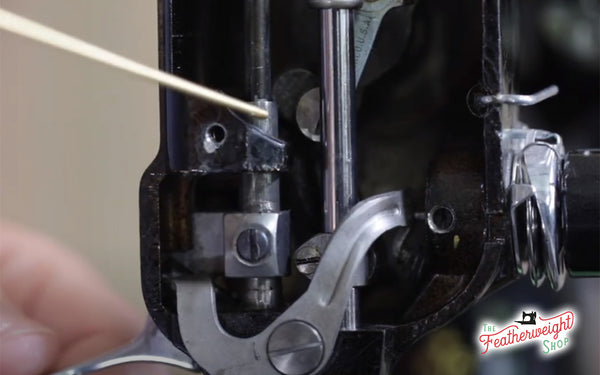
- Lift the presser foot and raise the needle. While the needle is on the up-stroke, stop it just above the presser foot. This will assure that the feed dogs are down and the Presser Foot Gauge can sit flush with the throat plate.
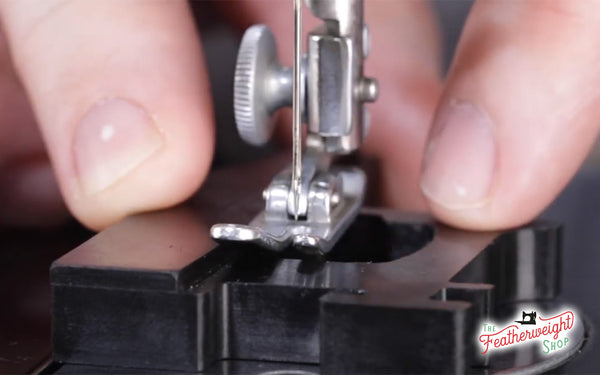
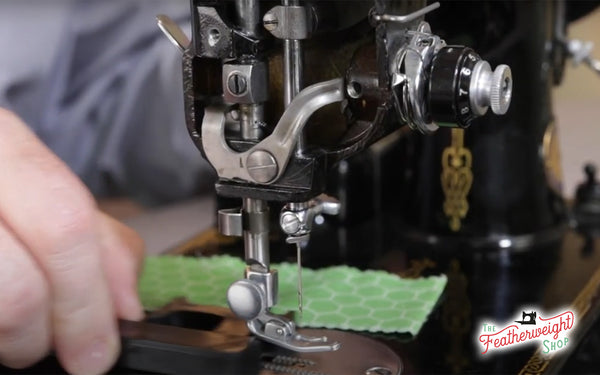
- Loosen the clamp screw and slide the Presser Foot Gauge so that its raised edge rests against the left side of the standard original presser foot. Position the foot over the gauge so that the foot can firmly rest upon it and at a point where the needle can pass through the gauge opening.
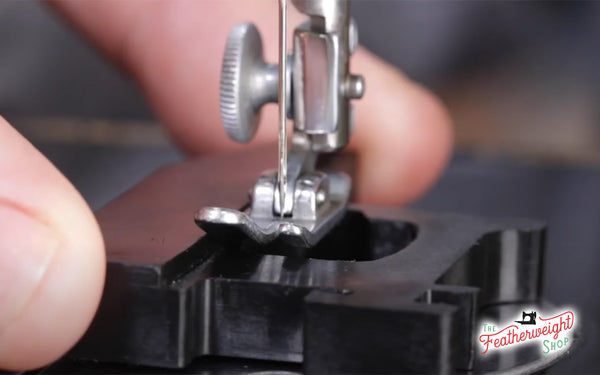
The lower surface of the Presser Foot Gauge has been machined to be precisely 5/16 inch thick. The higher raised surface is used as a ledge to keep the presser foot steady for the alignment process.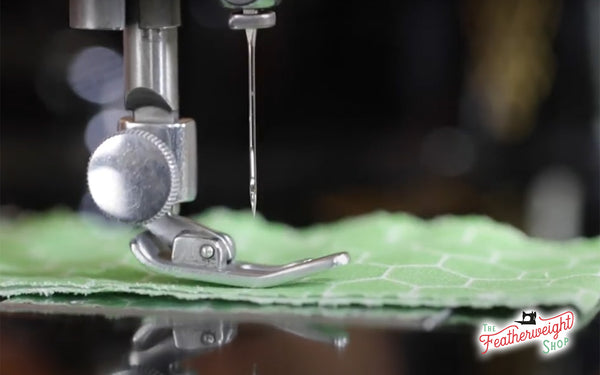
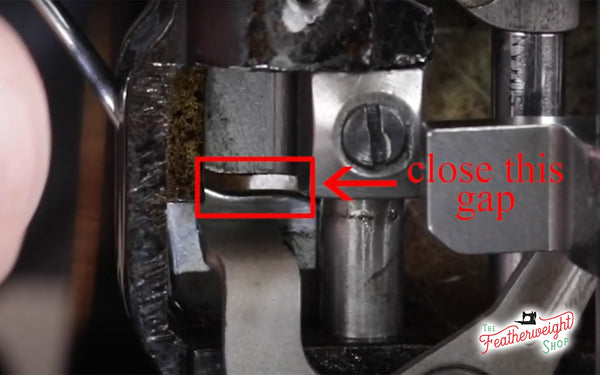
- If there is space between the gauge and the foot then the foot will need lowered. If the foot is too low, it will need raised enough to slide the gauge under the foot and into position.
- With the clamp screw loose, press the foot down against the gauge. Also, the presser bar clamp needs to rest firmly against the presser bar lifter.
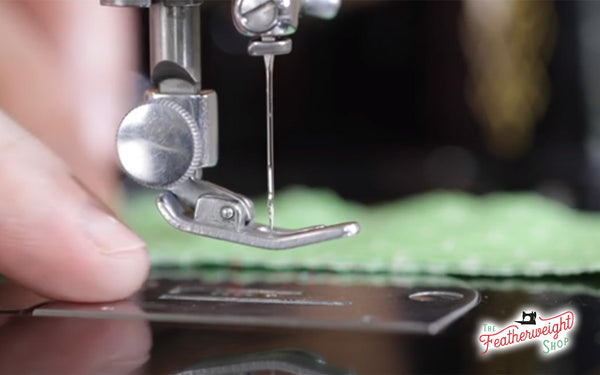
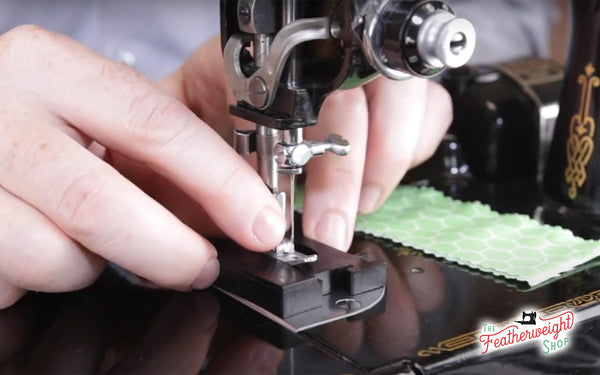
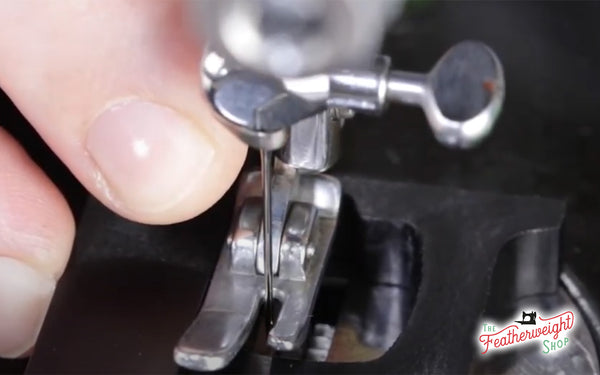
- Align the foot so that the needle passes through the center of the two toes of the presser foot. Firmly pressing the raised edge of the gauge up against the left side of the presser foot allows the foot to be held steady. We milled the edge of our new Presser Foot Gauge to help with this third adjustment.
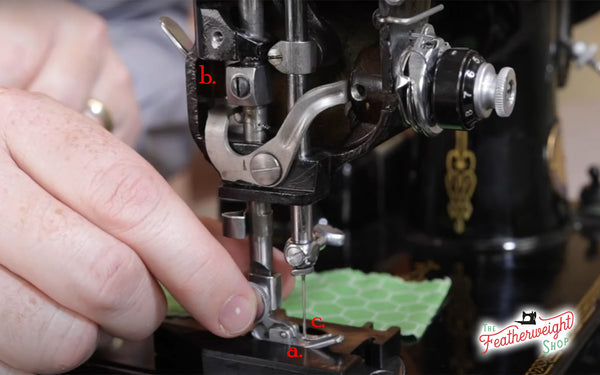
- Before removing the Presser Foot Gauge and tightening the clamp screw, a.) make sure the presser foot is firmly down on the gauge, b.) the presser bar clamp is still firmly against the lifter bar and c.) check that your needle is centered between the presser foot toes.
- Tighten the clamp screw.
- Raise the needle and remove the Presser Foot Gauge.
- Replace the pressure knob and screw it down until approximately three threads are showing on the screw.
- Replace the faceplate and you are ready to sew.


Congratulations! You've successfully adjusted both the height and alignment of the Singer Featherweight presser foot! If you have any questions, feel free to contact us here.