
Presser Foot Pressure Adjustment
Today we are going to be addressing the presser foot pressure, or downward force on the presser foot.
Parts Discussed:
- Presser Foot
- Presser Bar
- Presser Bar Spring
- Presser Bar & Spring (for white Featherweights only)
- Pressure Knob
- Singer 221 Feed Dogs
- Throat Plate
- Hook Assembly
- Featherweight Schematic Servicing Mat
First, let’s talk about why the downward force on presser foot matters. When the presser foot is lowered and compressing the fabric, it needs a certain amount of pressure on it to both feed the fabric and assure that the thickness of the fabric is not stopping a stitch from forming.
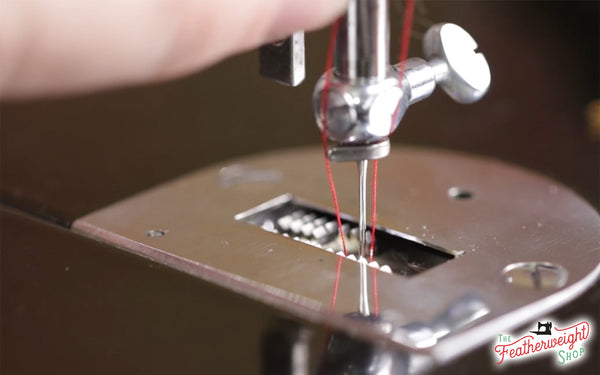
The demo throat plate in the photo above has the feed dog area cut out to illustrate what is actually happening with the stitch formation. Imagine a piece of fabric under the presser foot. When the needle is lowered through the fabric, and reaches its lowest point, the thread is tight along side the needle. Yet, when the needle starts to rise, the thread relaxes and the a loop is formed in the thread.
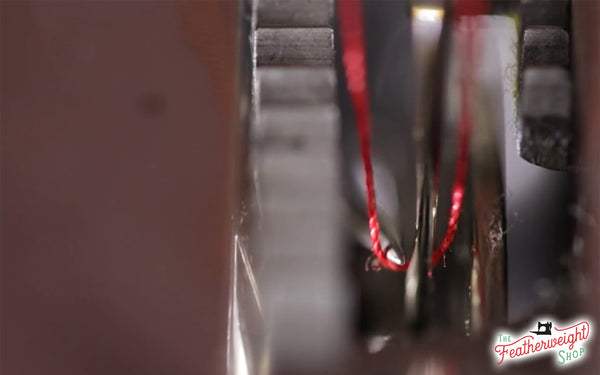
The point of the hook then goes through that loop and this is the beginning of how a stitch is made. If there is not enough slack in the loop, the hook will miss it and no stitch will be formed. This is often called a "skipped stitch".
Relevant Video Tutorial: Troubleshooting Stitch Formation
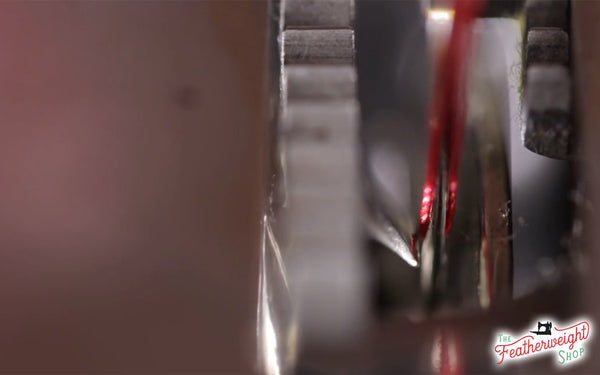
If there are multiple layers of fabric this causes further resistance on the thread. So, instead of the thread relaxing and forming a loop, the multiple layers of fabric
will keep the thread tight and no loop will form. Again, a skipped stitch will result. Therefore, really thick seams, heavy duty fabrics or even multiple layers of fabric and batting sometimes require more downward pressure on the presser foot. Extra pressure reduces the resistance on the thread so that a properly relaxed loop can form for the hook to pass through.
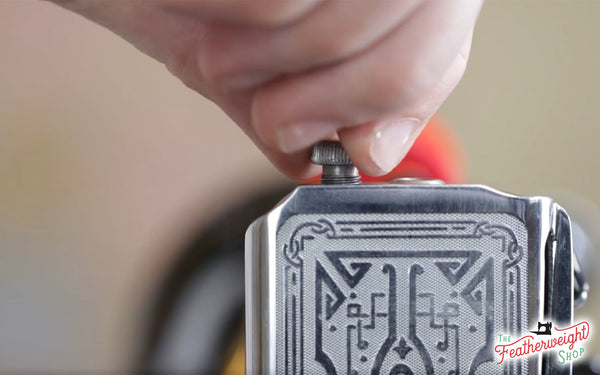
To add more pressure or downward force on the presser foot (so as to compress the fabric layers), turn the pressure knob on the top of the machine clock-wise.
This will compress an internal spring adding more pressure on the foot!

On the other hand, if sewing with very delicate material, like fine silk, the pressure will need reduced to prevent the feed dogs from biting and making marks in the fibers. Turning the knob counter-clockwise will relax the spring and reduce the pressure on the presser foot and ultimately the fabric.
TROUBLESHOOTING:
What if the pressure knob is screwed all the way down and no more pressure can be added?
There are two possibilities and remedies, but today we will address the first and simplest. (Stay tuned for next week's tutorial for the follow-up video tutorial.)
- The spring has been compressed for so long, it no longer provides enough resistance
- The presser foot is set at the wrong height.
(Part 2 of this tutorial will feature next week, but you can follow the Service Manual on page 6 in the meantime.)
To increase the resistance and restore the spring to be functioning properly again, follow the video tutorial above or the step-by-step photos below.

It is important to know that this procedure only applies to black or tan featherweights. The presser bar and spring set in white Featherweights is slightly different and cannot be successfully stretched. If the spring is not functioning on the presser bar properly on a white Featherweight, it will just need replaced.
When the machine is stored for decades with the presser foot raised, this causes the internal spring to be compressed over time and the spring will no longer provide proper resistance. To remedy this, the spring simply needs stretched.
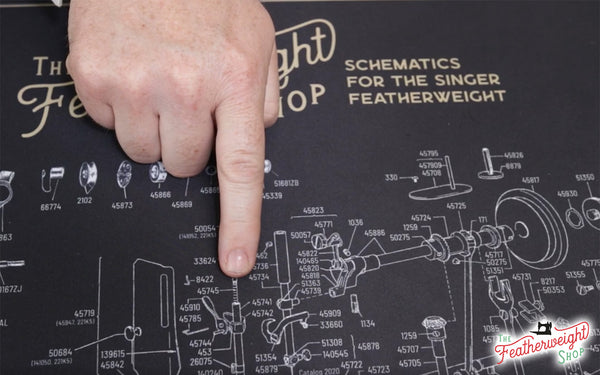
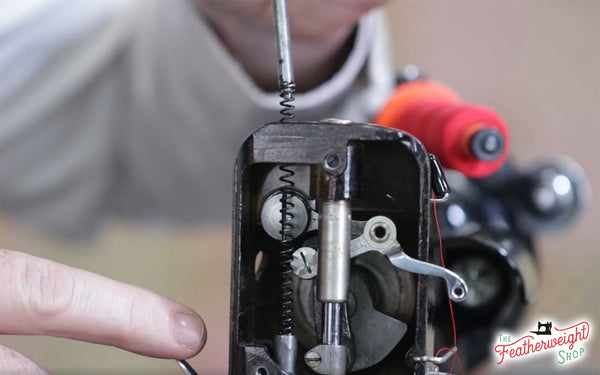
On the Featherweight Shop servicing mat, the spring is visible as part number 45745.
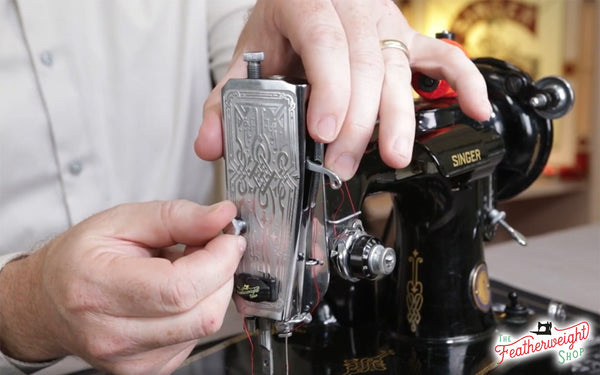
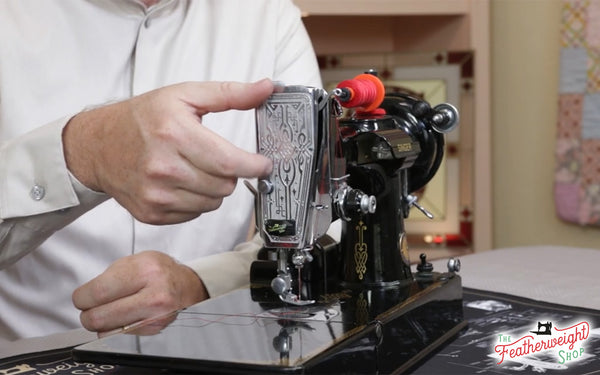
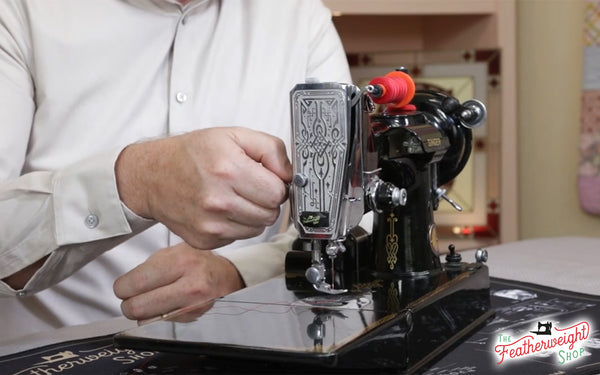
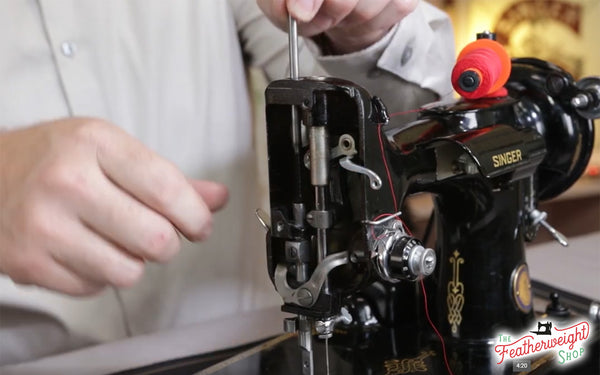
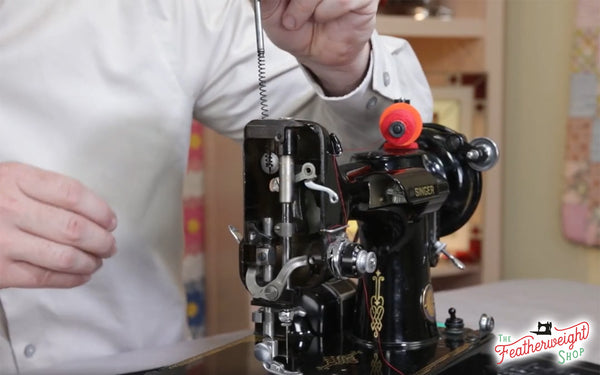
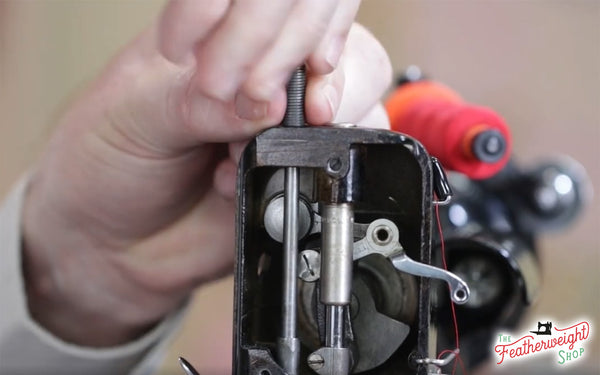
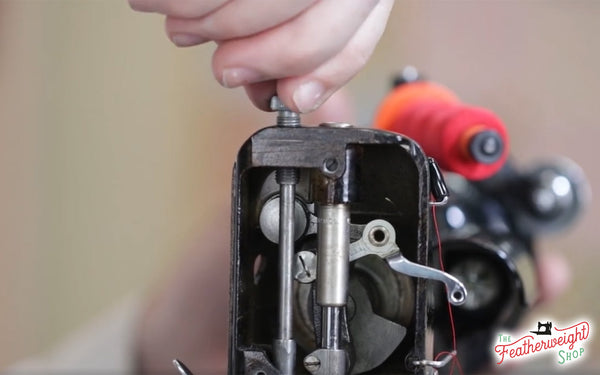
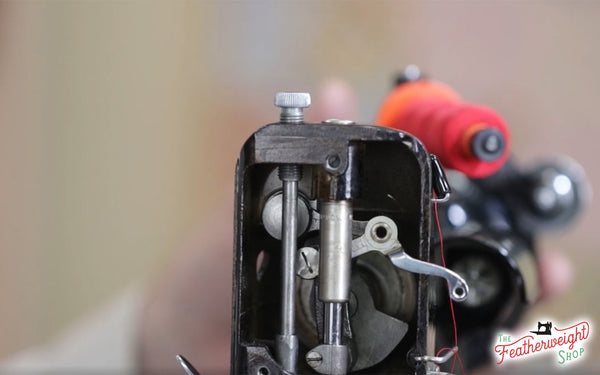
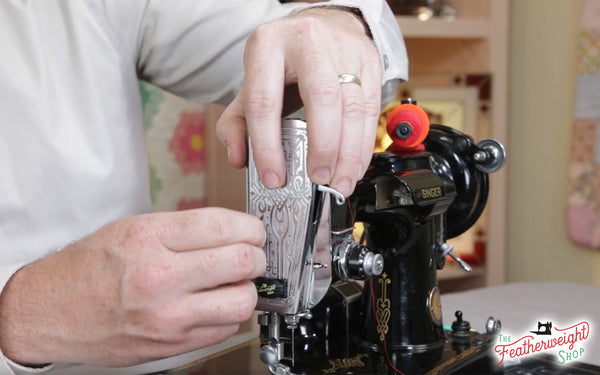
To access the presser bar spring, first remove the faceplate held on by the faceplate thumb screw.
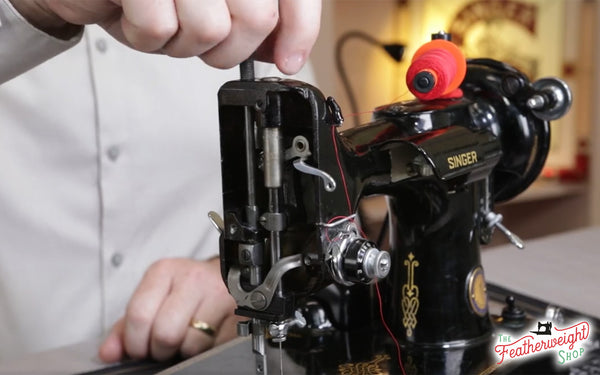
Then, unscrew the pressure knob completely from the featherweight and pull out the internal bar and spring.
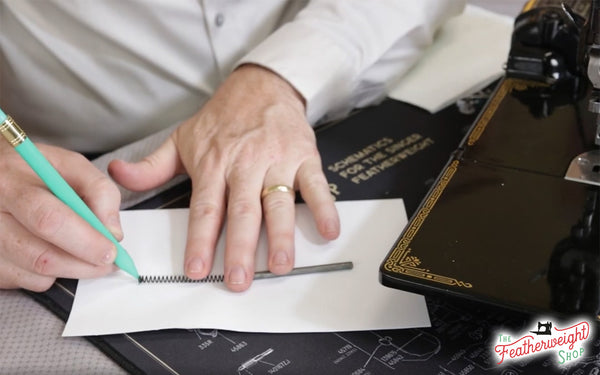
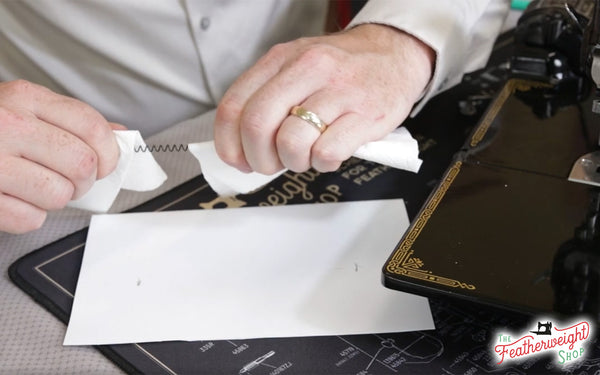
Put the spring and bar on a white piece of paper, and mark both ends with a pencil.
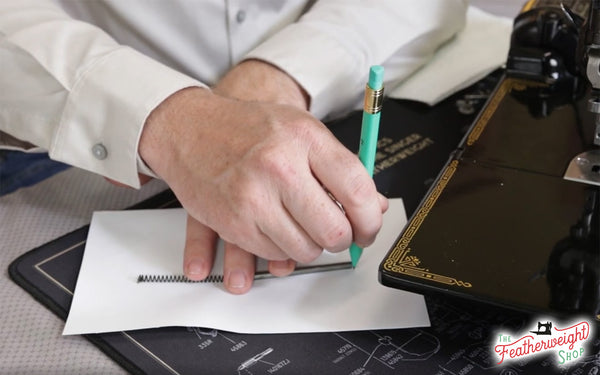
The spring is pretty firm and so it is recommended to wear gloves or grip it well with a paper towel. Give it a firm tug until it is stretched just a bit - about a quarter to a half-inch.
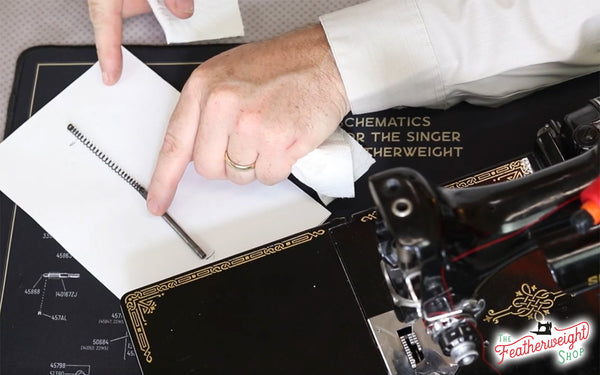
Once the spring is stretched satisfactorily, return it the presser bar. Screw the presser knob back down until approximately three (3) threads are showing on the screw, just above the machine.
With the spring stretched, the presser foot will now have a sufficient amount of downward pressure to sew through fabric layers again!
If you have any questions, feel free to contact us anytime.