

Singer Featherweight
Schoolhouse
Categories
Part 3 of 3 - Featherweight Light Wiring, Troubleshooting a Flickering Light
Featherweight Light Wiring Tutorial Series - Part 3 of 3 In Part 2 of the Light Wiring Series, we examined the light wires and followed a step-by-step process for repair. Today, in our final installment of the Light Wiring Series, we will discuss the causes as well as how to...
Read More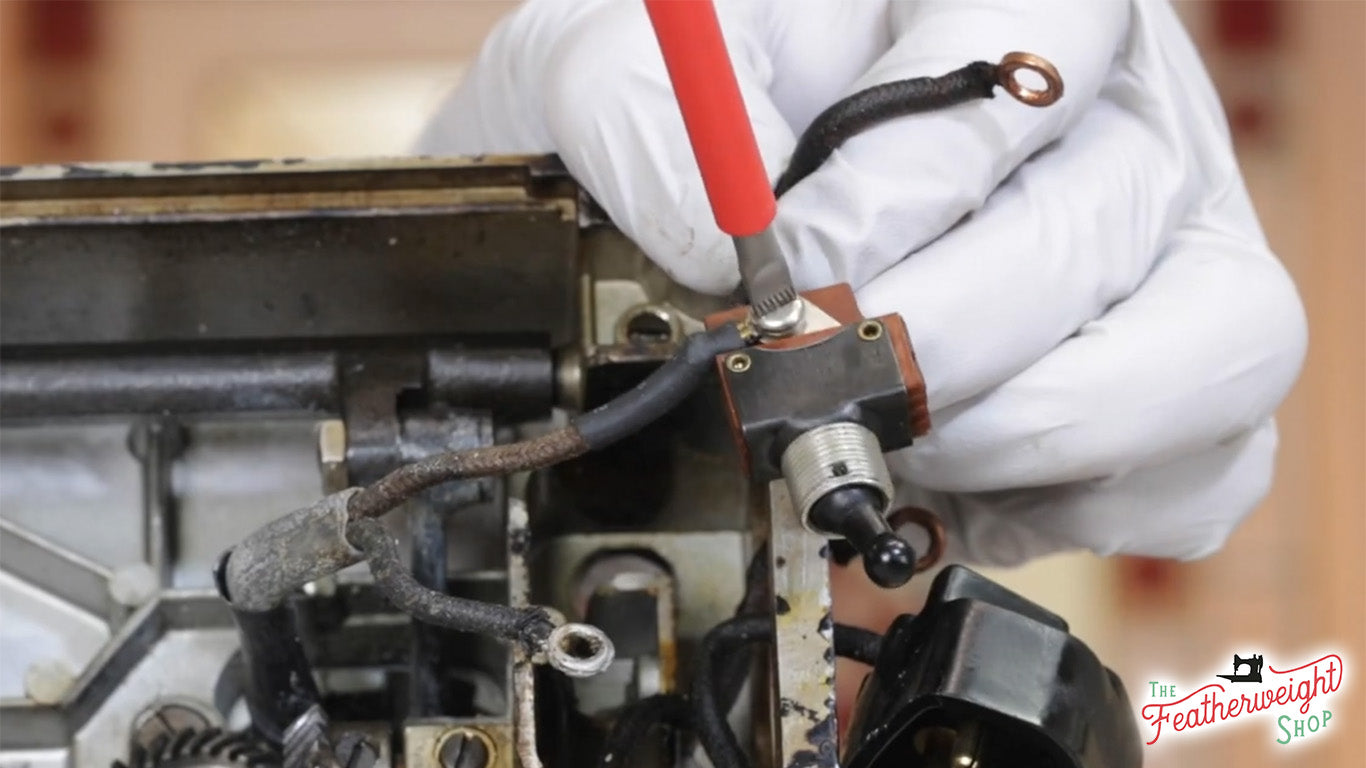
Part 2 of 3 - Featherweight Light Wiring Troubleshooting & Repair
Featherweight Light Wiring Tutorial Series - Part 2 In Part 1 of the Light Wiring Series, we did a basic cleaning of the light wiring lead sheath underneath the machine, which helps to remove some of the exposed oxidation residue that can build up over a long period of time. Reme...
Read More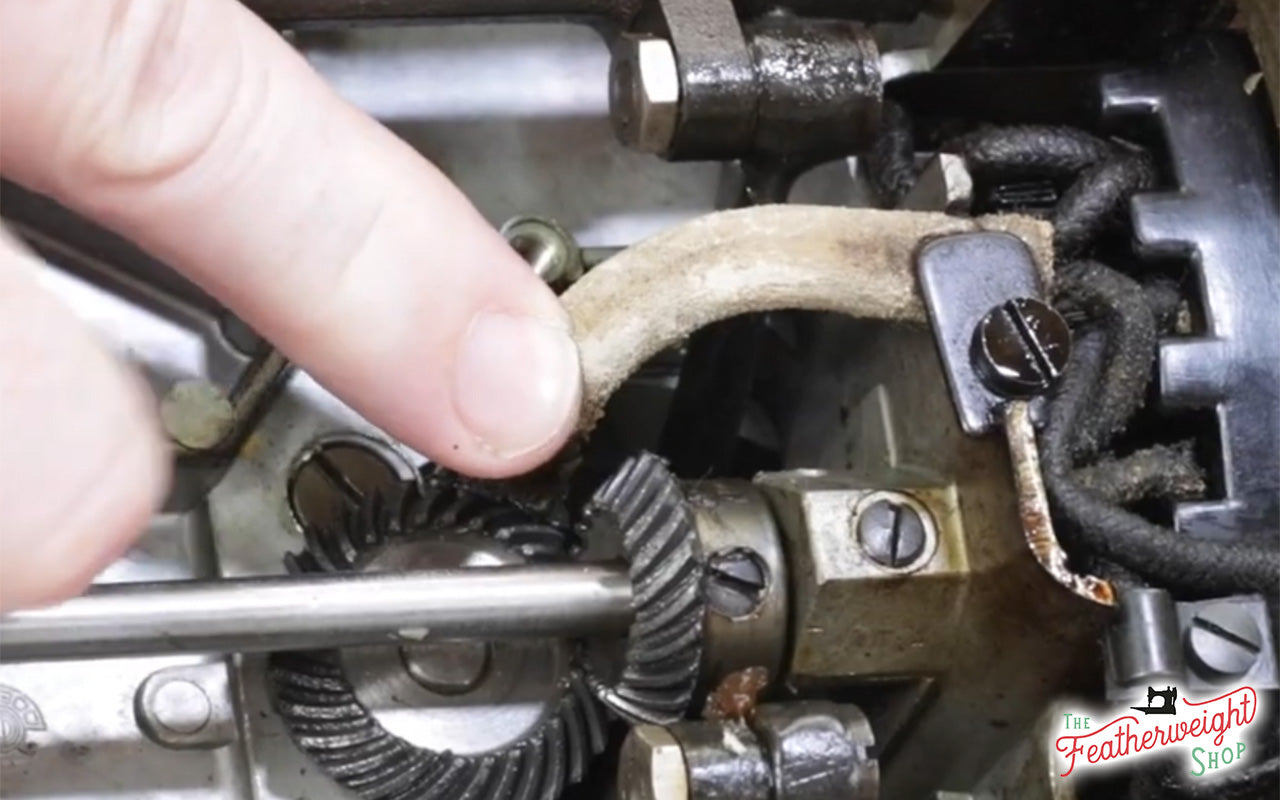
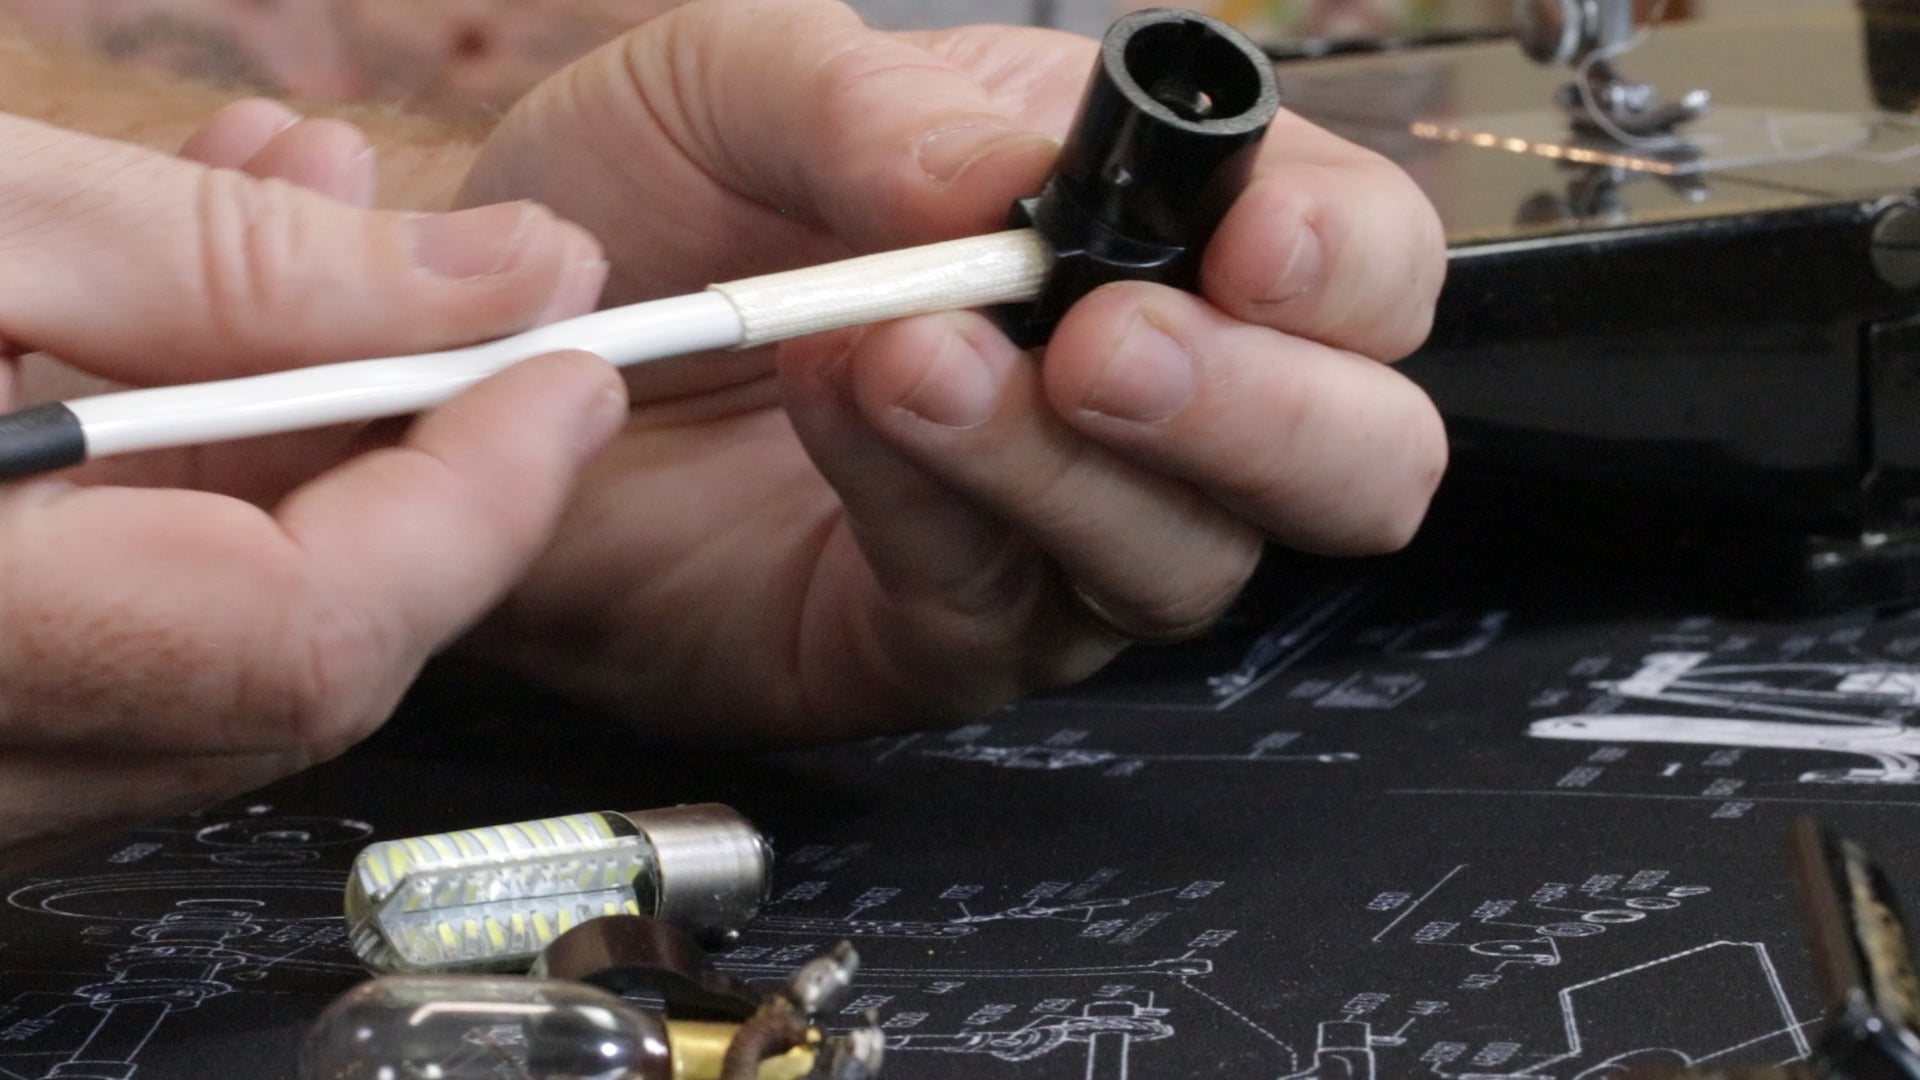
Part 1 of 3 - Featherweight 221 Light Wiring Series
Part 1: A Tutorial on Cleaning the Lead Sheath on a Singer Featherweight 221. Products & Tools Referenced: Light Socket with Sheath Wera Safety Screwdriver (also available in the Set of 4) Gear Cleaning Brush Low Odor Kerosene and Long-Spouted Bottle Sew Retro Grease Small Terry-Clo...
Read More