Sew Along: BLOCK 1 Sewing North to Alaska by Featherweight
We are officially setting sail on our Alaska Quilt Sew Along today! Four of us in the shop each picked out our color choice, have you selected yours yet? If not, click the images below and grab your quilt kit in Blue or Holiday, while supplies last. And, BONUS! All the fabric pieces are pre-cut by laser - perfect and beautiful. Pieces don't fray, they're uniform and we can sew right away!


Order an Alaska Quilt Kit in your color preference (Blue or Holiday) and join us!
The majority of the sew along photos will be shown using the Holiday Kit as the example, because we thought the "Holiday" Alaska Quilt Kit colors of pink, ivory, maroon, and olive green were not so Christmas-y after all, and could easily be coordinated with living room decor. It will make a beautiful year-round quilt for cozy display! That being said, you will see a sprinkling of the Blue blocks being sewn as well, because Tammy chose that one to sew for this sew along.
Each block is essentially made four times (with one block exception) with varying changes in fabric placement, so please feel free to work ahead if you want to construct all the same style blocks, all in one chain-piece sitting. I will caution you, however. All four of us who were sewing this quilt erred in missing our fabric color placement at one point in time or another. (The Alex Anderson wooden seam ripper 4-in-1 tool was our best friend on multiple occasions!) Learn from our mistakes, though, and note that it is very easy to swap placement, prints, and orientation and these blocks can be quite the brain game! With this quilt being dependent upon all of these things for design accuracy, it is important to scrutinize your block construction extensively. If you have a friend sewing along with you, be block-checking buddies! Or ask your husband, friend, or neighbor to be a second set of eyes. We loved it when one of us saved the other from any "un-sewing". LET'S BEGIN!
BLOCK 1
Helpful Notions for Sewing these blocks:
- Aurifil 50wt thread - Dove Grey or Light Sand works perfectly to blend with all fabric colors.
- Glass Head Ultra Fine Pins
- Sewline Pencil
- Alex Anderson's Wooden 4-in-1 sewing tool
Additional Tools We Use:
- Sue Daley 16-inch Round Rotating Cutting Mat
- Rotary Cutter
- Scissors for trimming and snipping threads
- Seam Square
- Seam Guide (or Quarter Inch Foot of Choice)
- Quick Press Seam Roller
- Portable Iron
- Pressing Fleece (Wool or Alpaca)
- Template Set (Acrylic) for Alaska Quilt (optional - only necessary if cutting from your own fabrics)
For this first block, you will notice that we are working with a kaleidoscope style center arrangement using eight triangles, all the same size, and four small corner triangles.

The arrows on Edyta's pattern will show you how the pieces are sewn together and the direction with which the seams are pressed. Following the pressing guidelines will be helpful for nesting seams, matching points and easier block assembly. Remember, the larger triangle seams will all be pressed in the same direction, all the way around the block...like a kaleidoscope or merry-go-round!

The video below is about 27 minutes long and addresses sewing all the block styles for the entire quilt. For Block 1, however, and working with the precut laser-cut pieces, you will only need to watch it from timestamps 4:34 through 15:05. Scrolling below the video, you can also follow along with some additional sewing tips on aiming for accuracy.

Step 1: Sew pieces D (small corner triangle) to pieces C. You can mark them according to Edyta's instruction using the little plastic templates included with the kit.


Chain-piecing is a great technique for working through the block sets.

Make sure to align the center points precisely.

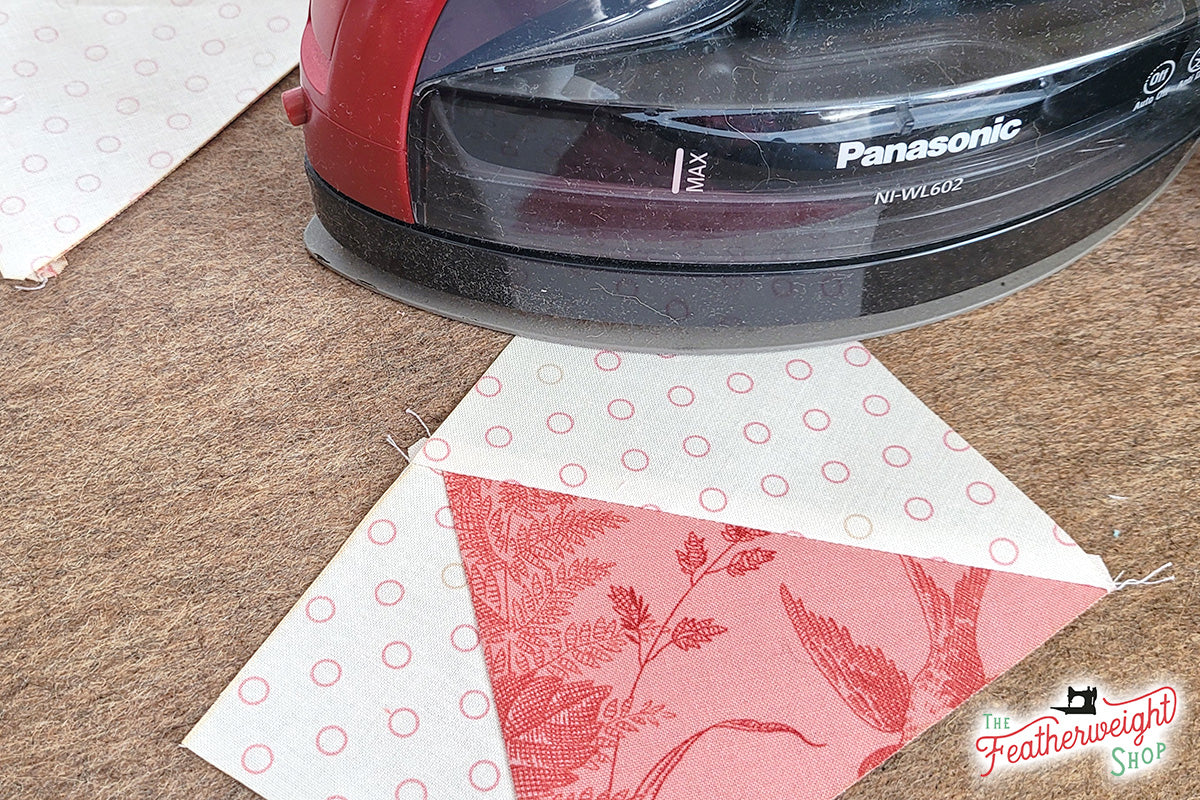
Press, following the arrows in the pattern instruction for Block 1.


Following the pressing guideline arrows allows for this nicely nested seam. See how the two sections will join together with the seams facing opposite directions? Pressing the large triangle seams all the same direction, as Edyta instructs, allows for the seams to nest when sewn together like this.

Nested seams perfectly aligned.

Finally, sewing the last two units together to form the block. Again, the seams will nest if the larger triangles are pressed all in the same direction.
PRO TIP: To achieve flat centers where all the points come together, use a seam ripper to take out just the few stitches and little bits of thread that extend in the seam allowance. Being a Kaleidoscope block, you will need to take out both the angled and vertical stitches on both sides of the seam allowance. This will open up the seam and allow them to be pressed open and the block to lay flat.

Remove only the few diagonal stitches...

... and the few vertical stitches on both sides of the seam allowance.


Jamie (right) assisting Tammy (left) with her block layout.


Wendy is sewing the Alaska Holiday as well.


Wendy likes the Open Toe Quarter Inch Foot.


Voila! Four Blocks of Block 1 finished! We will see you next time on May 12th, 2021 for Block 2.

