Sew-In at Home: Thread Jams, Skipped Stitches, and Completed Blocks!
Sew-In Family: Nathan (11), Sayley (8), Mom (Ashley, The Featherweight Shop Marketing Director)
Supplies:
Cinnaberry by 3 Sisters for Moda Fabric
Pattern, Miss Rosies Quilt Co. Cake Mix Recipe #4
Featherweight Accurate Seam Guide
Wera Maintenance Screwdriver Set
Sew-Retro Grease and Lubricant
Toothbrush
Kerosene (to clean gears)
Old rags
*Wishlist for today's project!
Thread-o-stat
As with all projects, running into a snag, or thread jam, is to be expected! As we worked through our project in today's Sew-In, Sayley and I ran into quite the thread jam! At first, we could not quite figure out what was going on. All of a sudden, it clicked that we had an issue with our thread and bobbin - oh no! Time to have a maintenance day! I needed to call in reinforcements for this part, since neither of us are mechanically inclined, and that little screw on the hook assembly is quite delicate.


Those thread jams are nasty little things to come across while sewing! Luckily, we were able to troubleshoot the problem while looking on the article: Is Your Machine Jammed? Thinking that the issue may be a thread caught behind the bobbin case base and possibly the hook assembly. Time to disassemble and see what little threads await us!

First, we cleaned up the thread fibers surrounding the hook assembly area with the clean toothbrush. Allowing us a "fresh" work area. I used a clean toothbrush for this. It worked great to get in those little nooks and crannies. I have my tooth brushes color coded for where I use them on Gemma (for example: one is only used with Sew-Retro Grease, one is only used for dusting out lint like this, etc...)

Sayley is removing the needle as well as the 1/4 inch walking foot.

Nathan is removing the throat plate.

Sayley is working on removing the bed extension, although she needs a bit of help!


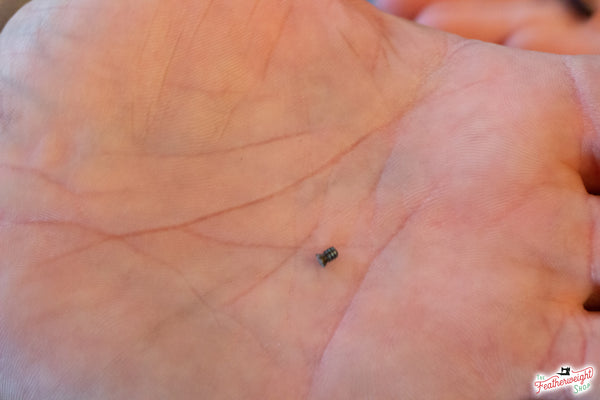
Wow! That sure is tiny!

Now that the screw is out of the hook assembly, the gib hook is free to move.

Sayley is gently removing the bobbin case base, and no thread was found! Good to know that we have a clean machine, but I wonder what the issue could be?

Always time for fun and games when this little girl is around!

Time for reassembly!

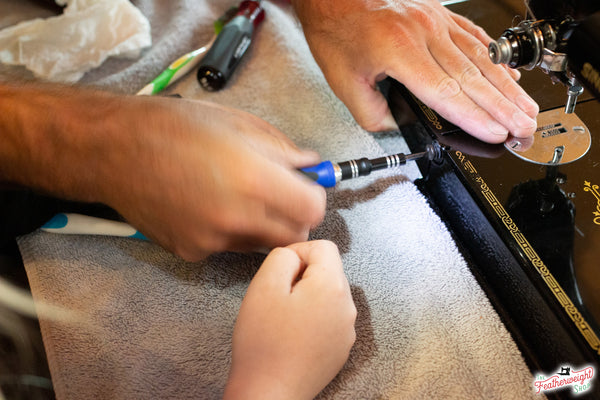
We decided to give Gemma a nice routine service while we were in the "maintenance" mood! So out comes the Sew-Retro Grease and on to the routine maintenance! Sometimes, a nice scrub and grease really does wonders!
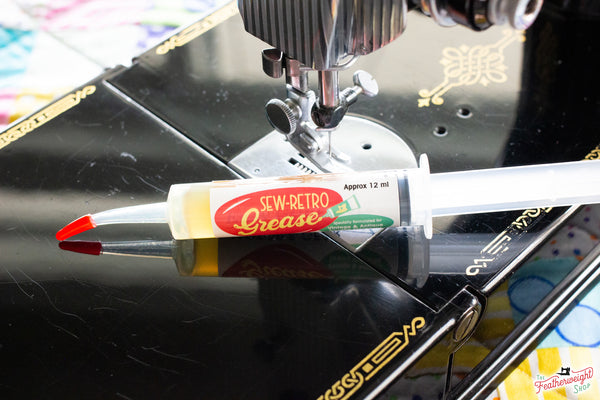
Before getting started with our Sew-Retro Grease, I quickly reviewed the "How to Clean and Lubricate Your Gears & Motor" in The Schoolhouse to make sure I was applying the grease appropriately.


Removing the Spool Pin Cover Plate.


Removing the Thumb Nut Screw located on the Large Drip Pan Metal Tray to access the gears under the Featherweight.

Gears ready to be cleaned and Sew-Retro applied. When I removed the tray, I found a little stow-away....

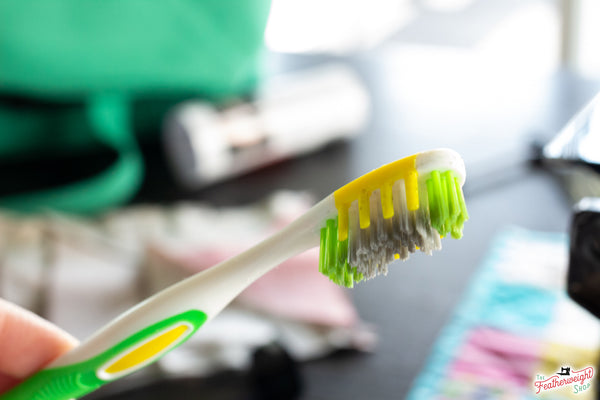
Not too dirty at all, but it sure was time for a cleaning!


After our initial inclination that the thread jam was located under the hook assembly, we were sad to find out that it was not the cause of the bunched up thread while sewing. We did learn quite a bit of new knowledge, so all was not lost on this venture. Back to the drawing board (a.k.a. - The Schoolhouse, to research other possible causes.)

(This is the correct position of the positioning finger when replacing the throat plate. When we replaced ours, the finger was turned to the left and rotated under the throat plate, moving freely.)

I think Gemma is happy to have had her tune-up!

Sayley picked block #3 from Miss Rosie's Quilt Company Cake Mix Recipe #4! Love the fabric choices, little one!

Sayley had all her squares picked out and laid out in place, then she pinned them together and started sewing!


Sewing her first row!

Sayley's attention to detail astounds me. Look at that beautiful point!

Her beautiful block is coming along! Way to go, honey!


Now that her rows were complete, Sayley sewed the rows together. She started by sewing the top two together and then the bottom two together.

After she finished her two halves, she sewed the final sections, all by herself! She did not want any assistance, but wanted to finish all on her own! This little one has such a strong will, it is beautiful!

How cute it this?! As Sayley puts it, this is her custom #3 block (since it did not turn out EXACTLY like the pattern!) She likes it even better! I think it is adorable, just like you, Sayely!
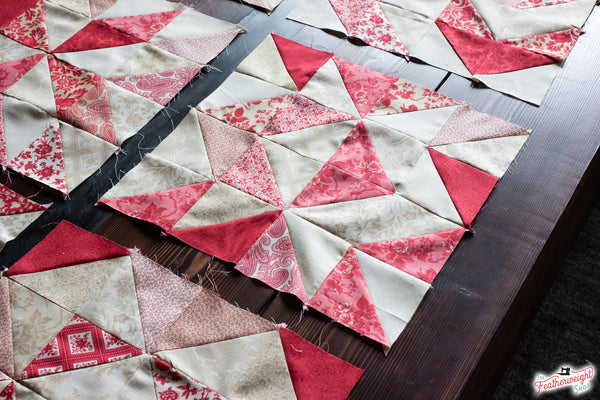
We placed it right in the middle of the rest of the blocks we had finished so far!

We made progress and hope to finish the blocks this month, and the quilt top in November! Hopefully, we will all be snuggled together by the tree and by the fire with our holiday quilt just in time for Christmas!

