
Threading a Singer Featherweight (Getting to Know Your Featherweight, Part 4)
Today, in part 4 of the Getting To Know Your Featherweight Series, you will learn how to thread a Singer Featherweight Sewing Machine from start to finish.
Suggested Products:
1) Crosswound Spool of thread: Aurifil or Presencia
2) Thread Stand or Thread Post
3) Schmetz Needles
4) Thread Cutterz or Thread Snips
5) Super Easy Machine Needle Threader
6) Singer Featherweight Instruction Manual 221 or 222
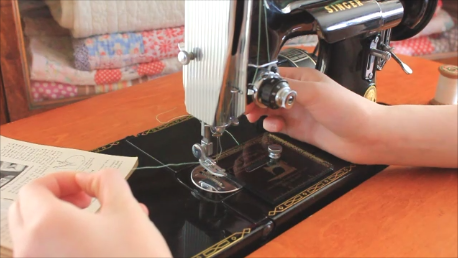
To begin, you will need to turn the handwheel (which is technically called a “balance wheel”) towards you until the thread take-up lever is at its highest position.

Turning the handwheel in the proper direction is something important to remember! You always, always, always want to turn the handwheel towards you and not away from you. Even if you are sewing in reverse, the handwheel will still be turned toward you – in the same direction and manner as in the video tutorial.
If you ever turn the handwheel away from you it causes the thread to catch incorrectly around the bobbin assembly and can result in a thread jam…. But not to worry if that happens accidentally, because there is a video tutorial (from the Featherweight Schoolhouse page) to help with removing the jammed thread.
Now you will need to determine what kind of thread spool you are using. Is it a stacked spool or a cross-wound spool?
- A stacked spool has thread that is wound round and round stacking the thread strands one on top of the other.

- A cross-wound spool has thread that wound on the spool in a crisscross pattern.

If you are using a stacked spool of thread then place the spool on the spool pin. Your thread will go directly from the spool to the first upper thread guide...
Like this:
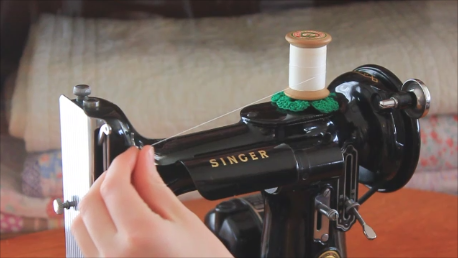
If using an Aurifil cross-wound spool then it helps to remove the bottom orange disk so the thread doesn’t get caught on the bottom and will unwind smoothly as it goes to the needle.


With a cross-wound spool then it is highly recommended that you use a Thread Stand or Thread Post that is designed specifically for the Featherweight. There is has an excellent video tutorial on the Featherweight Schoolhouse on the importance of using a Thread Stand.

Shop Thread Stand for Singer Featherweight 221 or 222 Here
Shop Thread Post for Vintage Singer Sewing Machines Here
Cross-wound spools require the thread to be lifted off the spool, versus pulled from the side (which causes a wobble of the spool). Bring the thread strand first to the stand’s upper guide then back down through the hole at the base of the shaft, then directly over to the first upper thread guide on the machine.
NEW, Updated Thread Path! Now your thread won't slip out of the Thread Stand guide whether you use it for a spool on the top of the machine or with a cone at the back! Simply thread the hole through the base of the shaft before going to the first thread guide on the machine.
Like this....


When using larger cones - you simply adjust the placement of the Thread Stand to accommodate front to back, which allows the thread to flow easily off of the cone from the table as shown below.

The remaining steps for threading the machine will be the same for all spool types.

Place your right hand on the thread to hold it taut for the next couple of steps…..
Using your left hand, grab the thread and bring it straight down and slip it between the tension disks.
Make sure it’s between the disks and not in front or behind them.
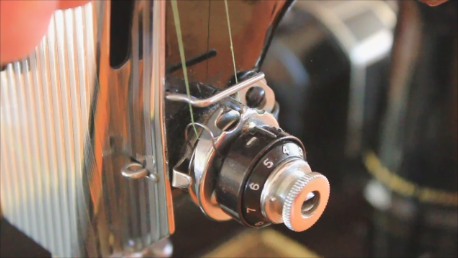
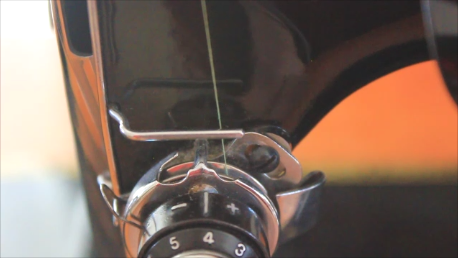
Bring the thread around and under the take-up spring, continuing on around. The take-up spring should raise up as the thread is brought all the way around and into the retaining fork on the tension unit.

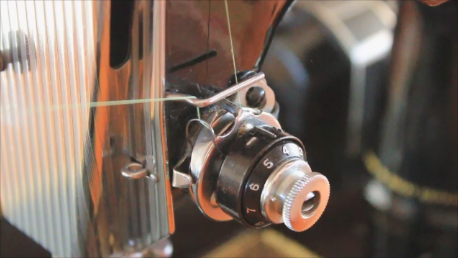
Then direct the thread behind the wire thread guide (directly above the tension unit).
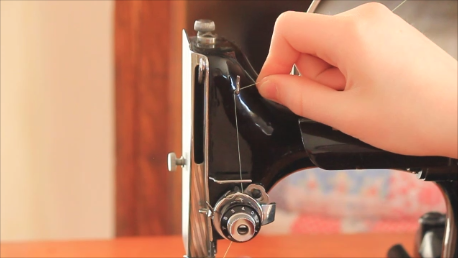
Next, go up and through the take-up lever from right to left.

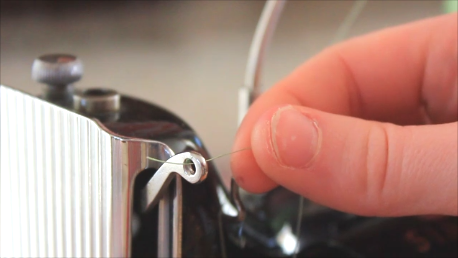
Bring the thread down and into the eyelet on the faceplate. Usually, you can catch the thread from the back of the eyelet.

Continue threading to the next lower wire thread guide as well as the last needle clamp thread guide directly above the needle.
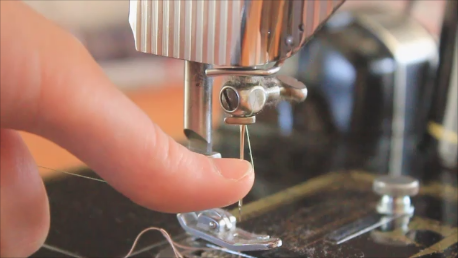
Some Featherweights have this last guide situated in such a way that the thread enters from the right, but most Featherweights have the thread entering this last guide from the left.

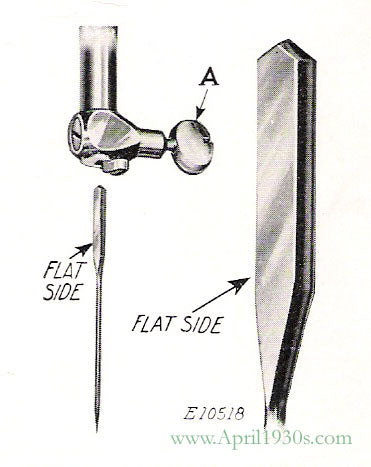
Remember from our last video how important it was to have the flat side of the needle facing left?

Well, this last threading step is just as important, too, for proper stitch formation. The thread goes through the needle from the right to the left – or an easy way to remember is INSIDE OUT. From inside the machine to the outside.
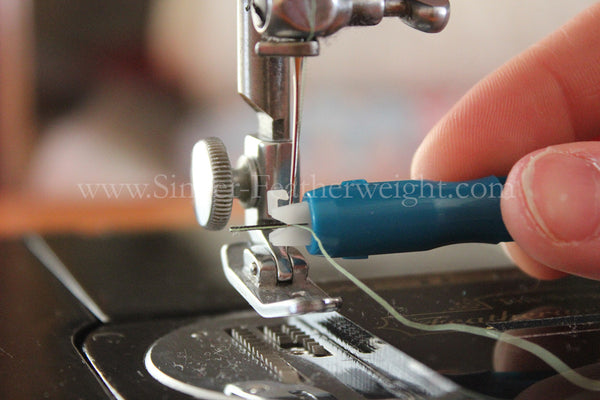
If the thread or needle is difficult to see then be sure to try our super easy machine needle threader in the shop. It takes away the hit & miss guesswork and easily threads the needle!

The instruction manual says to draw about 2 inches of thread through the eye of the needle, but we recommend pulling several inches to have more to work with before you sew.
Once you get used to threading your machine the proper way, you’ll zip through machine threading every time, no matter what kind of thread spool you use!
Be sure to review video #1, 2 and 3 in this Getting To Know Your Featherweight series because our next tutorial will be all about how to pull the bobbin thread up to the surface and prepare for sewing!
%C2%A0Crosswound%20Spool%20of%20...)