Featherweight Case Restoration Ideas
If you are a member of the Singer Featherweight 221 & 222K Sewing Machines Facebook group then chances are you've seen some of the clever ideas for restoring a Featherweight case. Now, we aren't meaning an easy case refurbish, but rather a complete case restoration. A complete case restoration could be an option for those cases that would otherwise need to be thrown to the trash heap due to compromised stability or having been so overtaken by mold or mildew.
Some restorations are easier than others, but we hope you will find inspiration from the Featherweight community and their creative ideas!
*Note: Some cases may be too far gone or have a weaker construction that inhibits doing some of these restorations. Proceed at your own risk when restoring your case.
1.) Decoupage case photo from Barbara L.
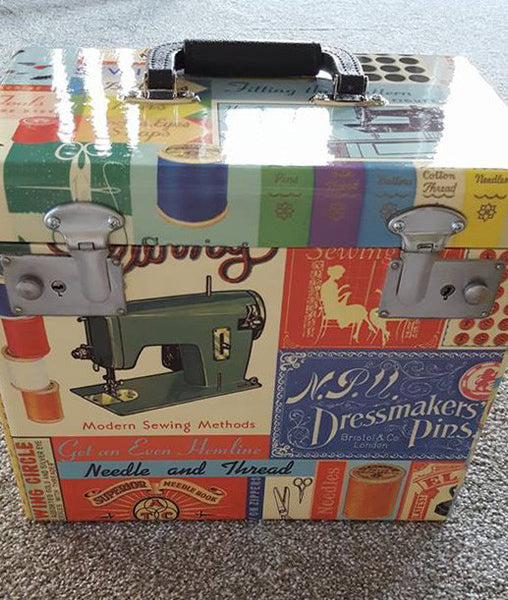
This particular case is decoupaged with Cavallini decorative papers. I love the colors on this one!
Barbara was even so kind as to type out her own instructions to the process she used. We have included it as a free PDF download by clicking here.
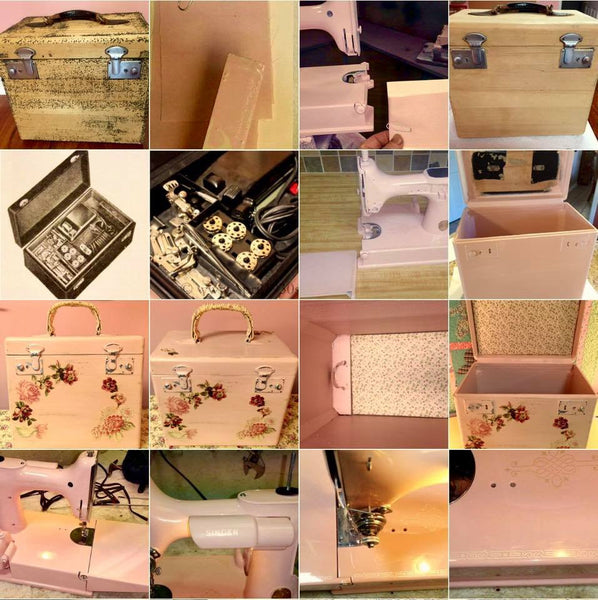
2.) Paint & Decoupage by Iaci F. (first name is pronounced ē-aw-seé, by the way)
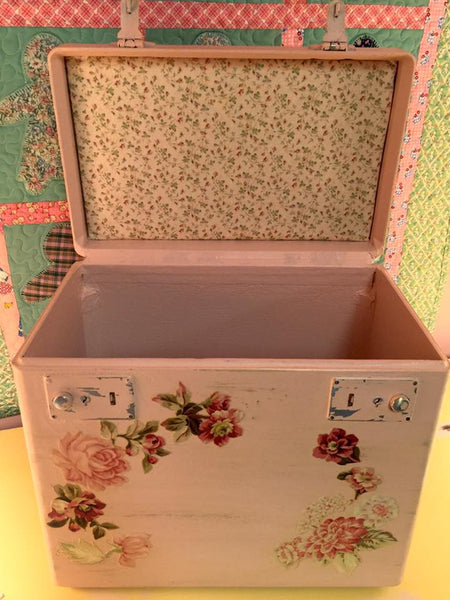
The shabby chic paint and decoupage paperie details are quite lovely and feminine!
Iaci provided a collage photo of the steps she took to make her case match her pretty pink machine that she had repainted. (Here's a link to some of the individuals we know who repaint machines.)
3.) Lynda C. has a lovely case that was restored to the bare wood, stained then varnished.
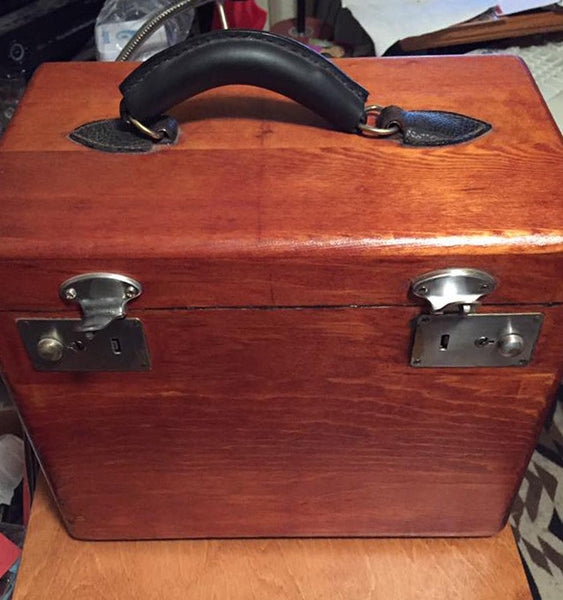
The wood underneath some of the Featherweight cases is just beautiful!
4.) Stacey T. had a White Featherweight case that was in bad shape and needed restoring. She sent us a few photos showing her restoration process. You will notice in the last photographs that her talented husband hand-tooled a leather decorative piece for the top of her case. Isn't it gorgeous?
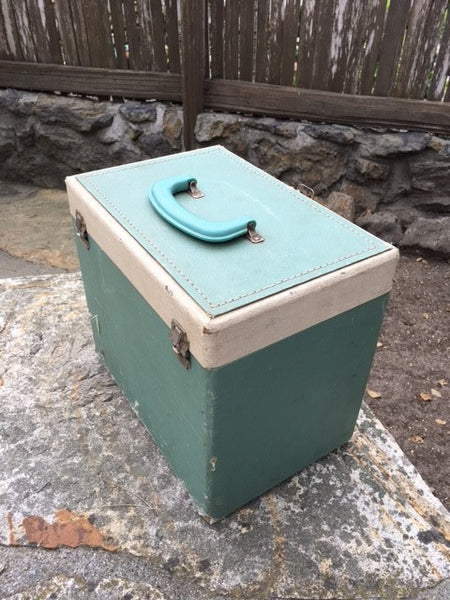
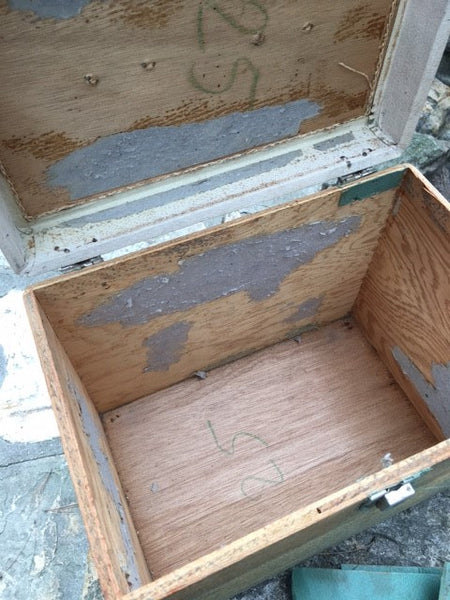
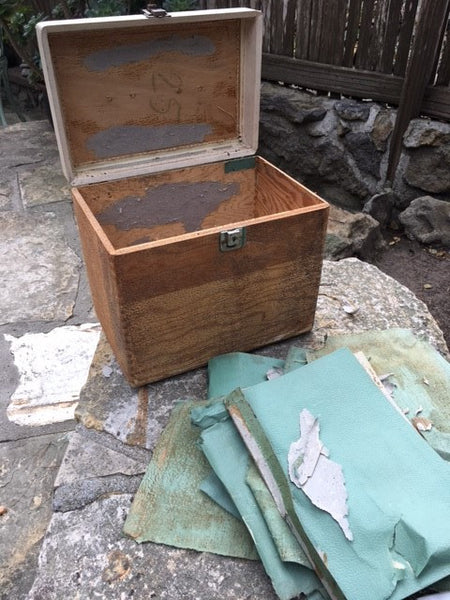
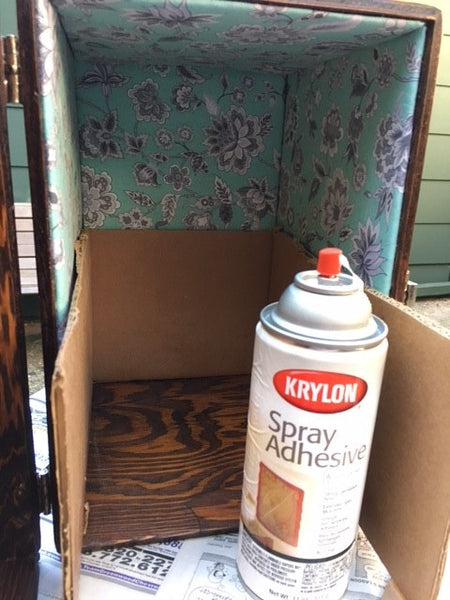
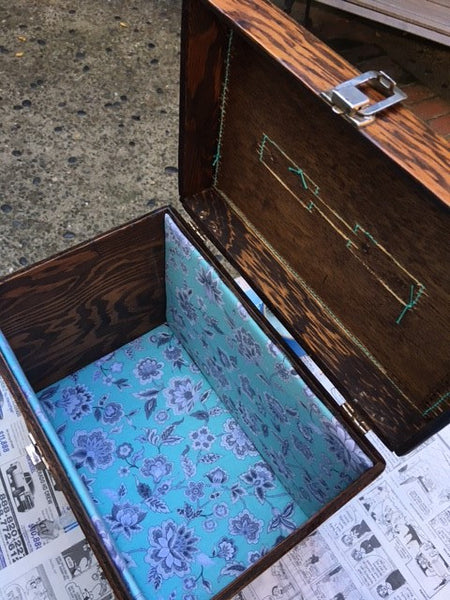
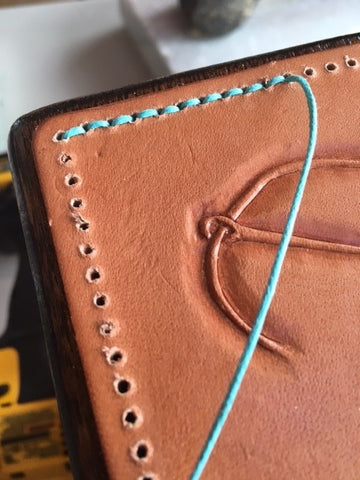
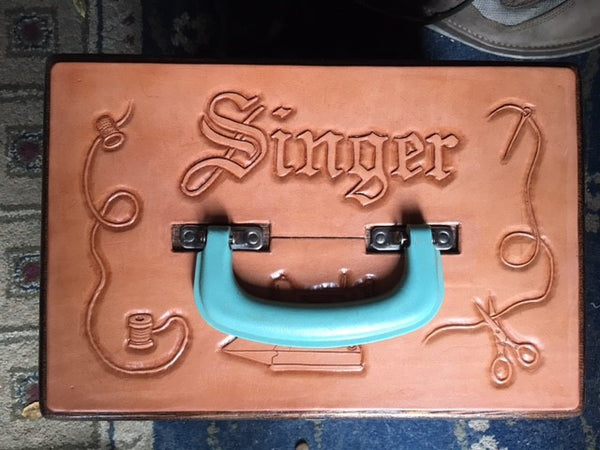
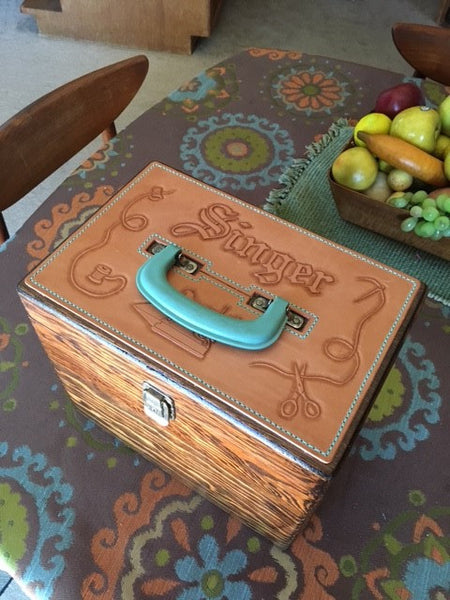
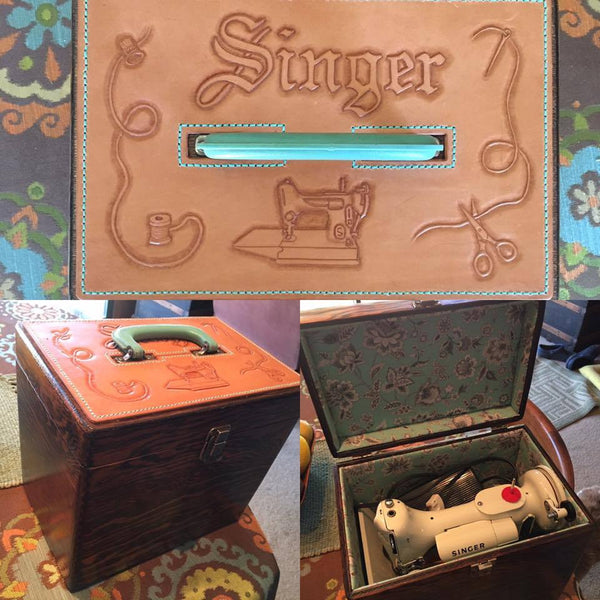
I asked Stacey if her husband had a special leather tool to create that Featherweight and she said he carved it by hand! Extremely talented, I'll say!
5.) Kristianne S. had a case that was so rotten from water damage that covering it was her only option. She used fabric to decoupage her case and we thought it was so darling in the black and white retro prints.

Restoring and decoupaging a case can be quite intricate and detailed, but Kristianne offers her services to do this process for you. Please feel free to contact her directly for more details. Prices vary depending on the case, type of restoration and time involved... but she is quite talented!
6.) Karen C. had a tan featherweight case that was musty, moldy and peeling inside. Taking her time, she worked on one side at a time to recover it with scrapbook paper. Karen used Elmer's glue to glue it down and then finished off the outside with a poly.


7.) Using a NEW Replica Featherweight case, "Auntie Susie" recovered it to make it more personal and fun to display.


8.) Sharon S. of Texas had a case that was so odoriferous, that even after months in the hot Texas sun it still could not be remedied. Her sweet husband painstakingly removed the outer black tolex covering, stained the wood and varnished it for a beautiful finish! Sharon then added padding to the lid, covering it with a cute vintage-style fabric called "Melody Ross". She also made a padded handle covering following this Lori Holt tutorial.


9.) Cynthia B.'s case smelled so badly and was so permeated, that sealing in the remainder of the odor was the only option. She tore off the original black cloth, sanded, then sprayed with alcohol and basically tried all the tricks she had read about to remove the odor. Unfortunately, the mildew was had so infiltrated the case, that leaving it outside was her only option.
After a time, Cynthia decided to cover it with zebra oilcloth fabric. She used paint-on rubber cement and used it on both the case and the fabric. It was not easy because once the glue touched the oilcloth, it was an immediate adhesive. She finally prevailed and was mostly happy with the result. It was a lot of work! Best of all, it appears to have eliminated the original mildew smell and after the fabric out-gassed, it’s pretty good! A new leather handle was made as well.
As a further precaution, Cynthia put all the accessories in a bag with newspaper and washed the attachments that remained.
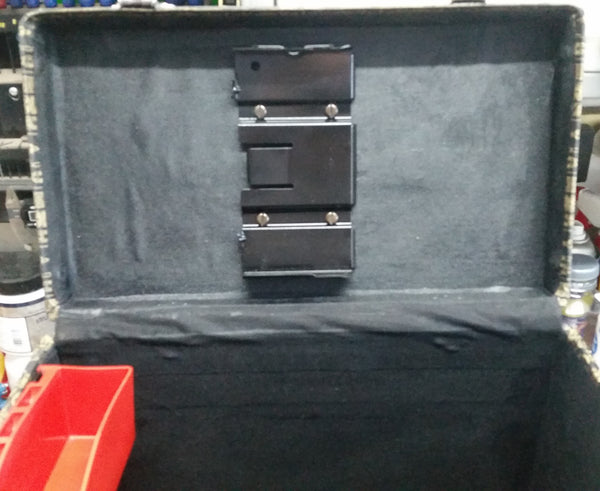
10.) Richard P.'s case restoration is incredibly inspiring! Looks like a rags to riches reformation!
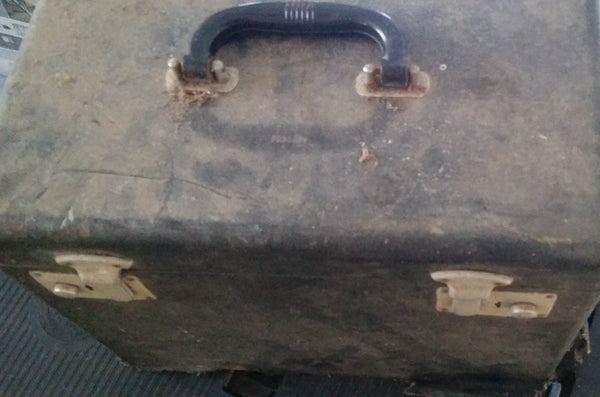
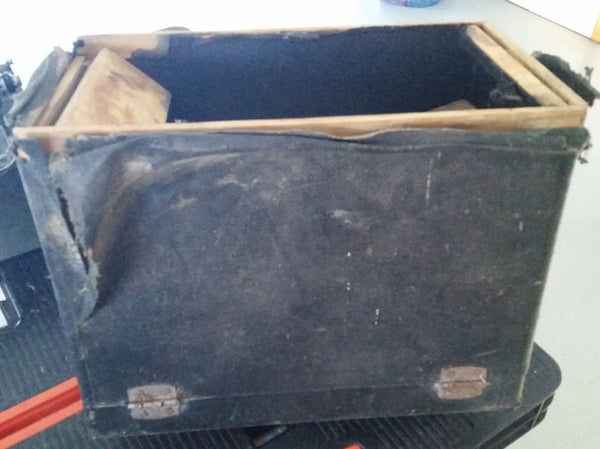
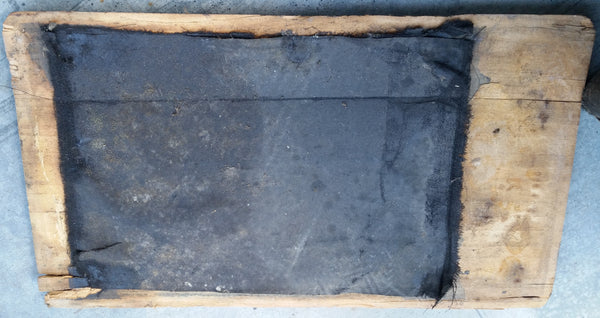
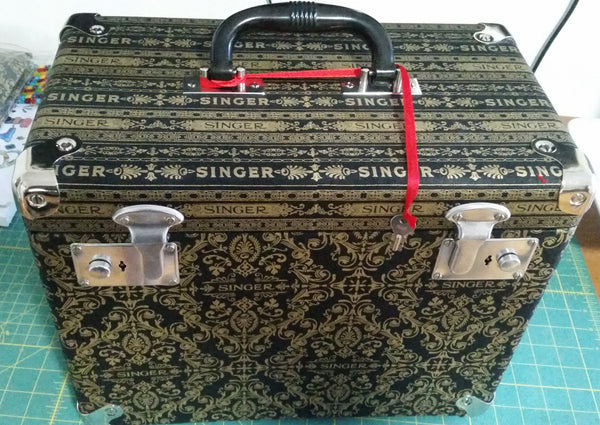
Richard covered his with fabric and reinforced the case corners with additional metal brackets. Brilliant!
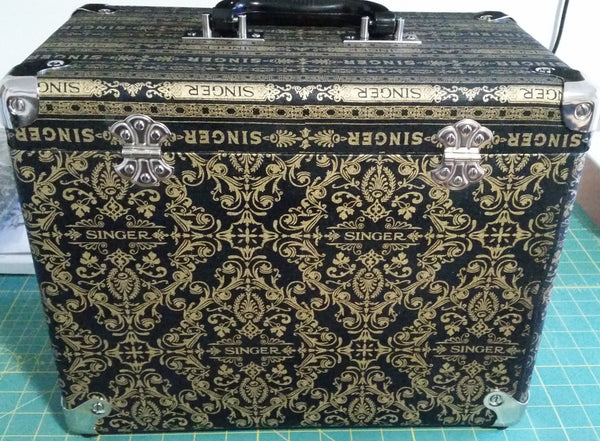
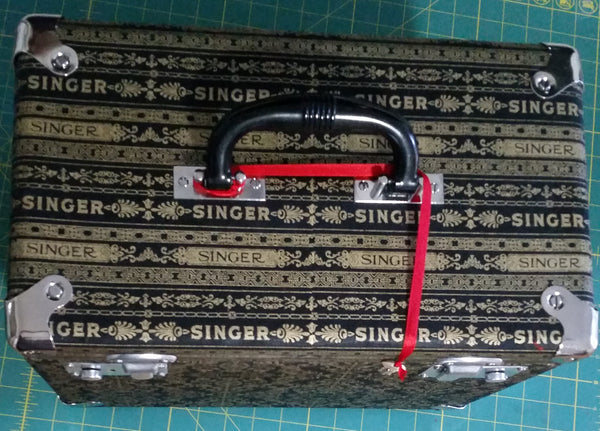
What a difference!
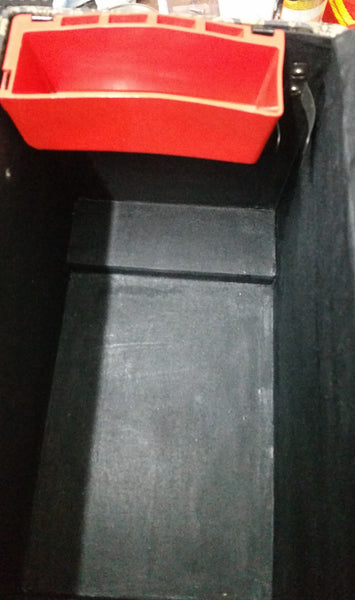
11. Wayno & Tia's case was restored to a degree that it looks like it is made of glass - like a newly minted penny!

This is certainly an inspiration for case restorers, especially with it being Wayno's first foray into refurbishing a Singer Featherweight case. The case was originally included with a 1956 Singer 221 (one that Wayno painted for himself as well - see photo far below). To restore the case, he stripped off all the material (inside and out), reinforced the box with fiberglass on the inside, installed new liner, padded the top and bottom, moved the tray and oil can clip to the bottom and padded the edges of the tray to protect the machine. He also removed the foot controller clip from the case lid and sewed a bag out of red Singer fabric to hold the painted foot controller instead.
The outside of the case was repaired of any damage, hardware was polished and the remaining box was custom painted with gold details added. Now, the case will actually be usable and stand out! Wayno enjoyed the process so much, he is already thinking of restoring his next one.


12. Annette K.'s case is a juxtaposition of old and new style!
Annette was reading this Featherweight case restoration ideas page and was inspired to share her restored case with us, too - and, we are so glad she did!


She wanted to keep as much of the early Singer Featherweight 221 case as original as possible, especially with the hard-to-find green interior. She initially used the case refurbishing method (that Ruthie shows in our tutorial here) on the lid and upper part of the exterior. Using green shoe polish instead of black, she applied the same refurbishing technique on the green interior.


The bottom of the case had rotten wood, so her husband cut out a new wooden bottom piece. She then used "Sewing with Singer" fabric along with two coats of Odicoat to make her own vinyl covering. After applying the coating, she then applied about six coats of polyurethane to the interior and exterior and finished off the bottom with leather. Doesn't it look fantastic?!

February 2021 UPDATE: Annette K. is going to be joining us with a video series and demonstrating her process for a complete case restoration. Follow along as she walks us through each step here!
13. Jody N.'s shows us how she redid the interior of her case and matching foot controller bag!


*****************************************************
What about you? Do you have photos of a Featherweight case that you restored? If you would you like to email them to us to submit as creative inspiration to others, we would love to share your ideas, too! Our email address is provided on our Contact Us page, so please feel free to send them in and we will add them to this post.


