Featherweight Review: Catch-All Cutie Sewing Organizer

Welcome to the Featherweight Review blog: Catch-All Cutie Sewing Organizer with Tammy! We fell in love with this cutie when one of the girls in the office brought hers in for show and tell. We went right to work coordinating two pretty little kits to share with you so you could make your own! This nifty little organizer can be zipped up and carried along wherever you go!

Products Used in the Catch-All Cutie Sewing Organizer Project:
Catch-All Cutie Sewing Organizer
Aurifil Thread 50wt Cotton
Steam Iron - Nifty Notions Travel Size
Quilter's Pressing Fleece, 12" x 18" - 100% Wool
Quilt Basting Spray from June Tailor
Sewline Air Erasable ROLLER BALL PEN
Wonder Clips, Box of 50 ct. – RED
Zipper Cording Foot, Narrow (New)
Rotary Cutter, OLFA Deluxe Ergonomic - 45 mm
Two Point Turner
Cutting Ruler, CREATIVE GRIDS Itty-Bitty Eights Rectangle Ruler 3" x 7" (with self-grips)
Glass Head Pins, Blue Super Fine
Washi Tape, Farm Girl Vintage by Lori Holt of Bee in my Bonnet
Cutting Mat, Lori Holt Reversible 12x18 Green and Blue
Before I began sewing, I set out all the pieces to double check that I had everything I needed ready to go. It reminded me of an artist placing the paint onto a palette before they brush their first strokes onto the canvas.

I followed Teresa’s clear and detailed instructions and began by making the outside of the bag. I sewed a back seam, pressed it, and set that piece aside.

The next step was to assemble the inside of the bag. Batting is fun to work with; it makes the fabric more stable and gives it some life.


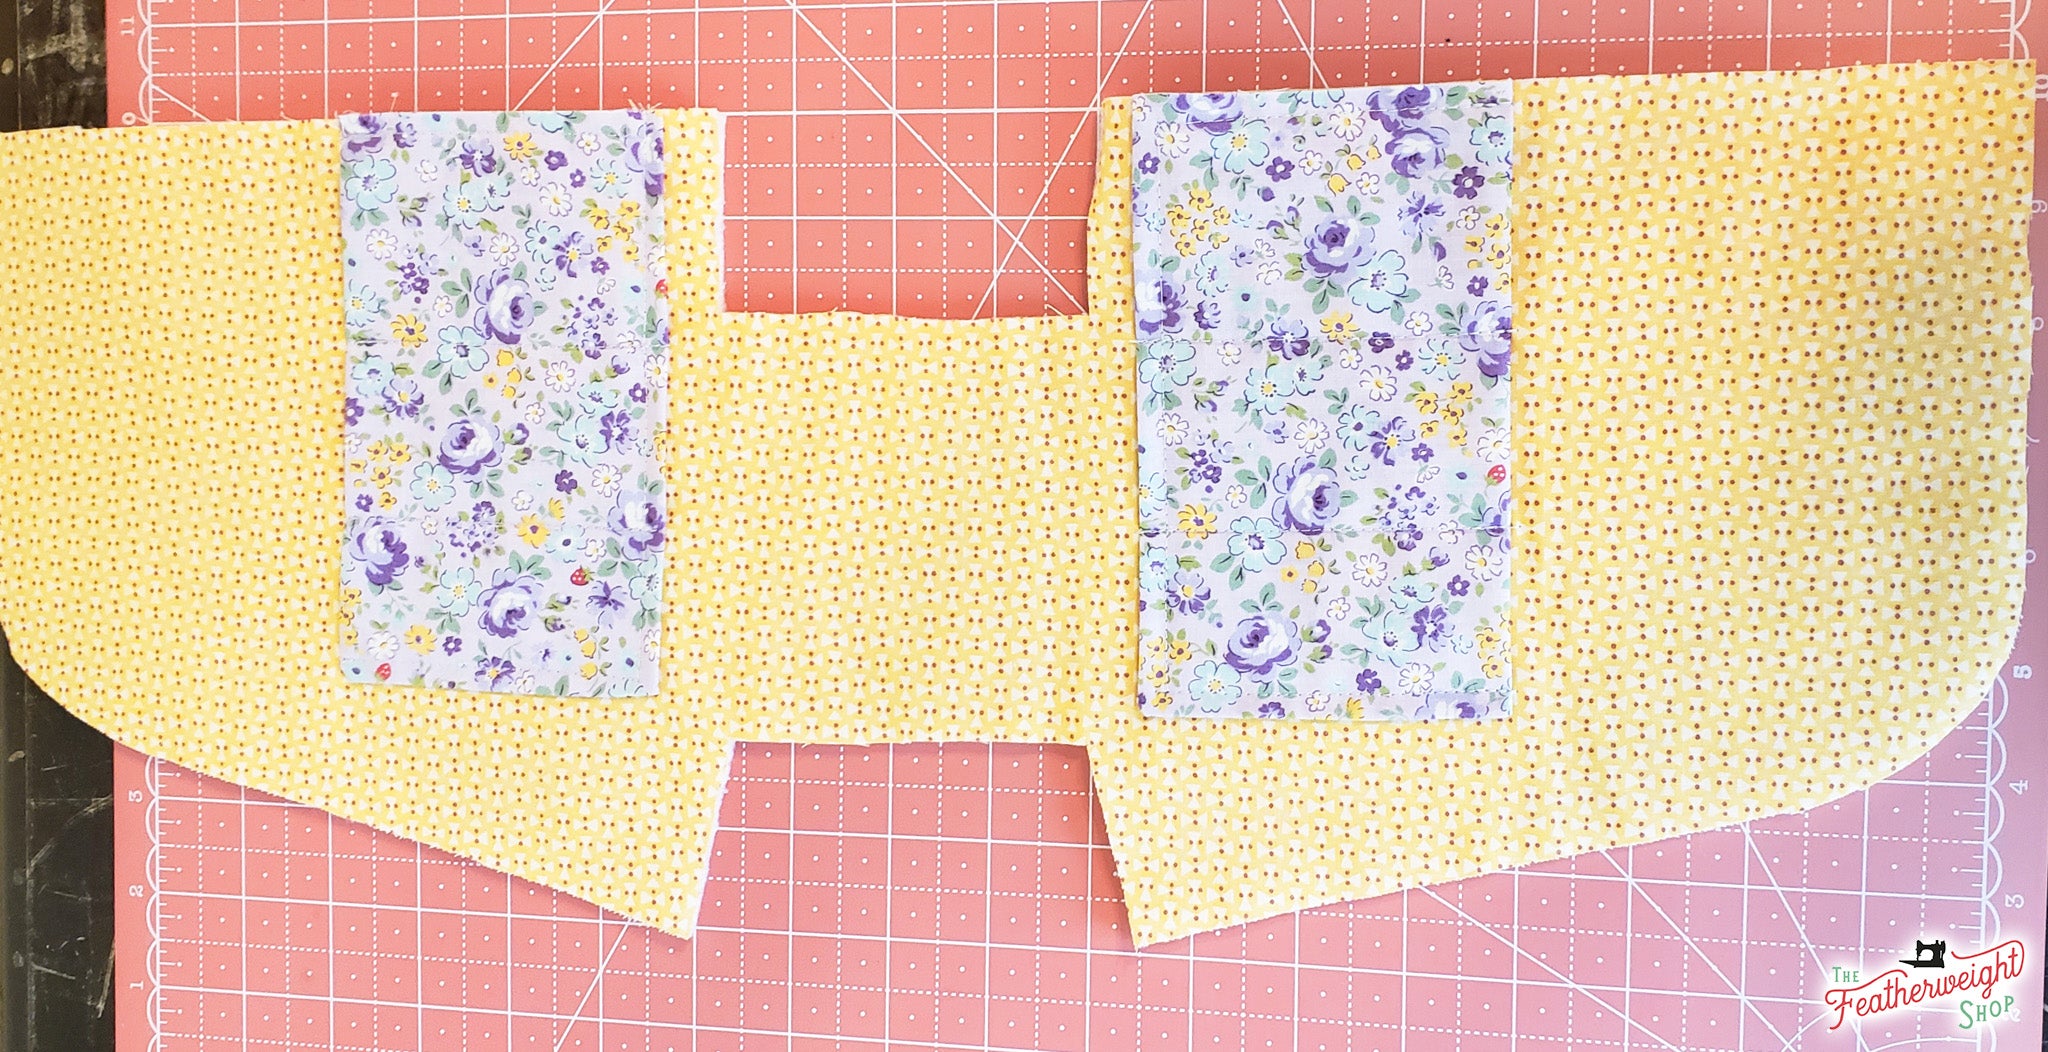
The pockets came together quickly. I placed the pocket pieces on the lining and sewed them on to make the small pockets.


Then I stitched the back edge together, pressed the seam open and made the boxed corners.


Working with the zippers was next. I used washi tape for help in keeping the zipper together, because I like to work with pretty things if I can. It was a little spine-tingling to work with and cut the ends off the zippers! Better make sure to measure twice and cut once!


One zipper was sewed onto the inside pocket strip. I marked the center with my all time favorite pen, the AIR erasing Sewline Pen, and attached it to the fused lining unit.


After I sewed a center seam to make two separate pockets, I carefully trimmed off all of the excess pocket fabric.

I made the carrying handle and attached it to the lining.


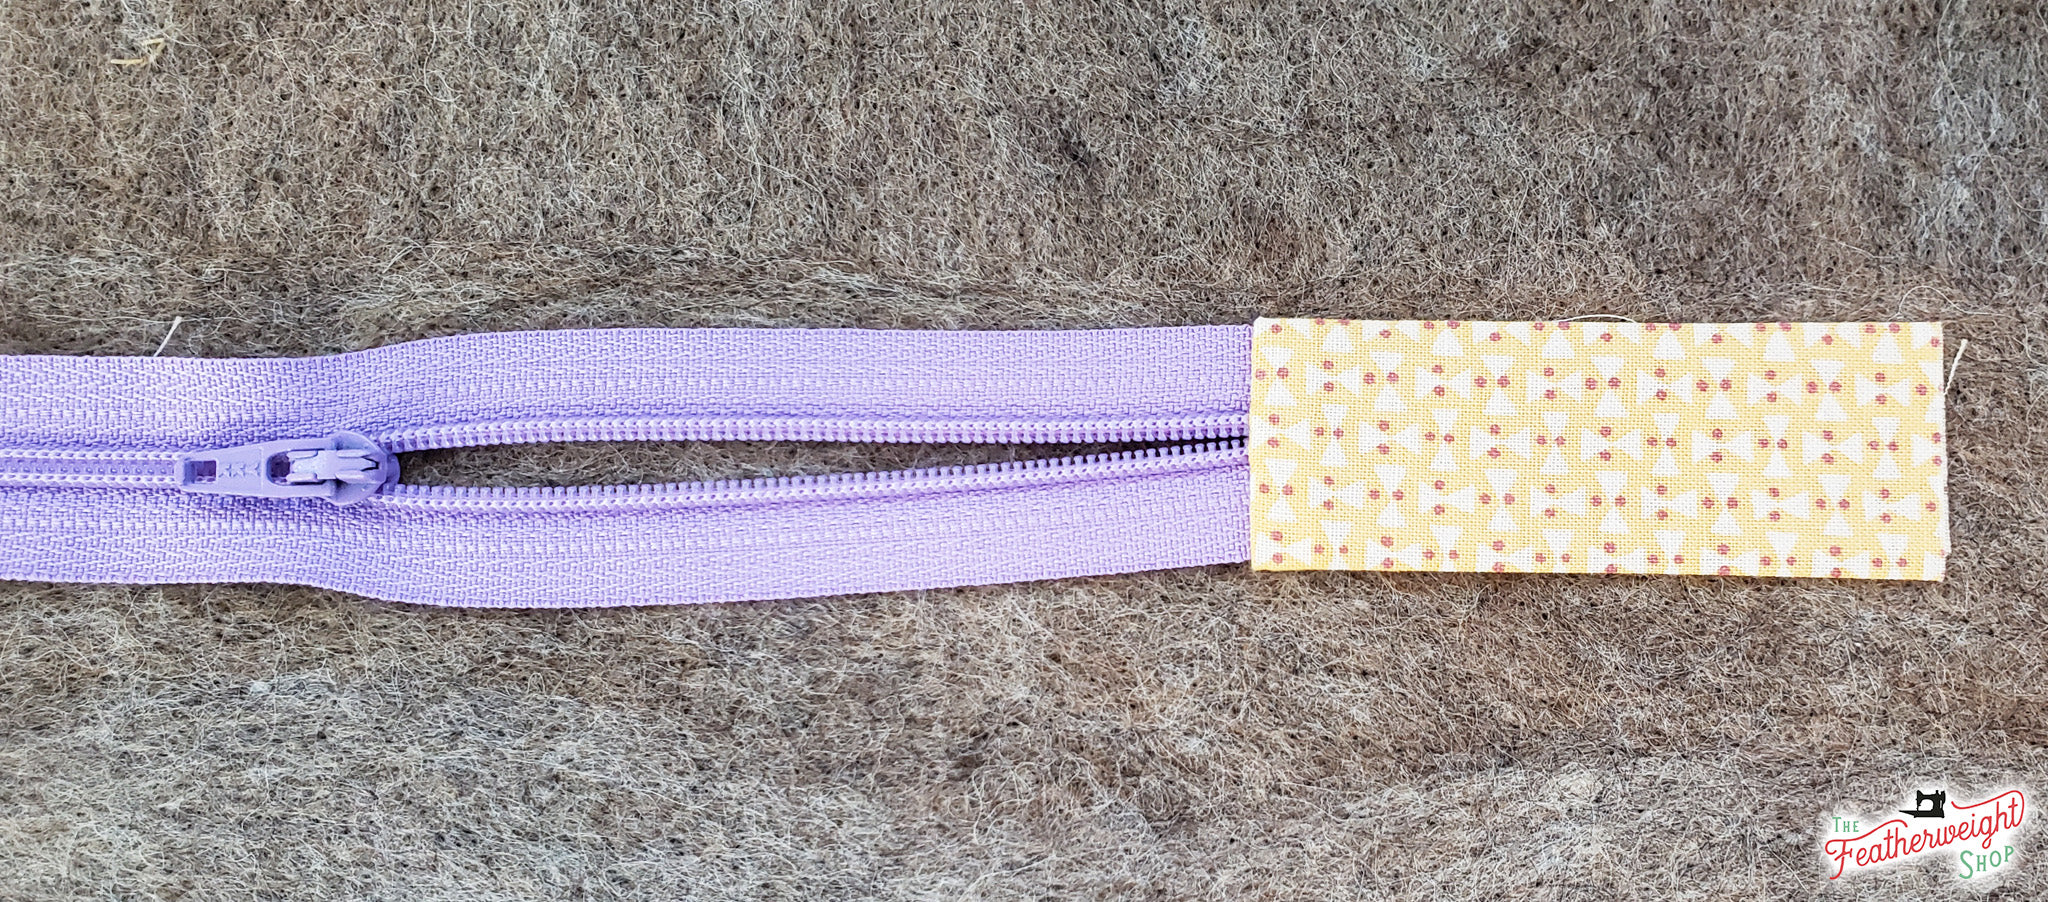
I prepared the second zipper by sewing the tabs on the ends.


After it was prepared, I used plastic clips to secure it to either side of the open bag. Then I proceeded to baste the zipper on, starting on the bottom left and sewing all the way around until I sewed off the right corner.
I placed the outer piece of fabric that had been made first, into the lining, so the two pieces were right sides facing each other.

I basted the only raw edges remaining.


I zipped the zipper up, leaving a couple inches undone.

To finish the boxed corners, I matched up the bottom of the bag and sewed it shut. The pattern calls for a zig zag stitch, but I simply made two parallel seams on the bottom to finish and secure the seam making sure to back stitch when beginning and ending.

I trimmed the extra length of zipper off to match the end and turned the bag inside out.


Now I have a Catch-all Cutie too! Do you!?


