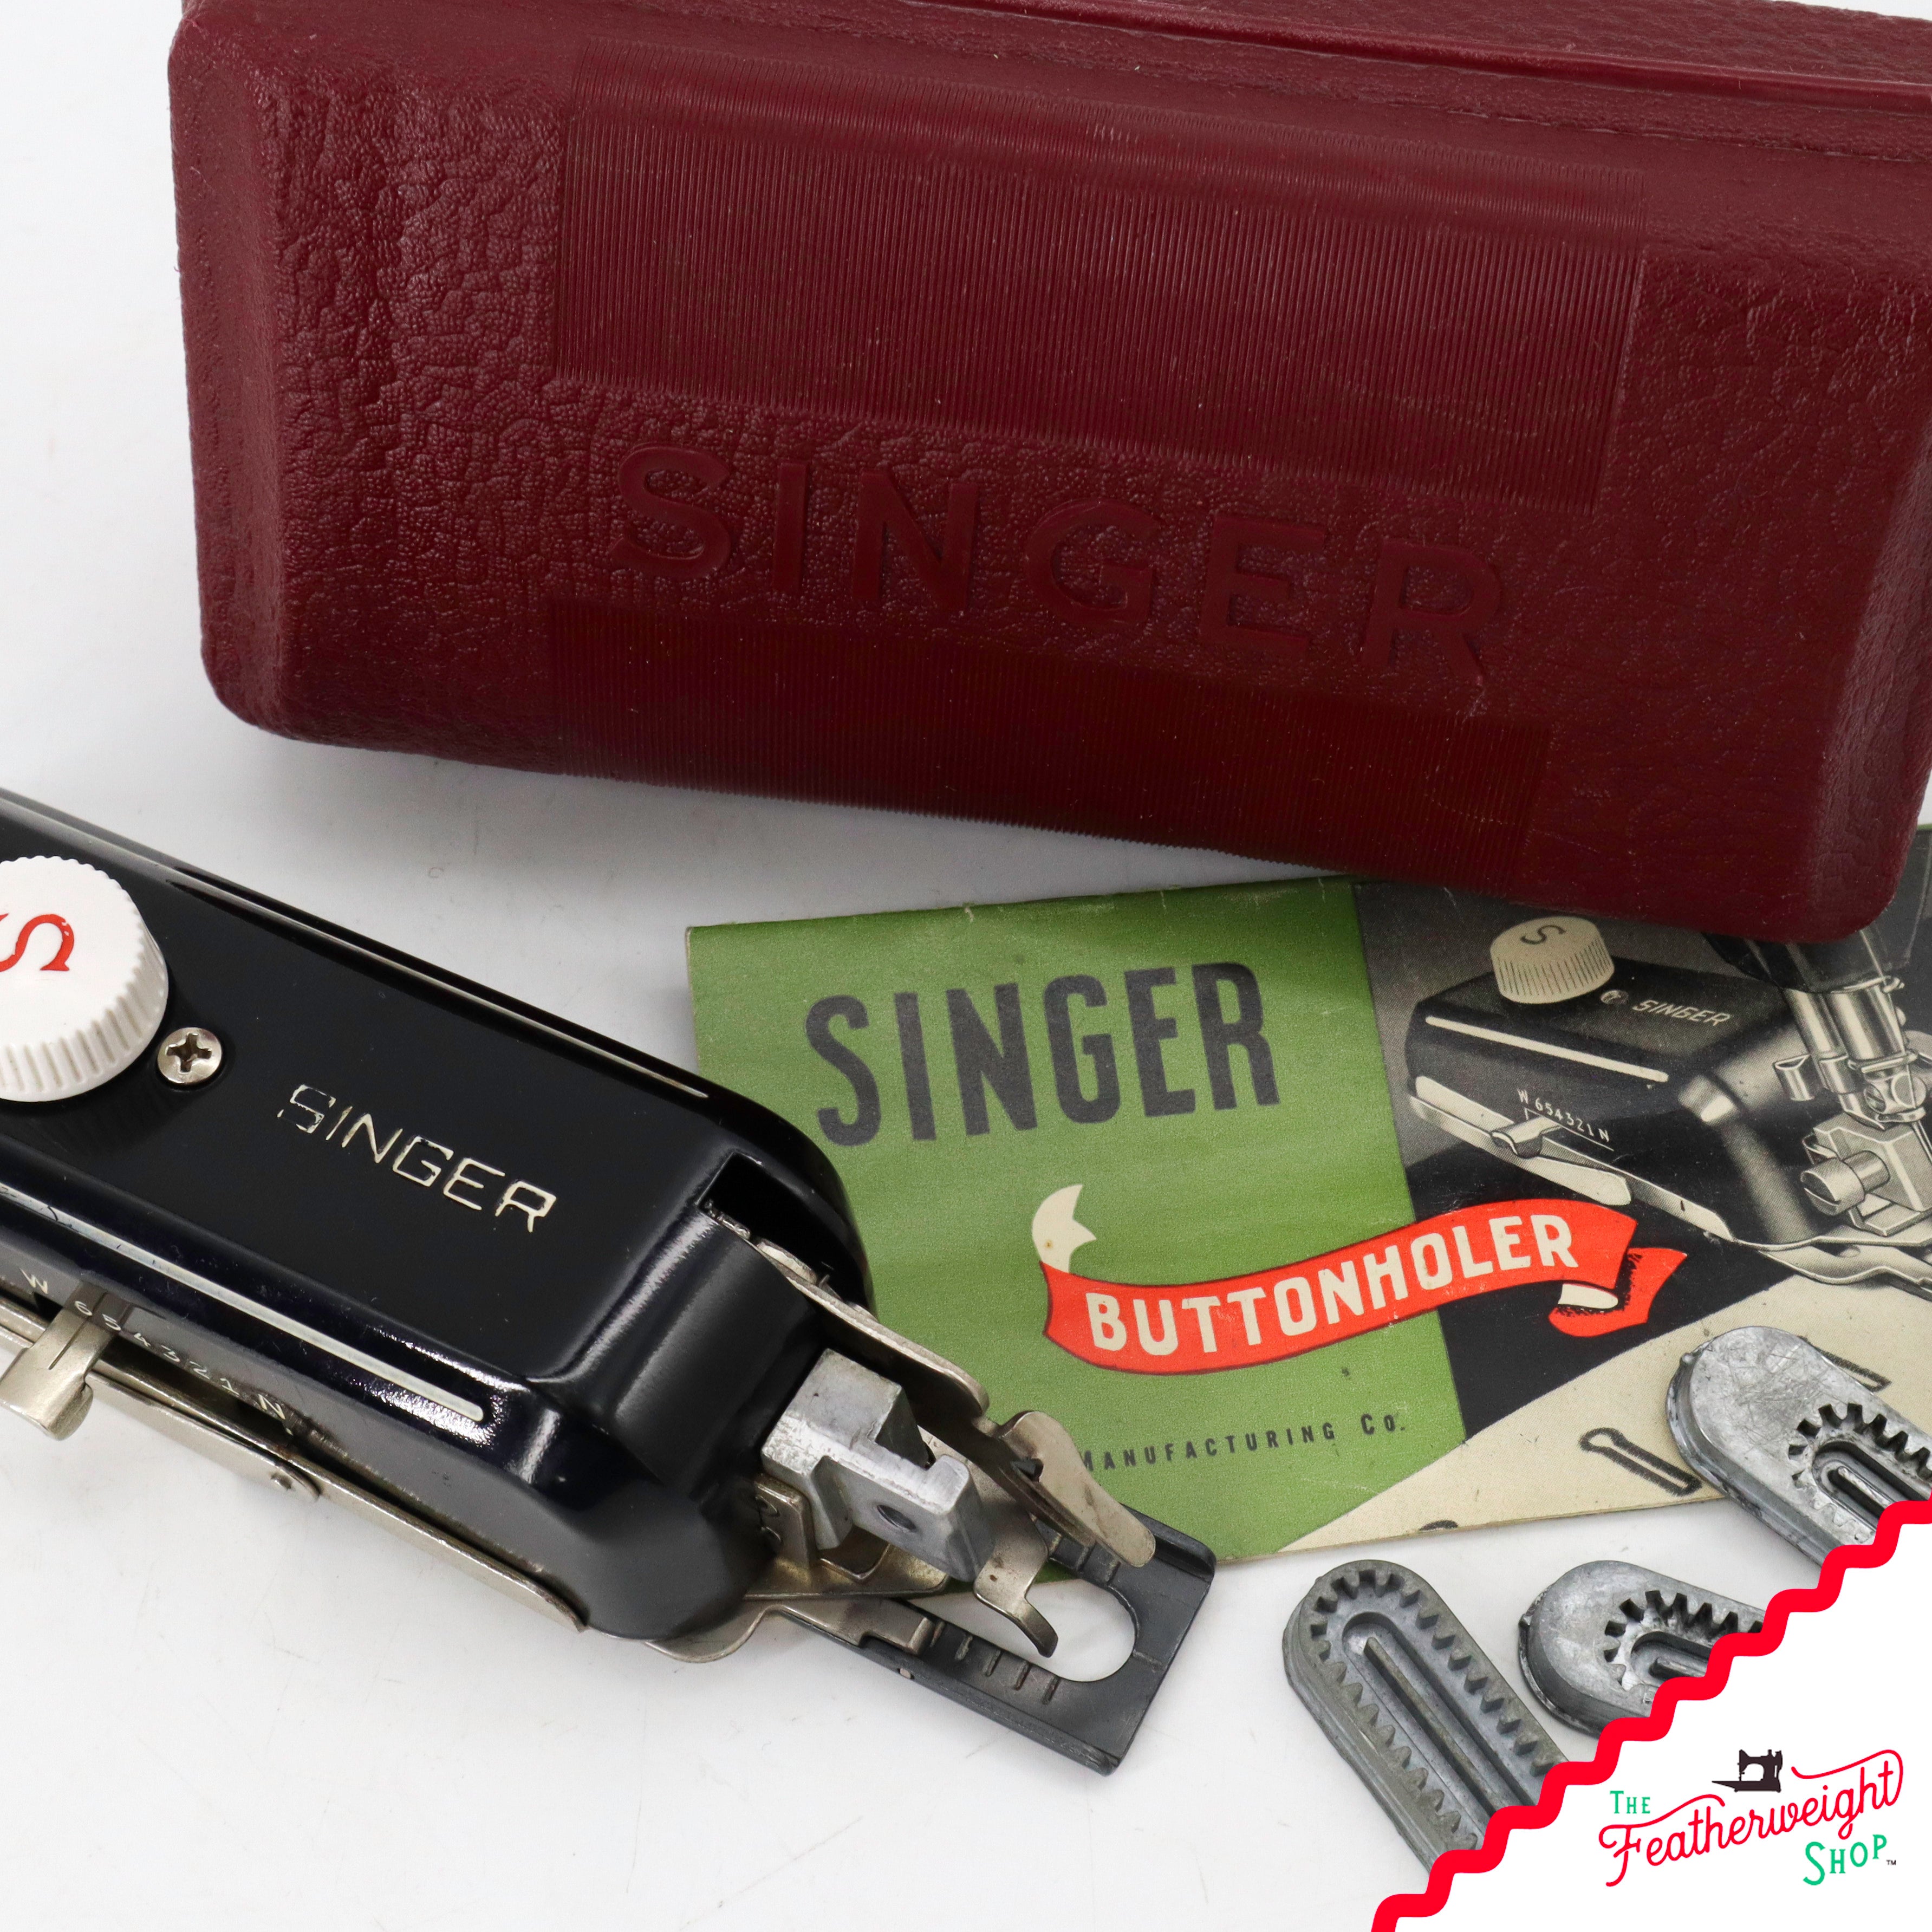
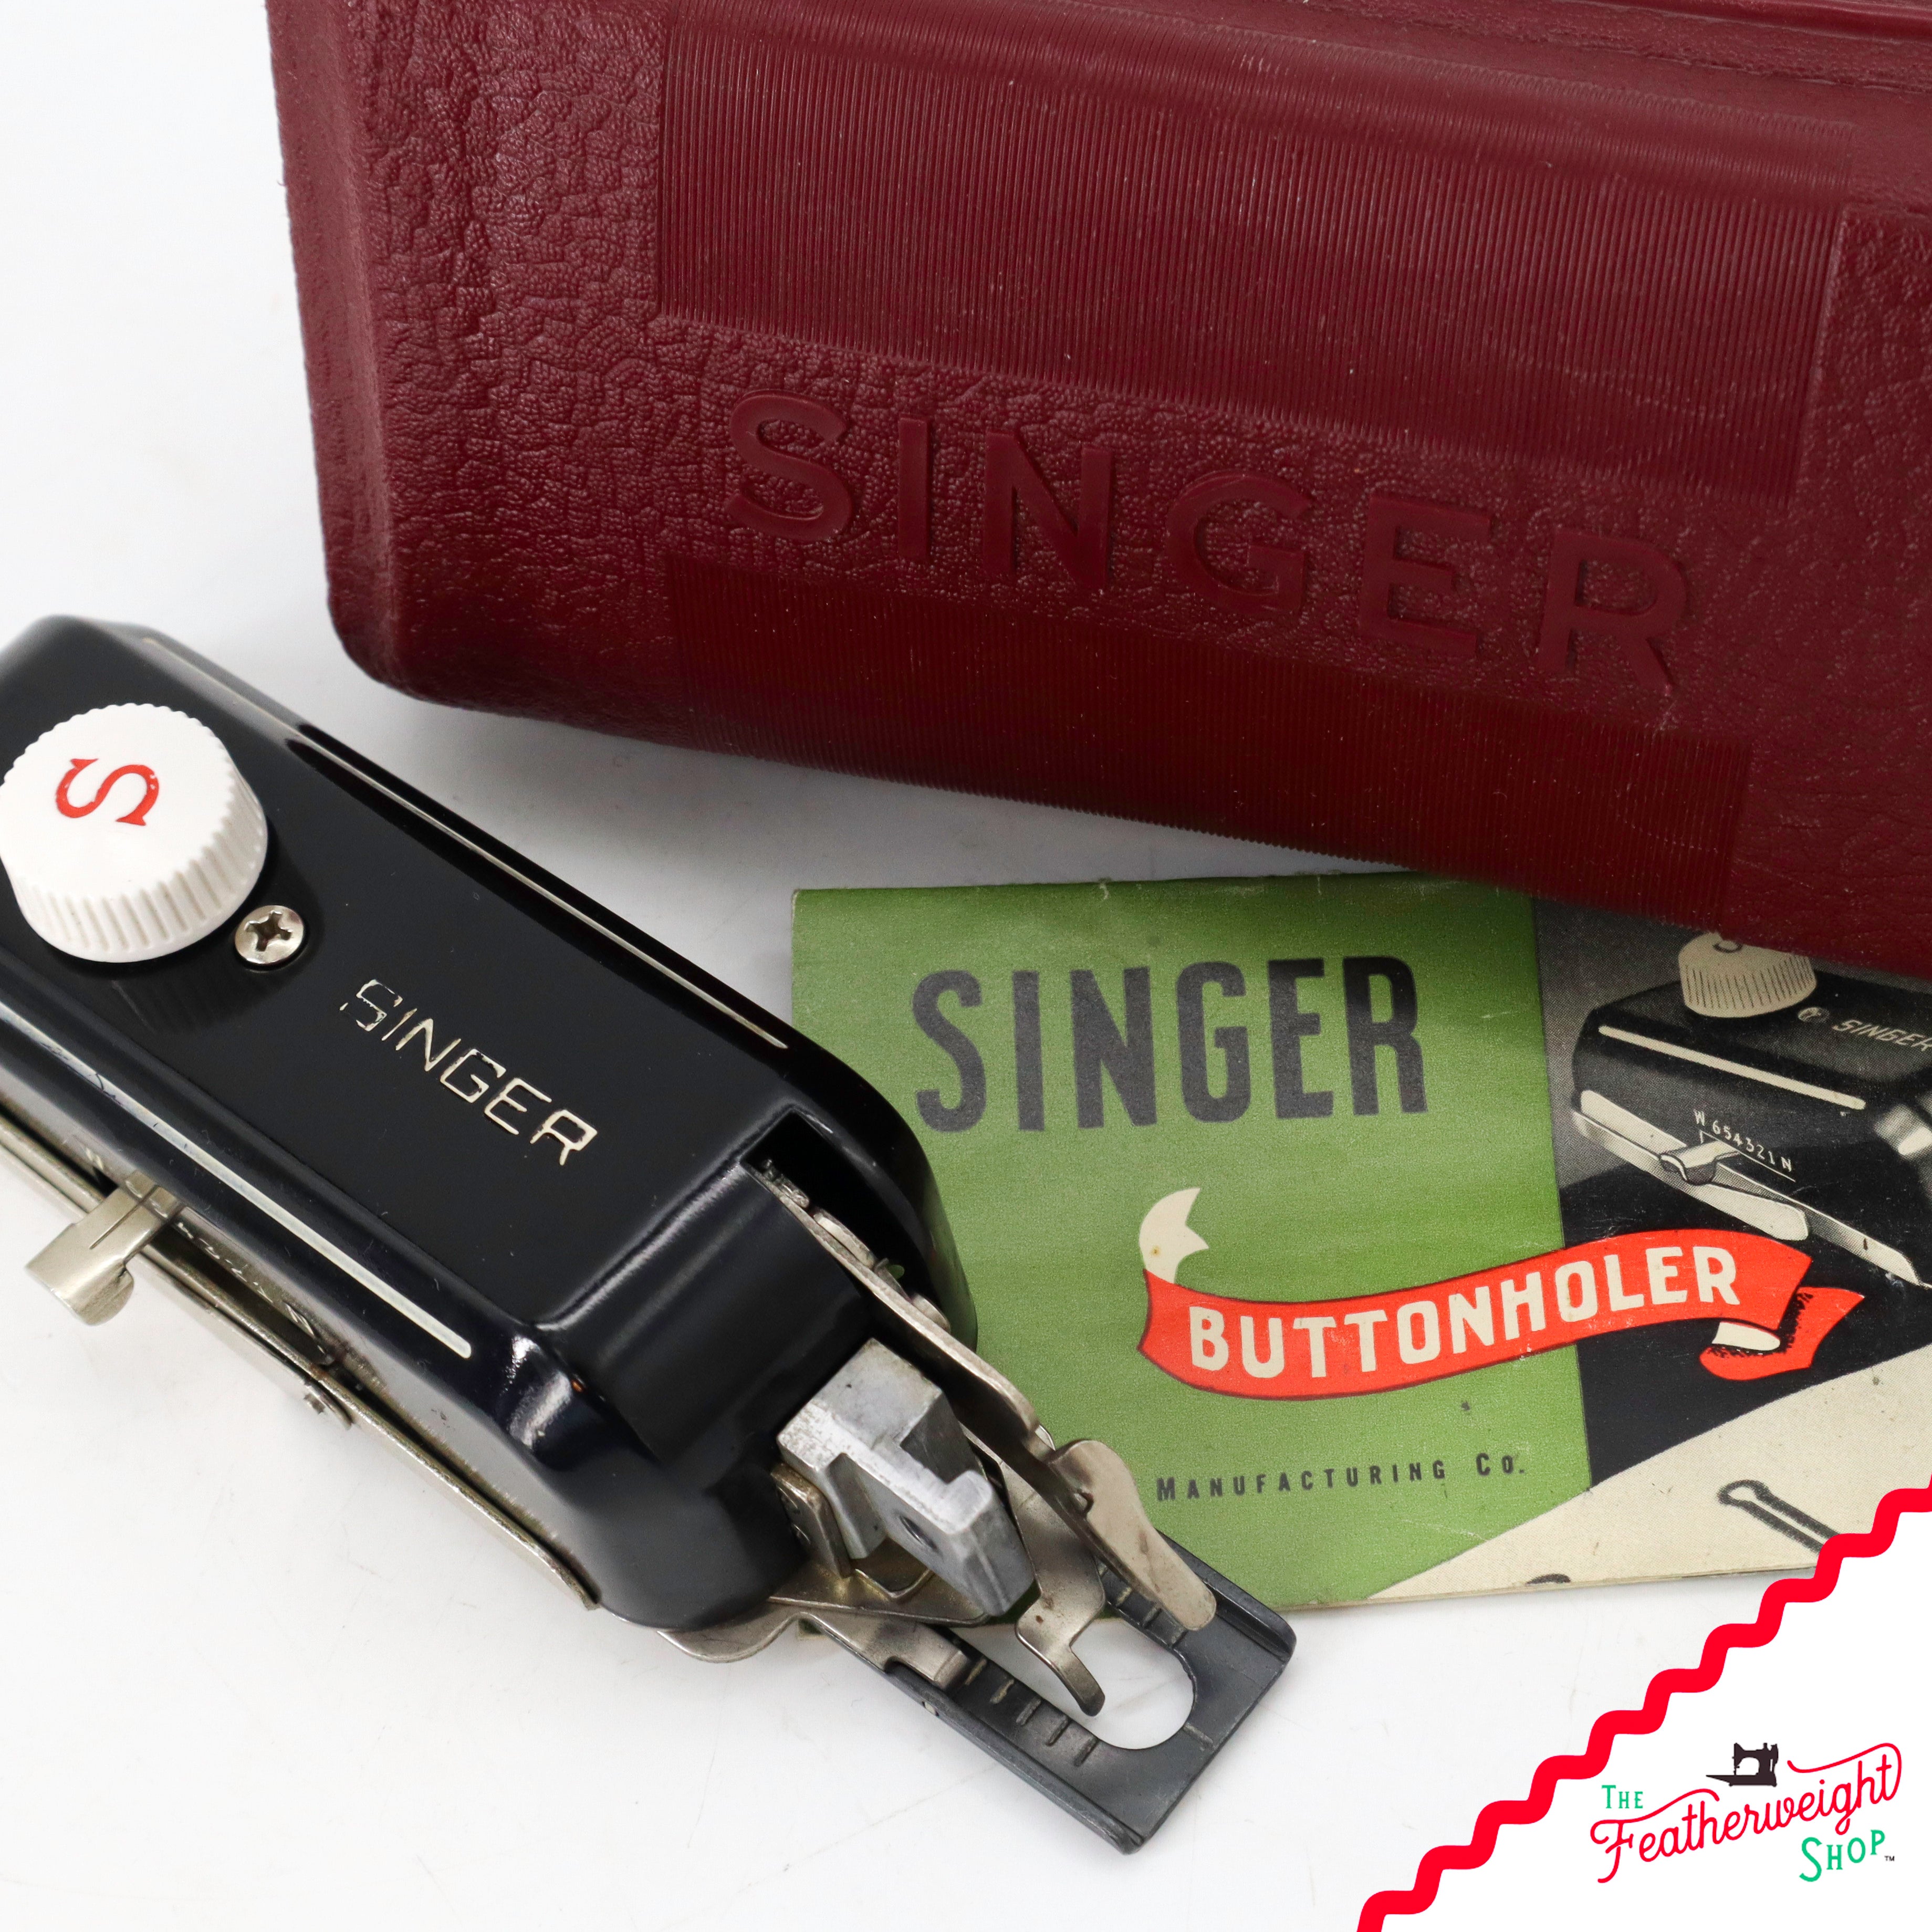
Buttonholer Attachment, Singer (Vintage Original) - SLANT SHANK
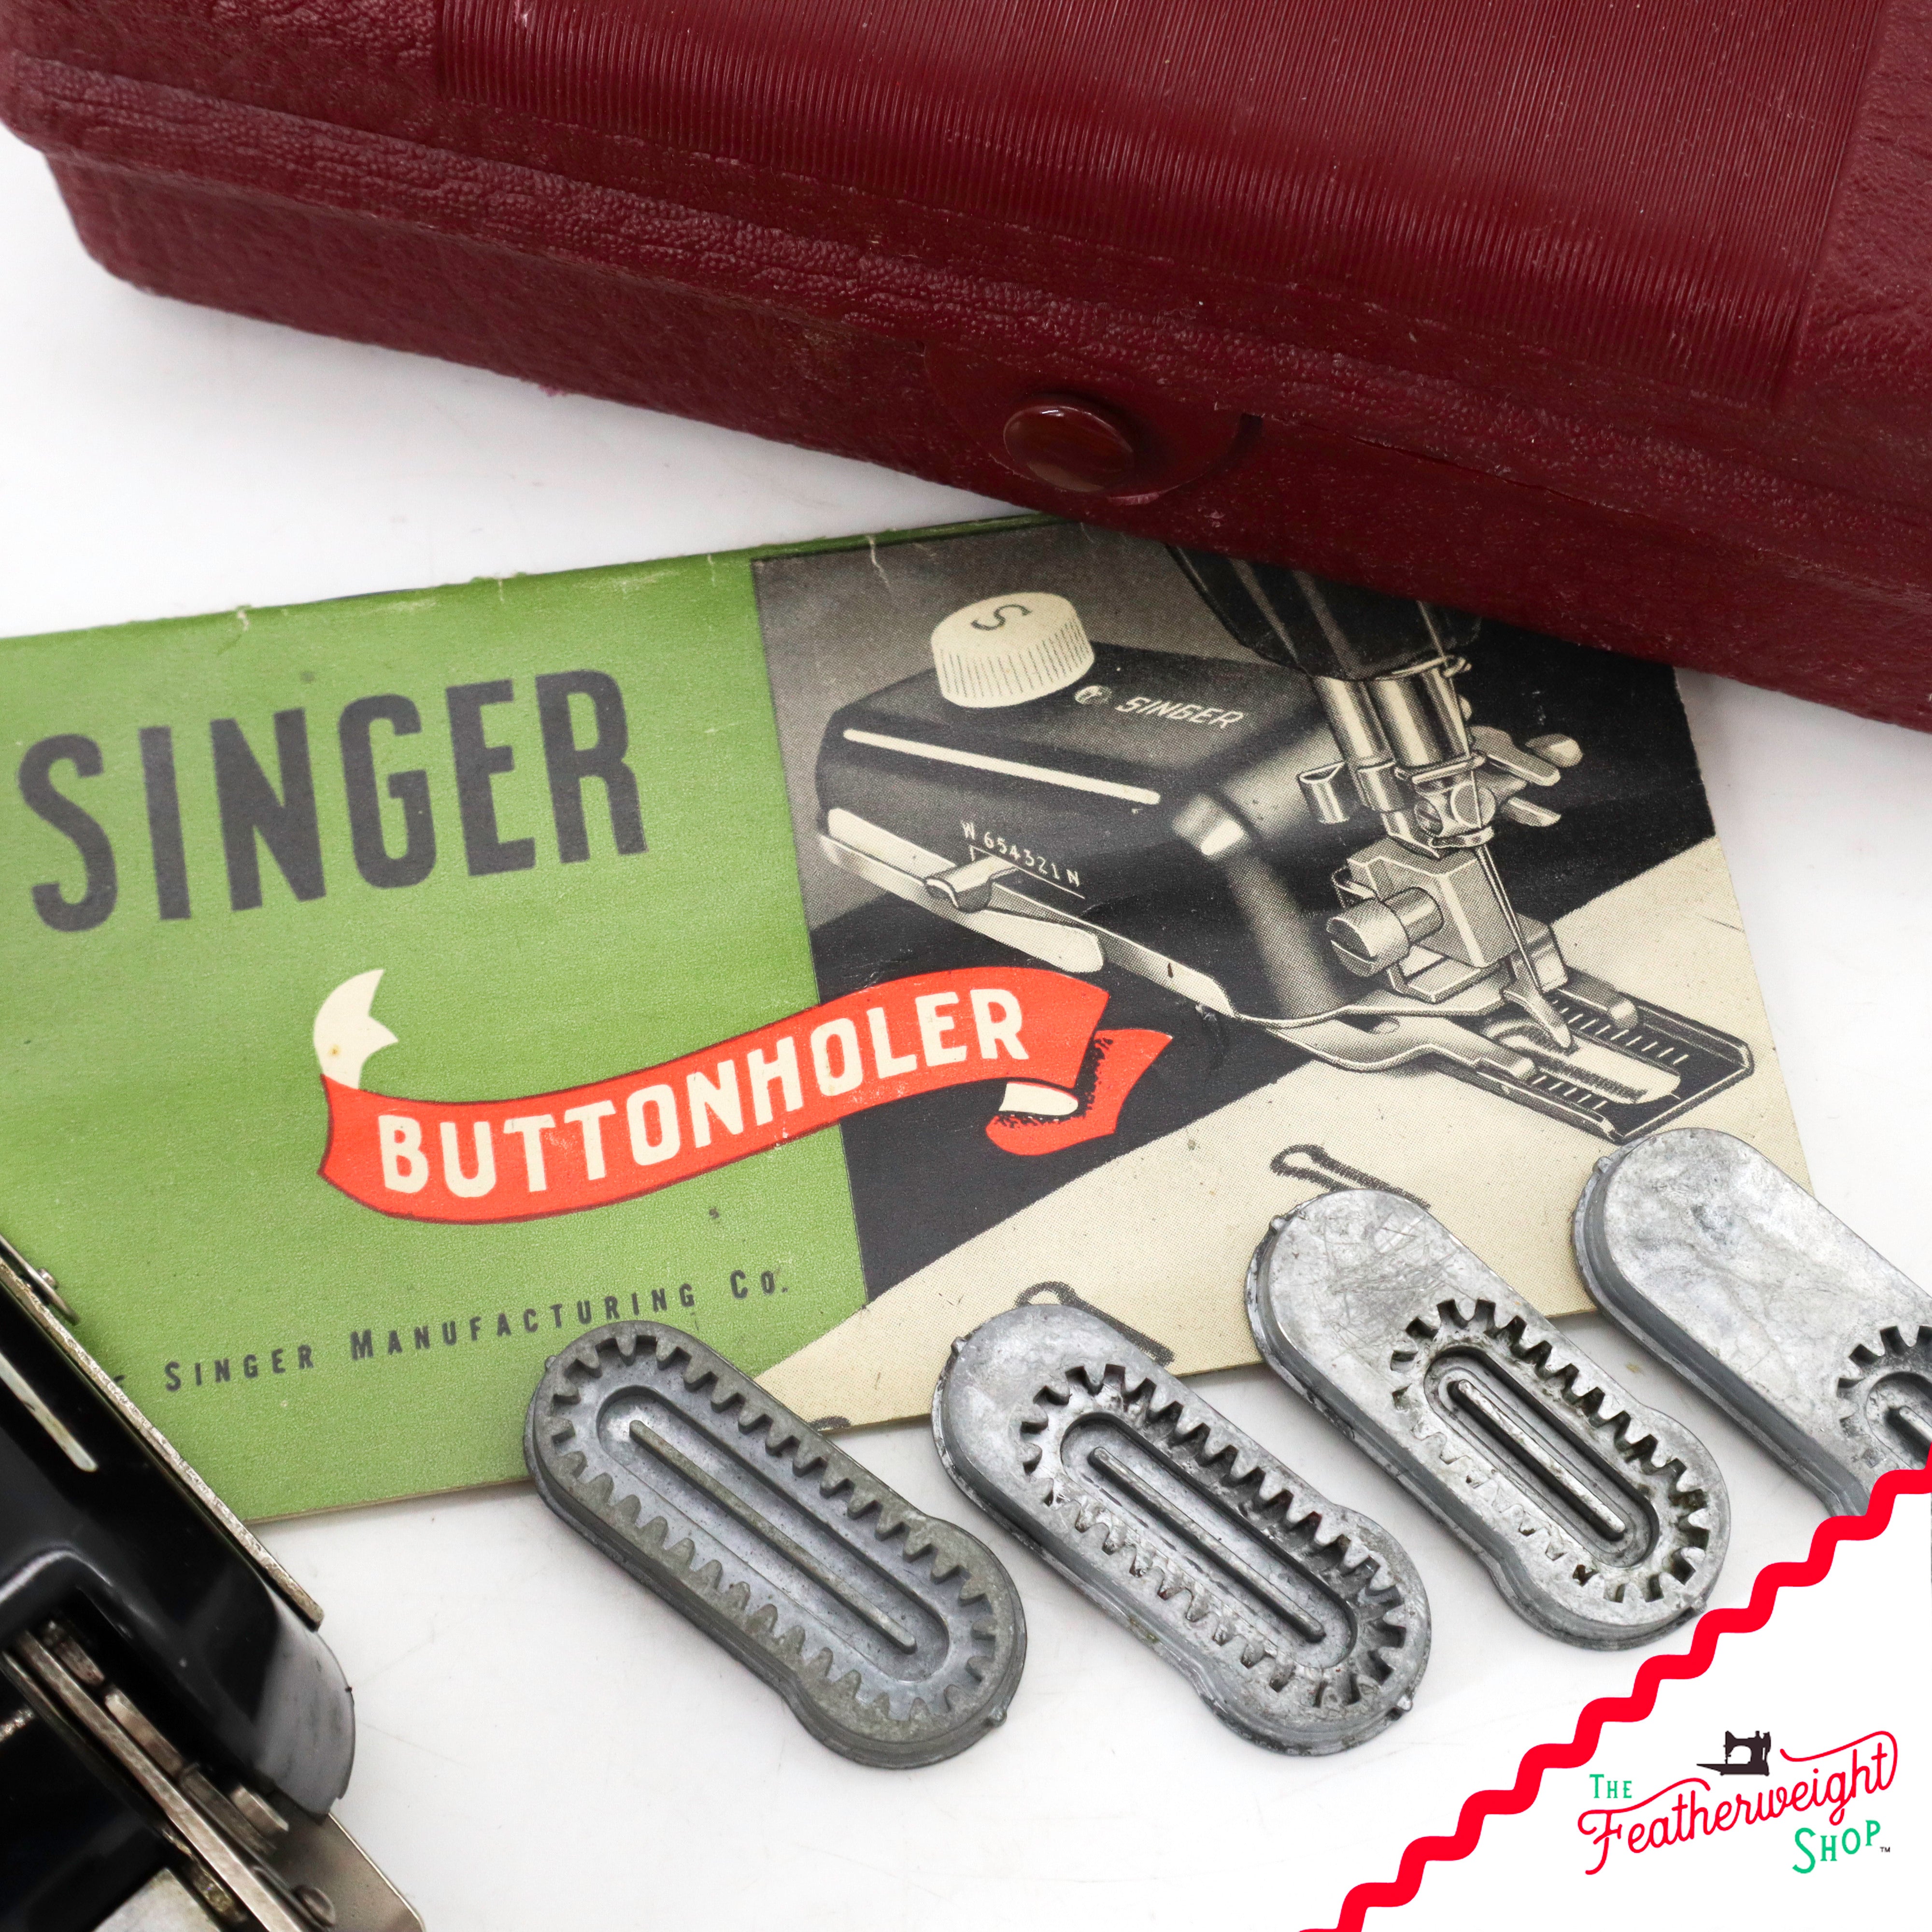
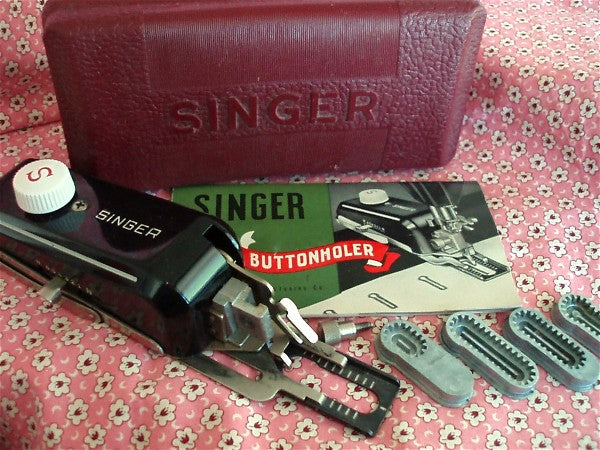
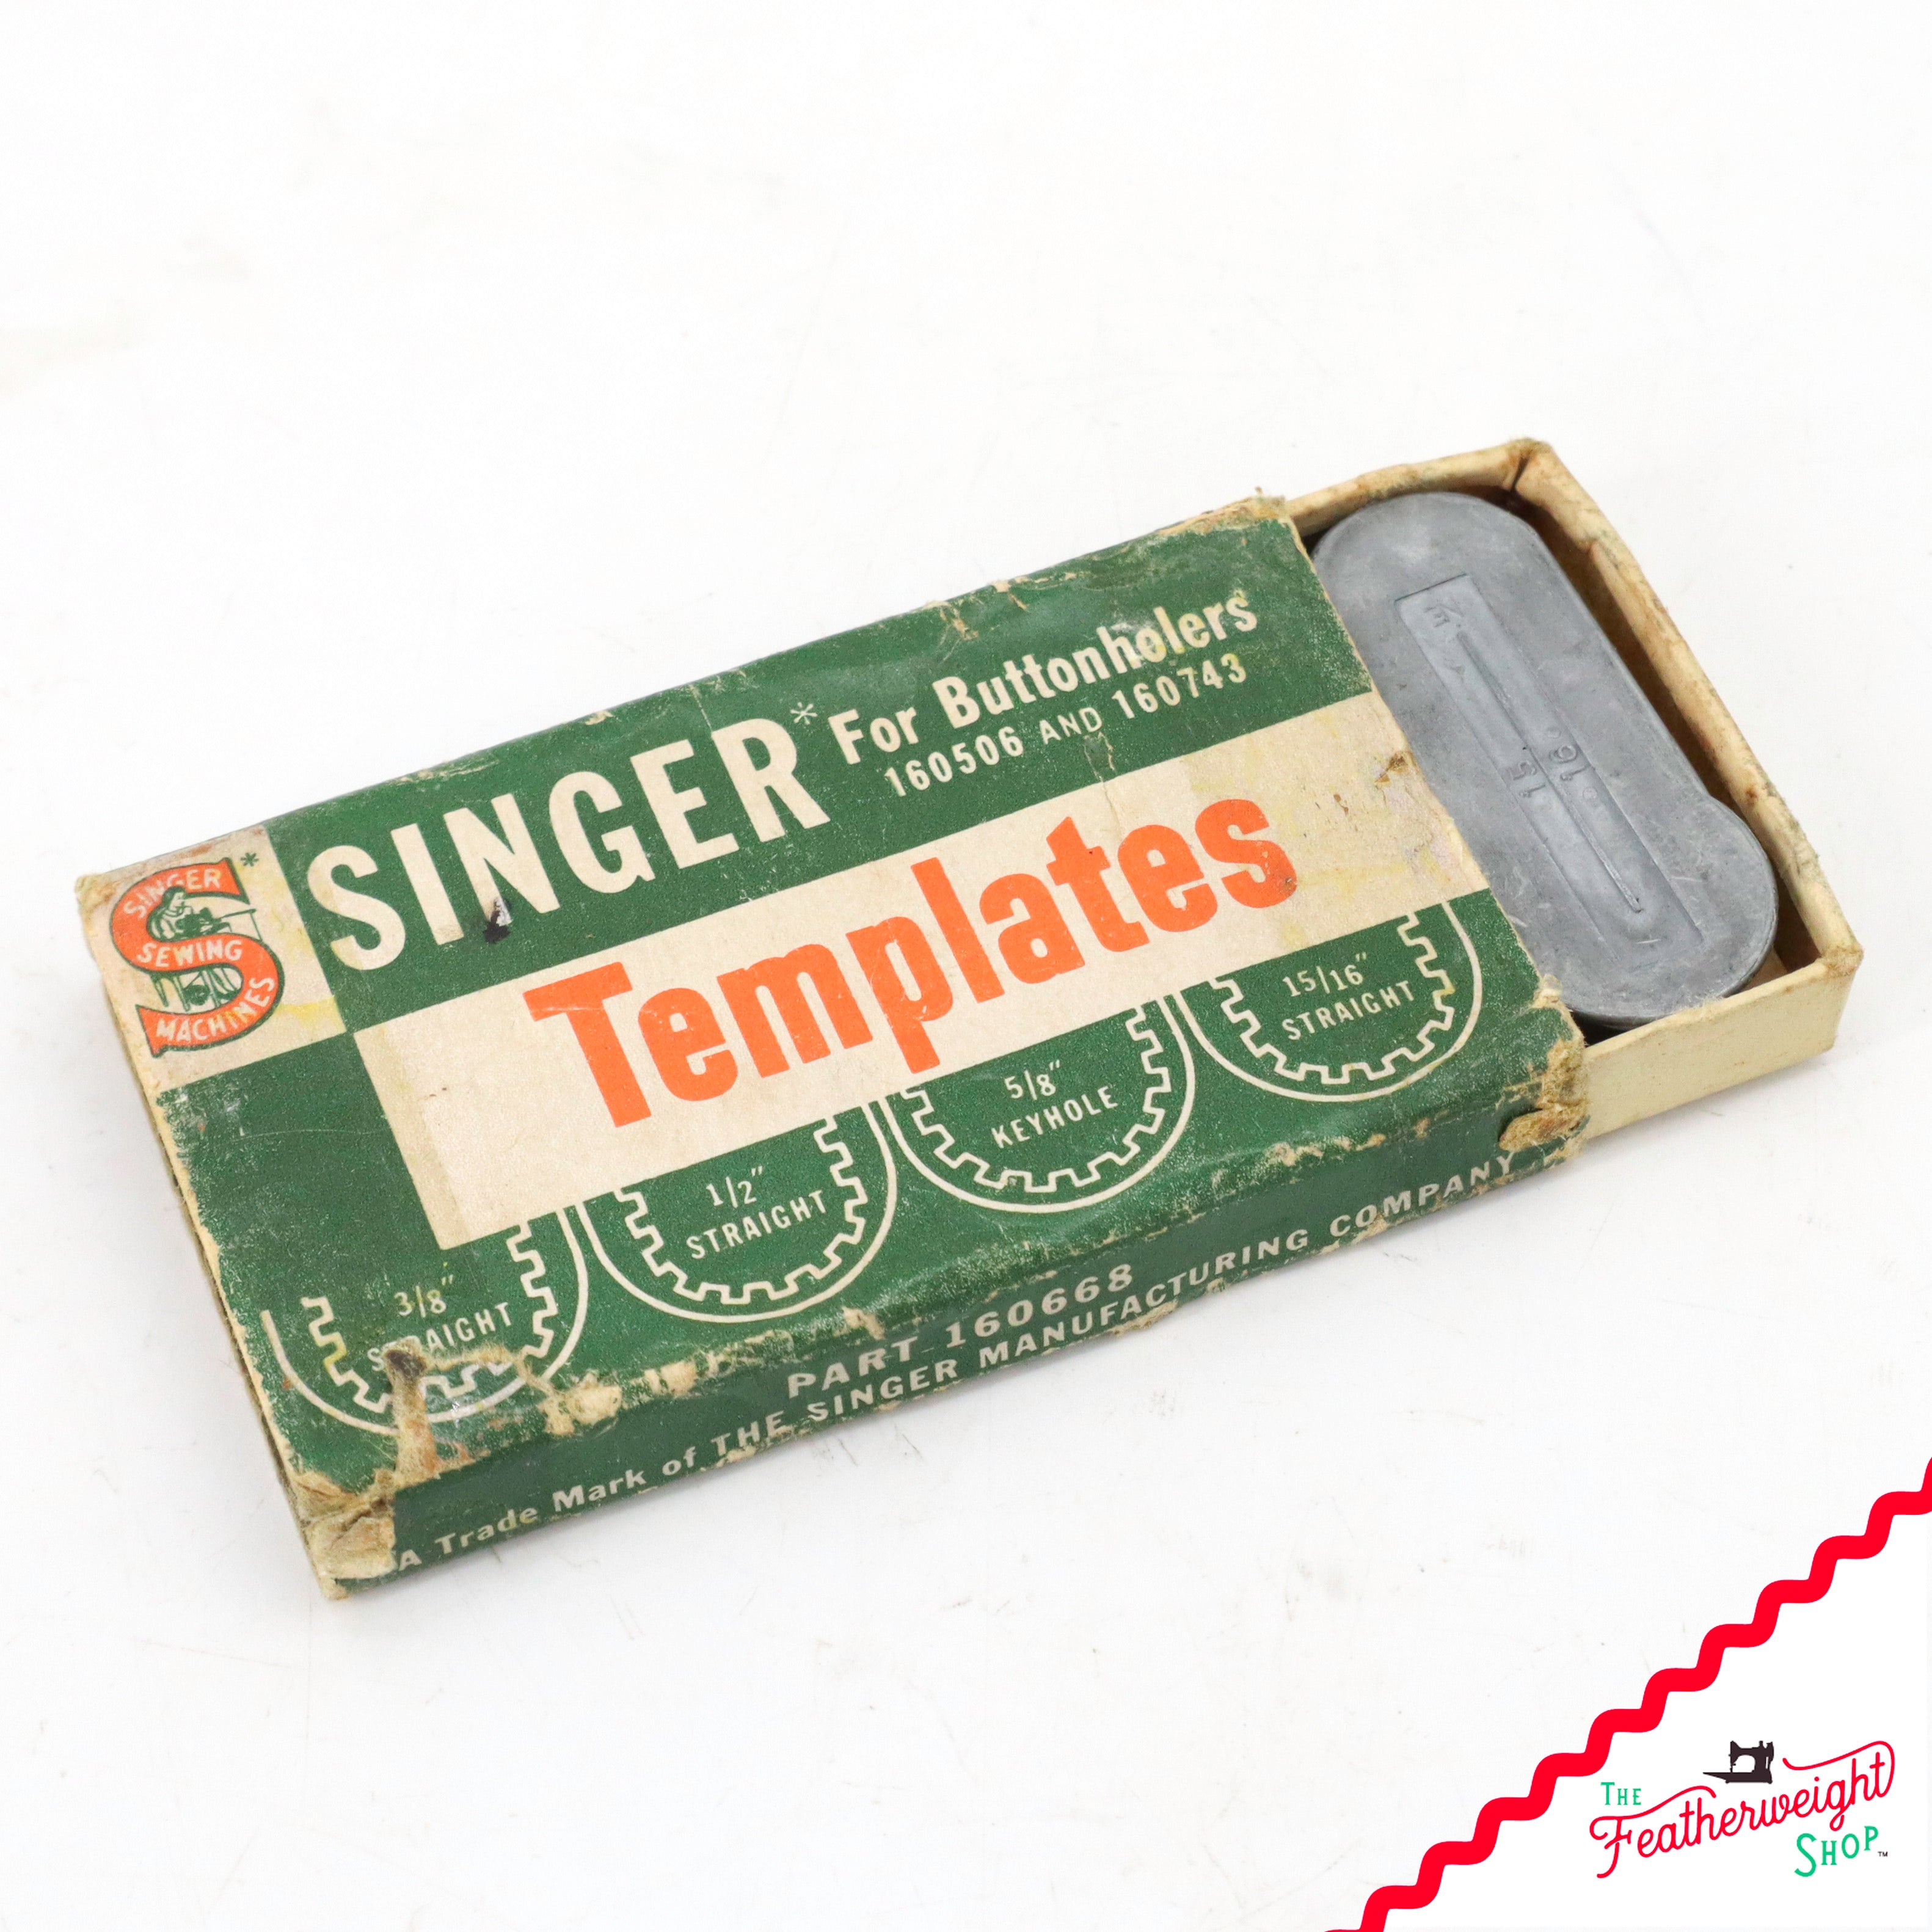
Singer Buttonhole Attachment comes complete with 9 cams (1 in the mechanism), feed-dog cover plate, thumb screw, original case and instruction manual. Cams are the following original sizes: 5/16" straight, 3/8” straight, 1/2” straight, 5/8" straight, 5/8” keyhole, 13/16" straight, 15/16” straight, 1 1/16" straight and 1 1/16" keyhole.
Attachment is cleaned, oiled and sampled just for you - all ready for your next sewing project.
Old Singer Trivia - Did you know that in 1938 the original Singer Buttonholer was the most expensive Attachment Fashion Aid? Yes, it was! To have the mechanics of making a buttonhole with a sewing machine versus the painstaking challenge of sewing one secure enough by hand was a engineering marvel! The Buttonholer was priced at $8.70 in 1938 with the next most expensive Fashion Aid Attachment being the Singer Electric Scissors at $5.75, followed by the Hand Crank Pinker at $5.00, and the Pinking Attachment and Hemstitcher Picot Edger at $4.75 each.
Prices changed considerably by 1954 when the old style Buttonholer fell to $4.75, but the new style (the kind shown here with the cams) was priced at $9.75 - second to the Automatic ZigZagger, which had just been invented, priced at $14.95.
The Singer Buttonholer was $9.75 in 1954; do you know what that would be equivalent to today?
BUTTONHOLES
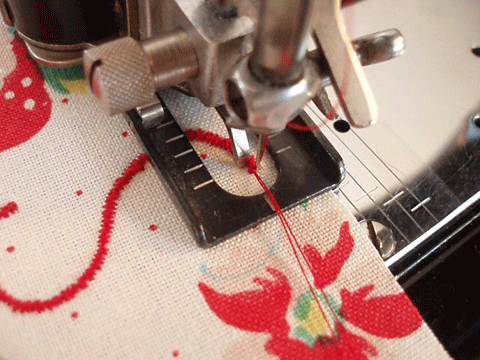
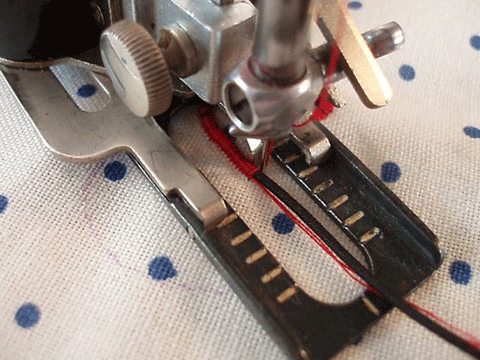
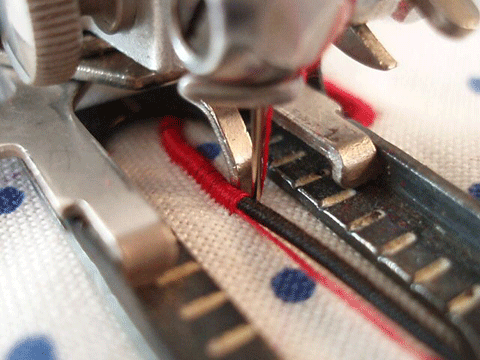
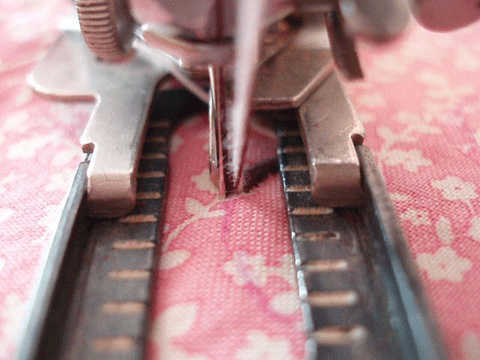
Beautiful, perfect and easy! So easy in fact, it's practically hands-free! This buttonholer is still preferred by long-time sewists, even over built-in buttonhole features on modern-day machines.
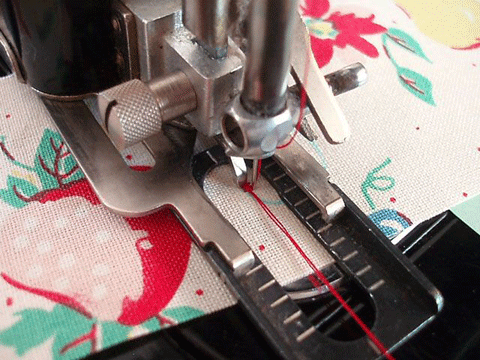
Watch our video above for how to use
the Singer Buttonhole Sewing Machine Attachment. The demo is on a low shank Singer Featherweight, but the slant shank Buttonholer will work the same on a slant shank Singer sewing machine (301, 401, 500, 503, etc.)
~~~~~~~~~~~~~~~~~~~~~~
Not all Singer Buttonholer manuals are the same. Did you know that you can also monogram or make an embroidered edge? There is a difference between Buttonholer manuals because some show the embroidery instructions and some do not. If you would like to know how to do embroidery - you can download the manual here.
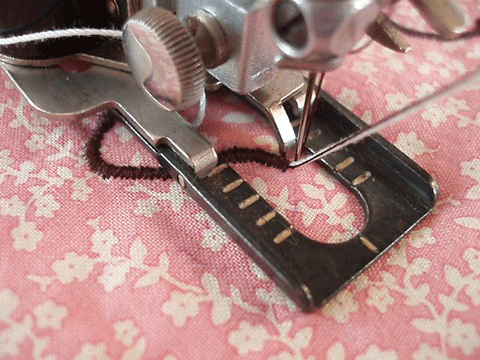
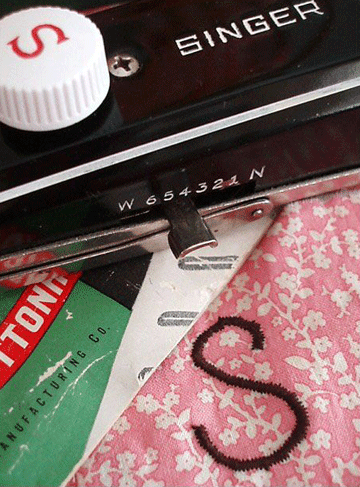
MONOGRAMMING and EMBROIDERY
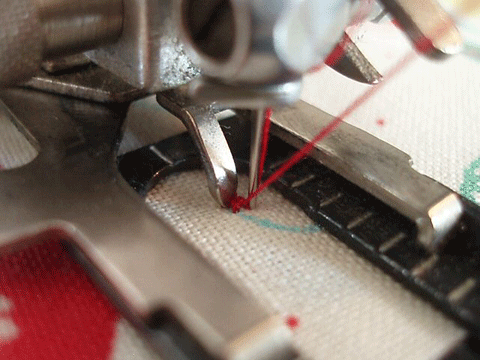
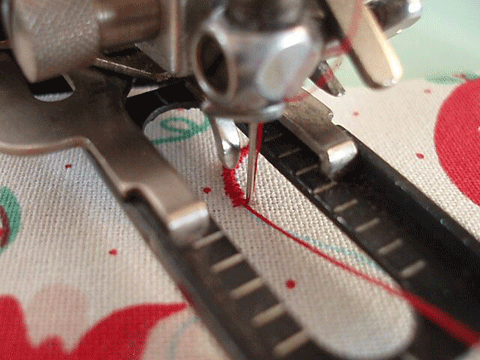
Keep the buttonholer cloth clamp working on the right (always) - this can be a bit tricky to remember when you are so used to making buttonholes that work on the right then loop around and go down the left. When the cloth clamp has reached the second line closest to you, stop (making sure the needle is down in the cloth). Now lift the presser bar while holding your work in place, and turn the adjusting knob so that it starts back at the beginning of the right side again. Continue and repeat as necessary.
You will also need to lift the presser bar (with the needle down, of course) every few stitches around a curve. It is worth the fun challenge for the satisfaction of making something the old-fashioned way!
If you use heavier cording it will add dimension to your monogramming. You could make a monogrammed handkerchief or even monogram a quilt block. Be sure to add stabilizer to the back, if you do.
Quick View


