Singer Featherweight
Schoolhouse
Categories
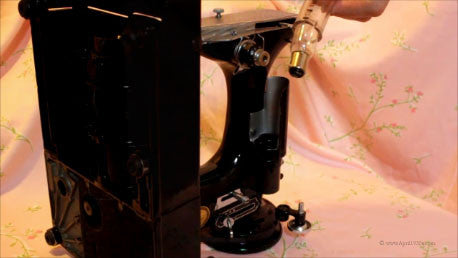
How to Change a Singer Featherweight Light Bulb
For those of you who do not have local access to a hardware store or don't want to drive all over town trying to locate the right tubing product, we do carry them in the shop as a convenience to our customers: Many of you have probably tried and found that the area where the light bulb g...
Read More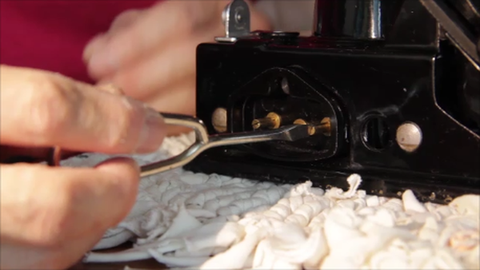
How to Fix Terminal Receptacle Pins for Better Connection
How to Fix Terminal Receptacle Pins for Better Connection A common question we receive has to do with the Featherweight plug being too loose in the receptacle. Watch the short video above to see what to do should this ever occur with one of your Featherweight machines. My Featherweight fri...
Read More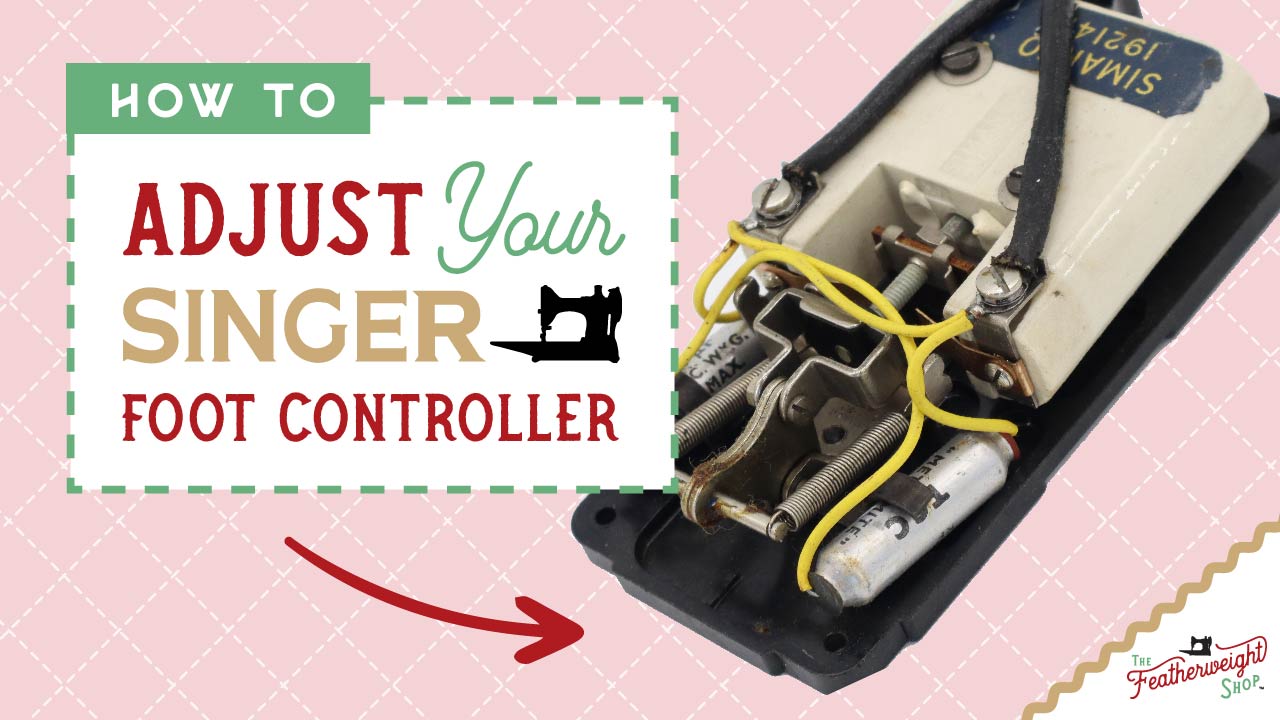
Foot Pedal Controller Speed Adjustment
If your Singer Featherweight 221 foot controller (aka foot pedal) has only one speed (fast) OR is getting way too hot, then it might just need a simple adjustment inside. Watch this video tutorial for how to calibrate and make the necessary adjustment and to keep your machine operating safe...
Read More
How To Replace the Electrical Components
This video tutorial will show you how to replace and rewire the light socket, lampshade, light switch, receptacle and motor on a Singer Featherweight 221. If you have any questions, don't hesitate to contact us. Also, be sure to like and share this tutorial with your fellow Featherweight friend...
Read More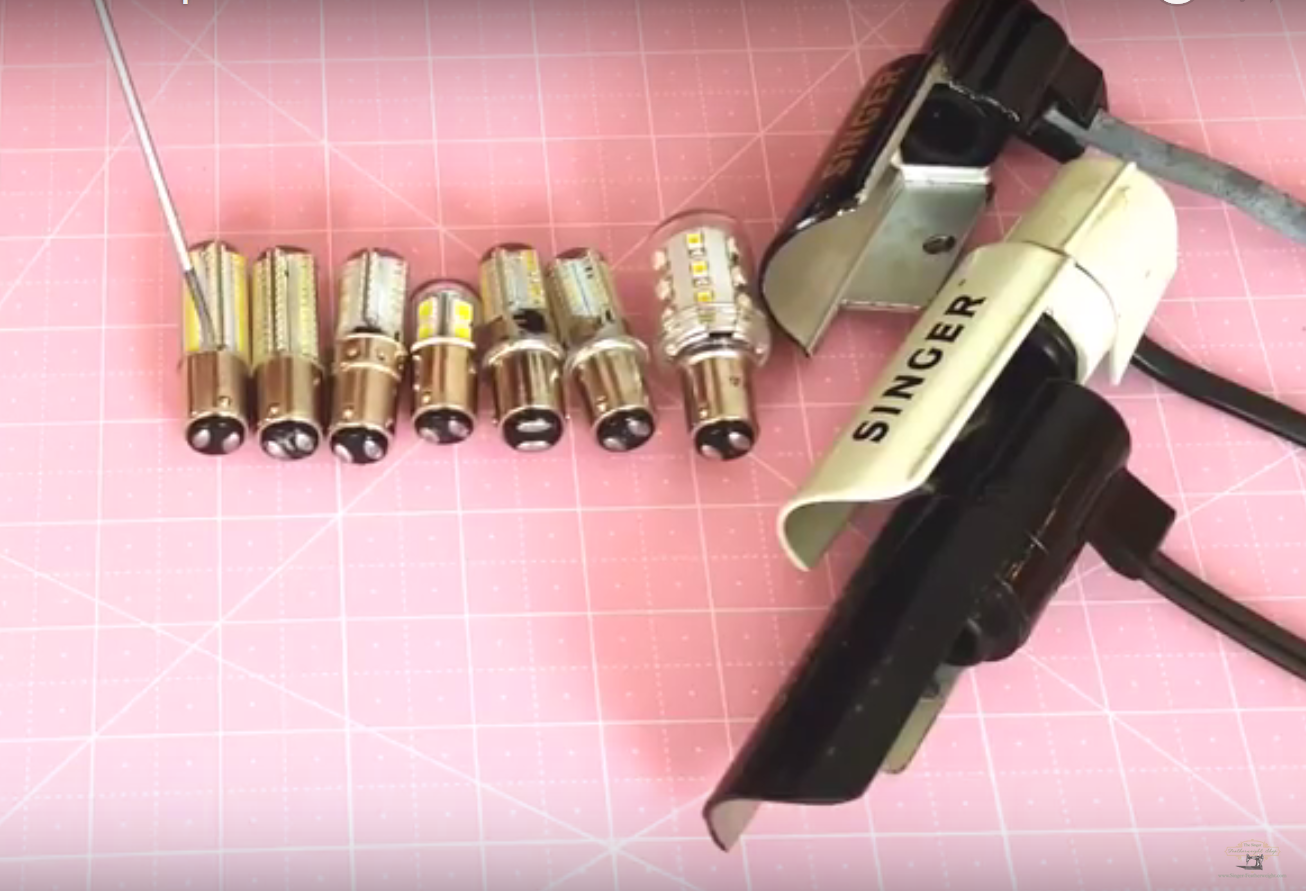
Featherweight LED Bulb Comparison
Which LED light bulb is the right one for the Singer Featherweight 221 or 222K sewing machine? Carmon Henry answers that question and explains how they differ and why some work in the light sockets and some do not. We are often asked, "Will your LED bulb fit in my Featherweight because I have h...
Read More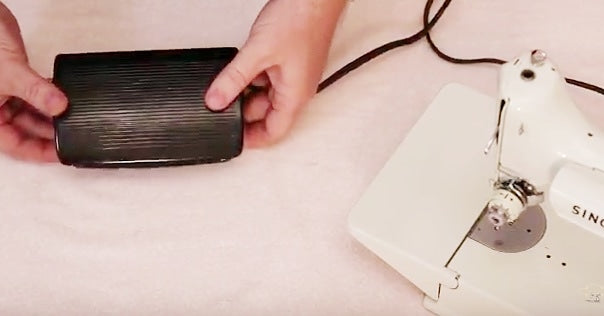
How to Repair a Speedy Clamshell Style Foot Controller
A few years ago we posted the tutorial for how to adjust the original bakelite foot controller and since then have received many requests for how to do the same speed adjustment on the "clamshell" style foot controller, most often seen on white Featherweights, but sometimes with the black Singer ...
Read More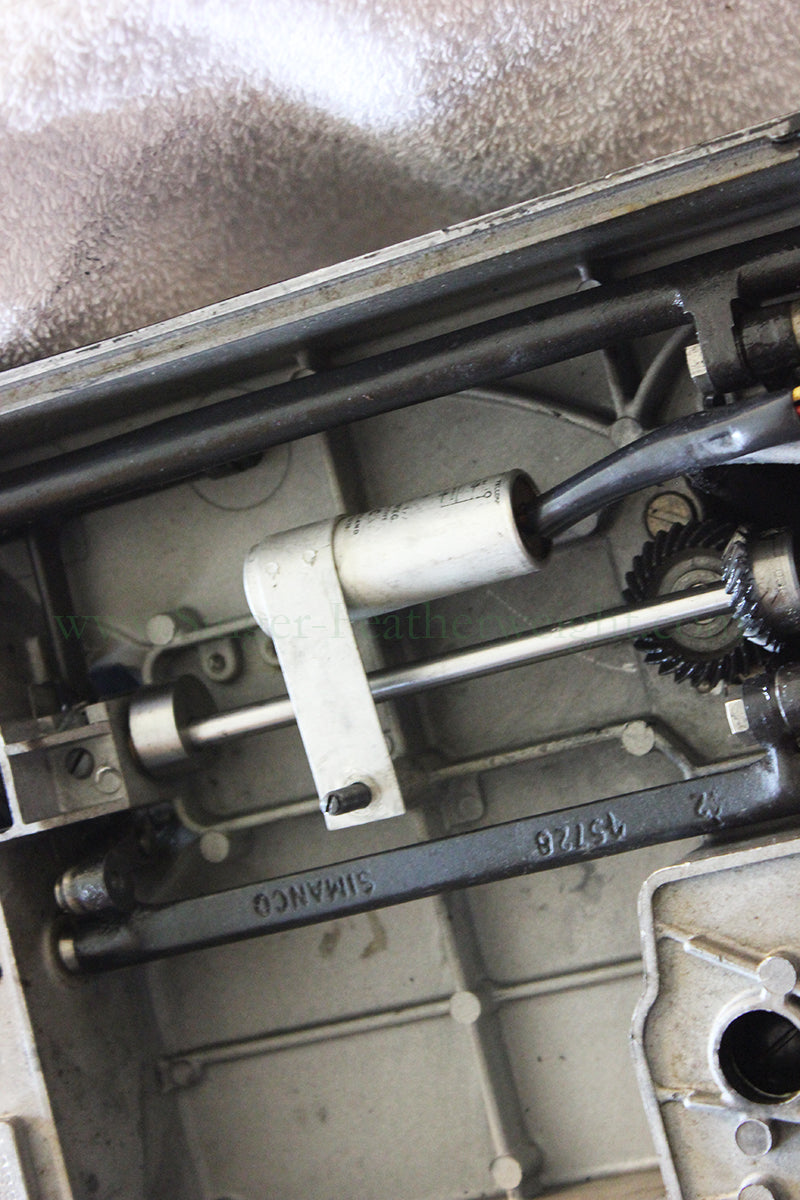
Capacitors - Why Did My Featherweight Start Sewing By Itself All of the Sudden?
Many Featherweight owners have asked, "what are these silver cylinders inside my foot controller?" For several of the Featherweights manufactured in the UK, capacitors were added inside the foot controller, motor, or the machine itself. The purpose of capacitors was to cut down on electrical fe...
Read More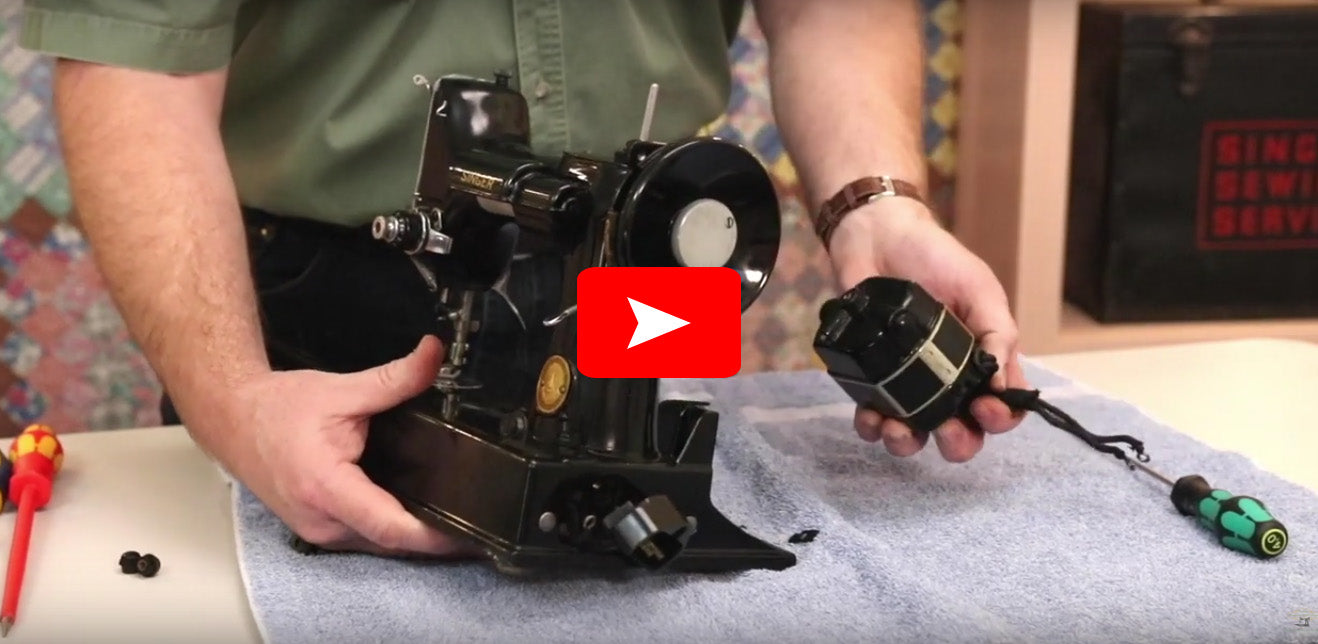
Motor Removal Process on Your Singer Featherweight 221 & 222
Learn how to safely and properly remove the motor from your Singer Featherweight 221 & 222. You will find a step-by-step instruction with pictures and video tutorial to walk you through the process.
Read More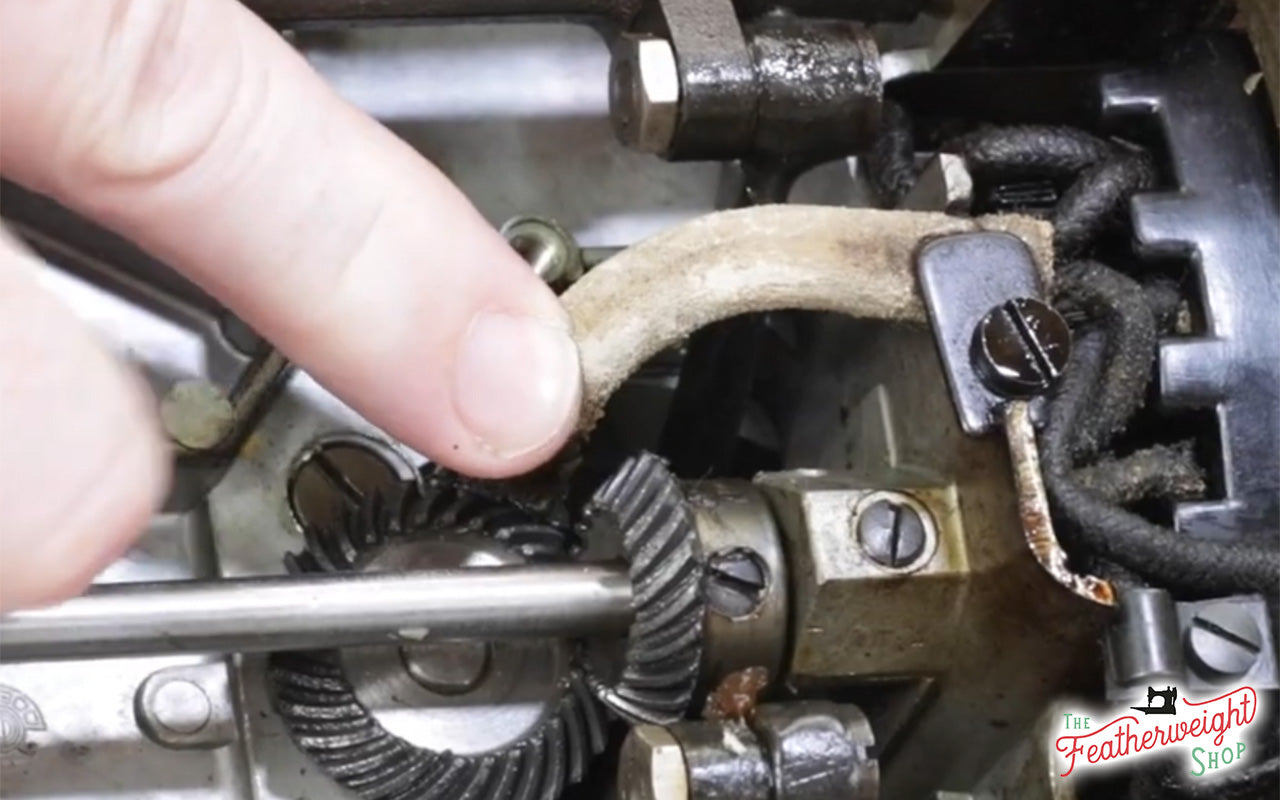
Part 1 of 3 - Featherweight 221 Light Wiring Series
Part 1: A Tutorial on Cleaning the Lead Sheath on a Singer Featherweight 221. Products & Tools Referenced: Light Socket with Sheath Wera Safety Screwdriver (also available in the Set of 4) Gear Cleaning Brush Low Odor Kerosene and Long-Spouted Bottle Sew Retro Grease Small Terry-Clo...
Read More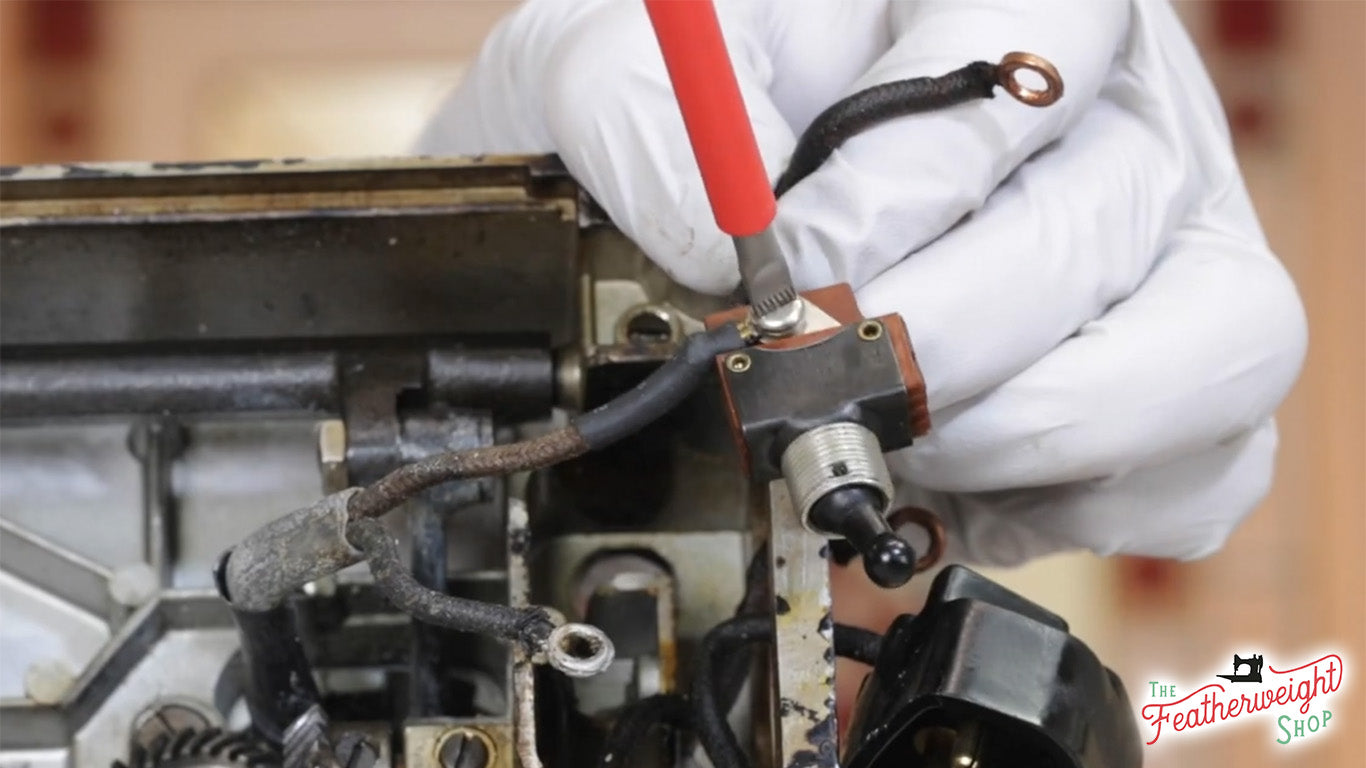
Part 2 of 3 - Featherweight Light Wiring Troubleshooting & Repair
Featherweight Light Wiring Tutorial Series - Part 2 In Part 1 of the Light Wiring Series, we did a basic cleaning of the light wiring lead sheath underneath the machine, which helps to remove some of the exposed oxidation residue that can build up over a long period of time. Reme...
Read More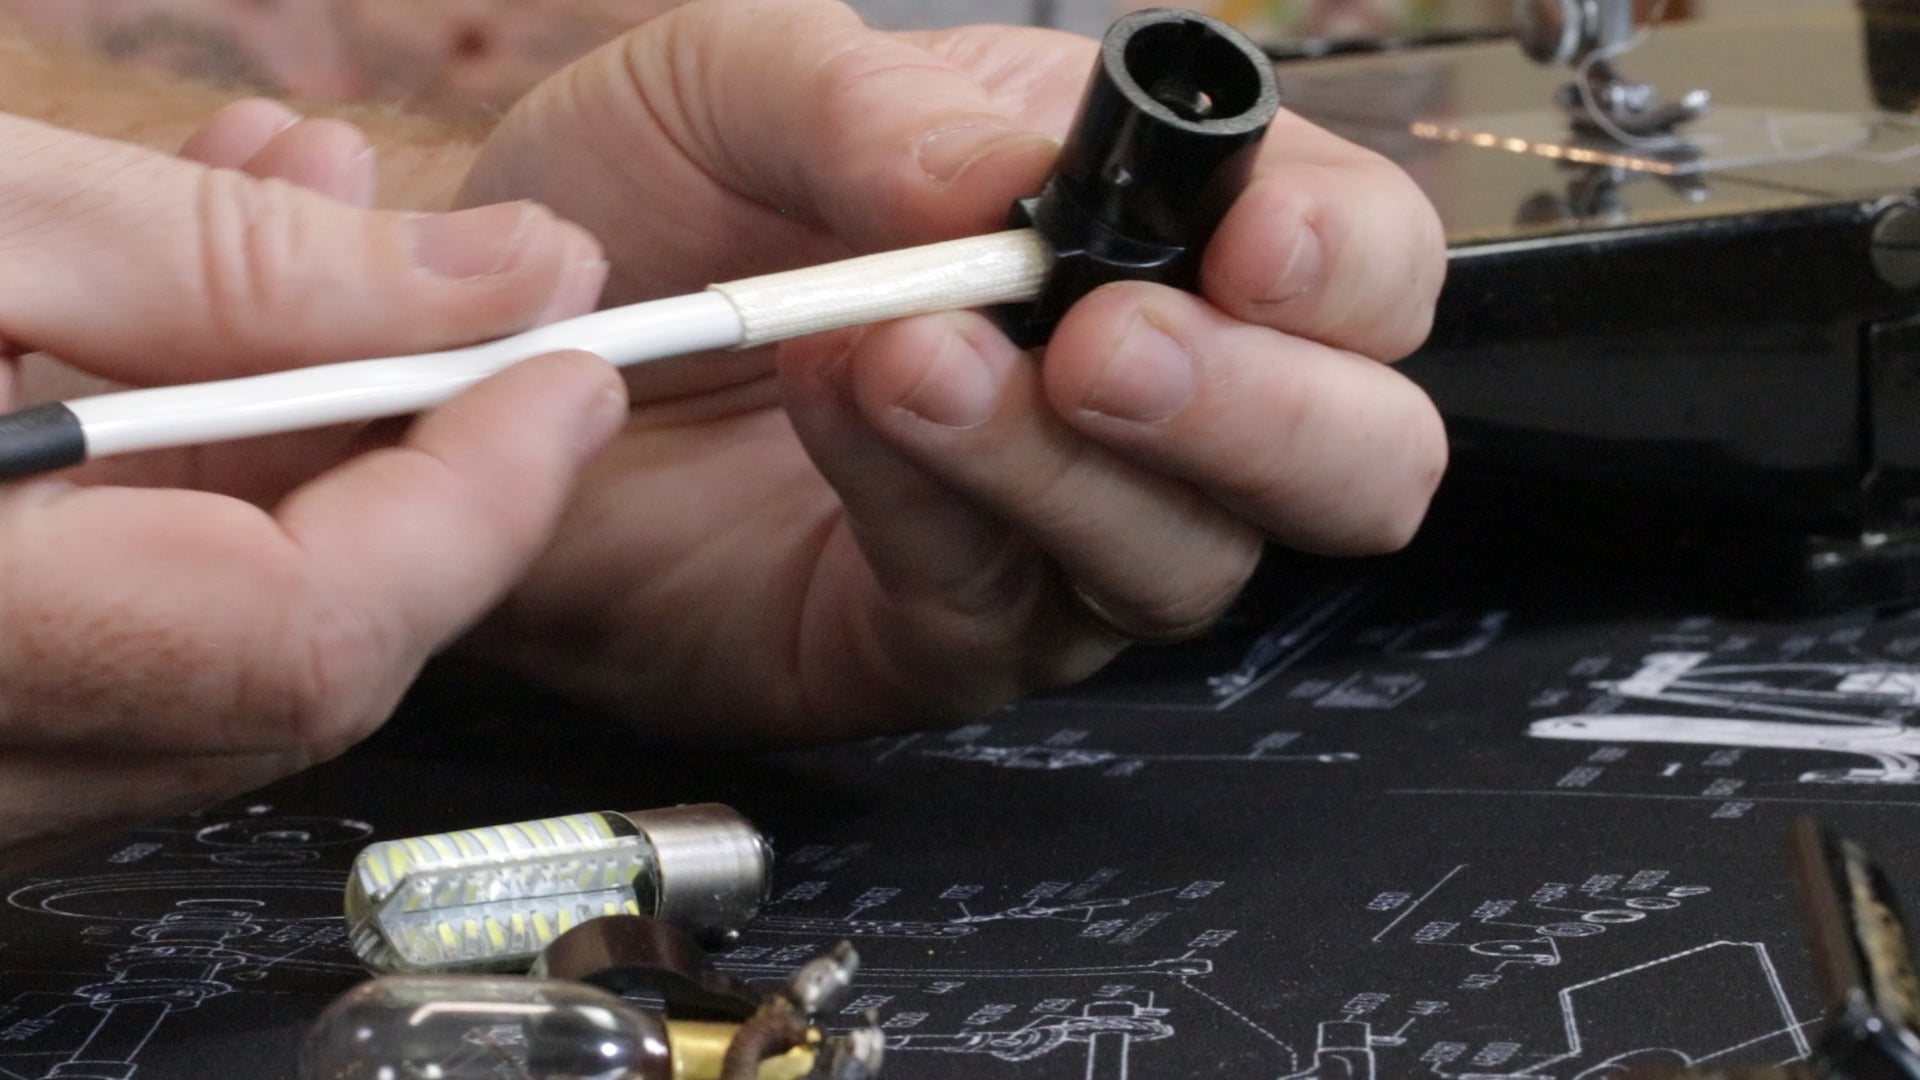
Part 3 of 3 - Featherweight Light Wiring, Troubleshooting a Flickering Light
Featherweight Light Wiring Tutorial Series - Part 3 of 3 In Part 2 of the Light Wiring Series, we examined the light wires and followed a step-by-step process for repair. Today, in our final installment of the Light Wiring Series, we will discuss the causes as well as how to...
Read More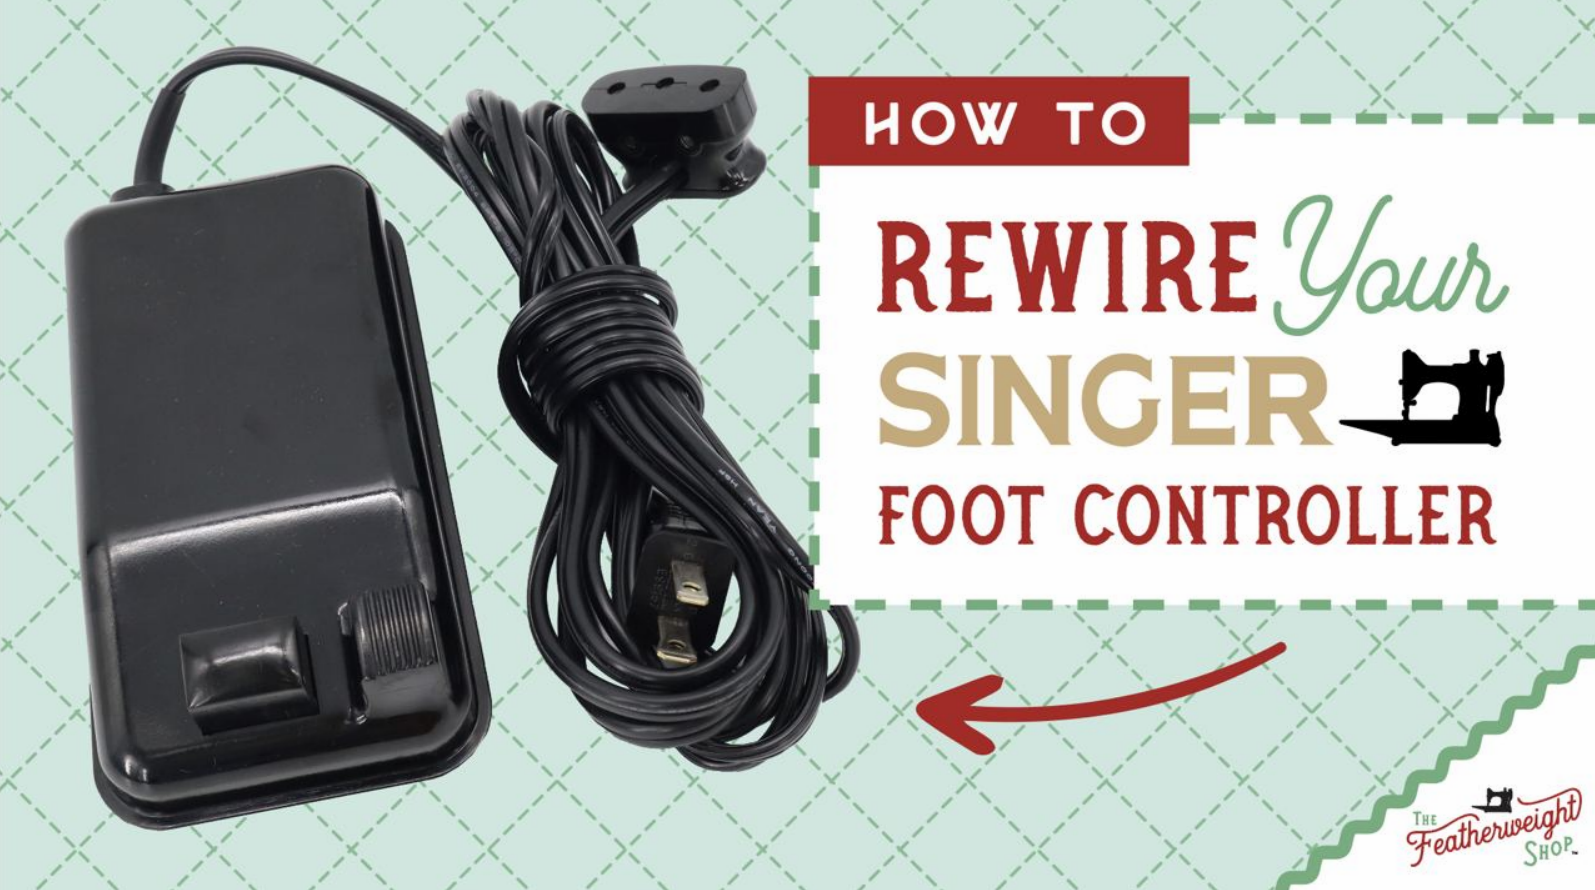
Singer Featherweight Foot Controller Rewiring
Many Featherweight owners send us their original Foot Controllers for rewiring. We offer this service for those who want to keep their Original Foot Controller and Bakelite plug but want it to be electrically safe. The video above demonstrates the process of rewiring an original Singer foot con...
Read More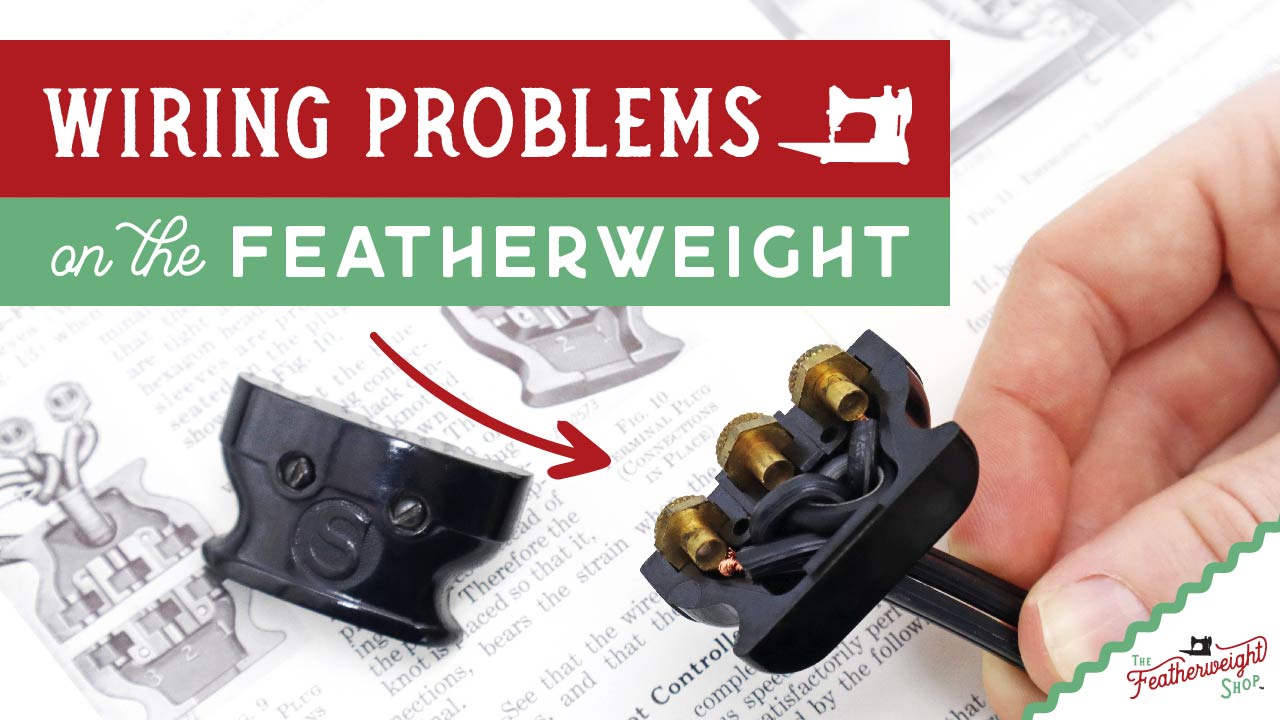
Light Flickering with Foot Controller Depression ~ Electrical Adjustment
The light should only turn on and off with the flick of the switch, not the foot controller. So, if you press on the Featherweight foot controller and the light flickers off just as the motor runs, then there has been an inadvertent electrical reversal at some point in the machine's wiring his...
Read More

