

Singer Featherweight
Schoolhouse
Categories
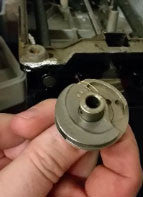
How to Fix a Stuck Hook Assembly
After removing the hook assembly screws on a Singer Featherweight 221 sometimes the assembly will still remain stuck on the shaft. This quick tip will help you remove it easily without damage to your machine or that expensive original part... just be sure to watch all the way to the end of the vi...
Read More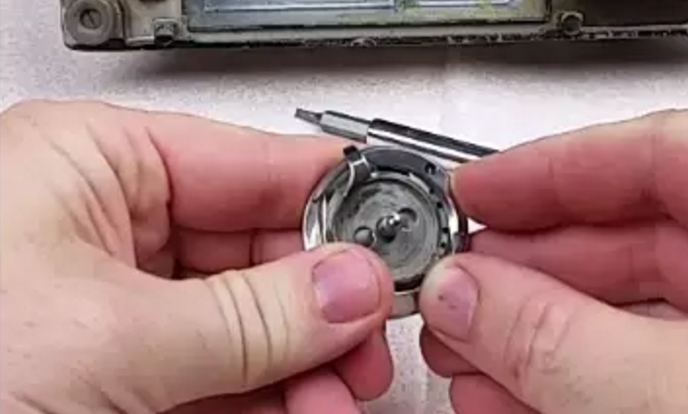
Featherweight Timing (and how to replace the Gib Hook)
In this video tutorial, Carmon Henry gives the step-by-step process for how to set the hook timing on a Singer Featherweight. Timing is almost never an issue on a Singer Featherweight 221 or 222. What that means is -- that it is virtually impossible for a Featherweight to get out of time just f...
Read More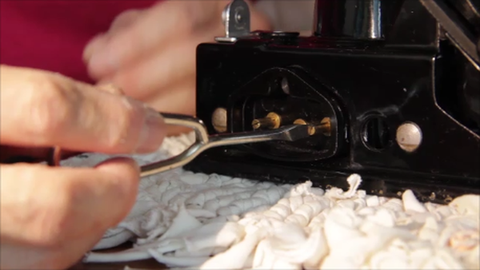
How to Fix Terminal Receptacle Pins for Better Connection
How to Fix Terminal Receptacle Pins for Better Connection A common question we receive has to do with the Featherweight plug being too loose in the receptacle. Watch the short video above to see what to do should this ever occur with one of your Featherweight machines. My Featherweight fri...
Read More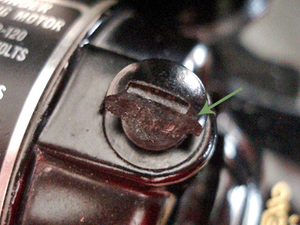
Fixing a Broken Motor Cap Screw
Broken Motor Cap Screw This Featherweight Hint has been provided to us by Brad Sawatwipachai. Brad is a friend and Featherweight collector in Ontario, Canada. He recently hosted his first Featherweight Maintenance Workshop and posted photographs of something he had to remedy while in his clas...
Read More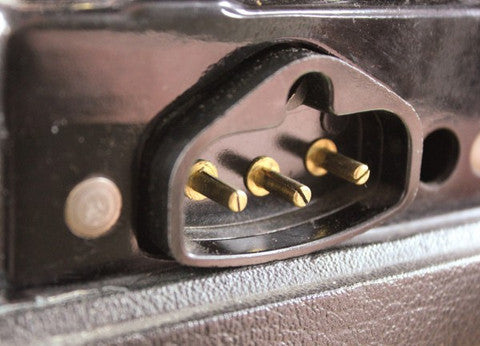
This Featherweight hint is actually a simple one but could save you some heartache just by being conscientious and a little bit careful with your Bakelite Terminal Receptacle. Did you know there is a proper way to put your Singer Featherweight away into your case? Indeed there is. Time and ...
Read More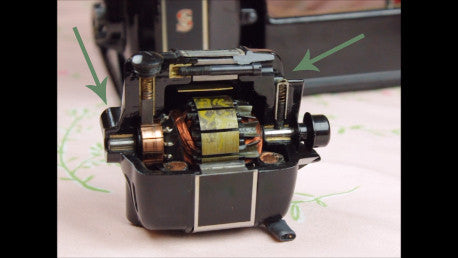
Learning About Motor Felt Wicks
There has been much talk about motor lubricating lately, including many that are advocating not lubricating the motor at all. I am not sure where this advice started, whether it began because the later white Featherweight motors do not have lubricating ports, or if it was from those warning agai...
Read More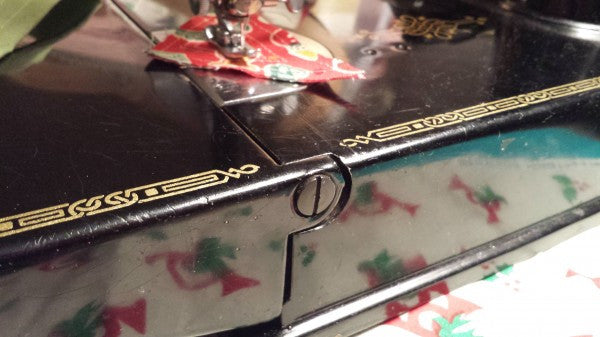
How to Fix a Floppy Bed Extension
For today’s hint, we will be discussing a floppy Featherweight bed. This remedy is quick and easy and will keep your bed from flopping down too fast. (Note: This only applies to black and tan Featherweight Machines. Singer cut a few manufacturing corners when they made the White Featherweigh...
Read More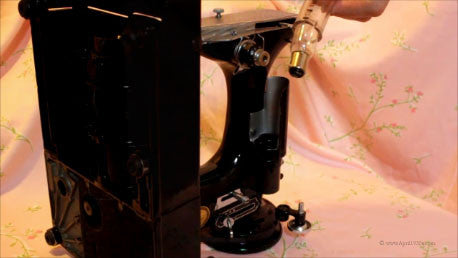
How to Change a Singer Featherweight Light Bulb
For those of you who do not have local access to a hardware store or don't want to drive all over town trying to locate the right tubing product, we do carry them in the shop as a convenience to our customers: Many of you have probably tried and found that the area where the light bulb g...
Read More
How to Use the Singer Style-O-Matic Attachment
The SINGER Style-O-Matic Attachment with 17 Different Finishes all in one Attachment. Singer introduced this amazing little gadget in 1934 and after that, it has been referenced in very, very few publications and advertisements. A very short-lived attachment - making it a very scarce collectib...
Read More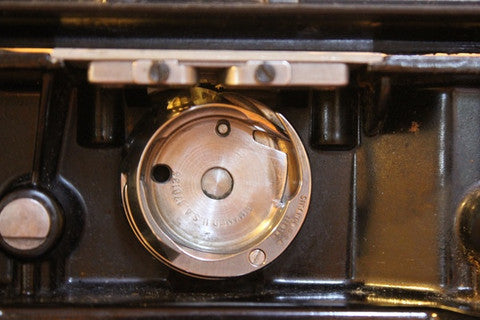
Hook Assembly with Bobbin Case Base Removed April 7, 2020: UPDATE & ADDENDUM, New Video Tutorial In September of 2014, we posted a Video 1 Tutorial showing how to remove thread from the hook assembly on a Singer 221. Then, in May, 2018, we updated the video to add the tutorial for the...
Read More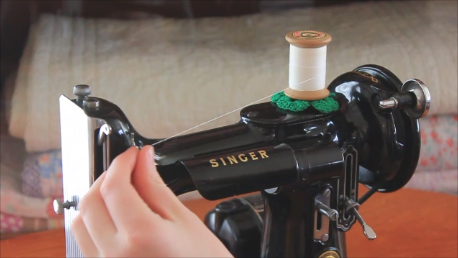
How to Thread a Singer Featherweight
Is your machine skipping stitches, or looping strangely after it was sewing just perfectly moments before? Most all stitch problems on a Singer Featherweight have to do with the way it is threaded. Unlike most modern machines and even a few older Singer models, the Featherweight 221 & 222...
Read More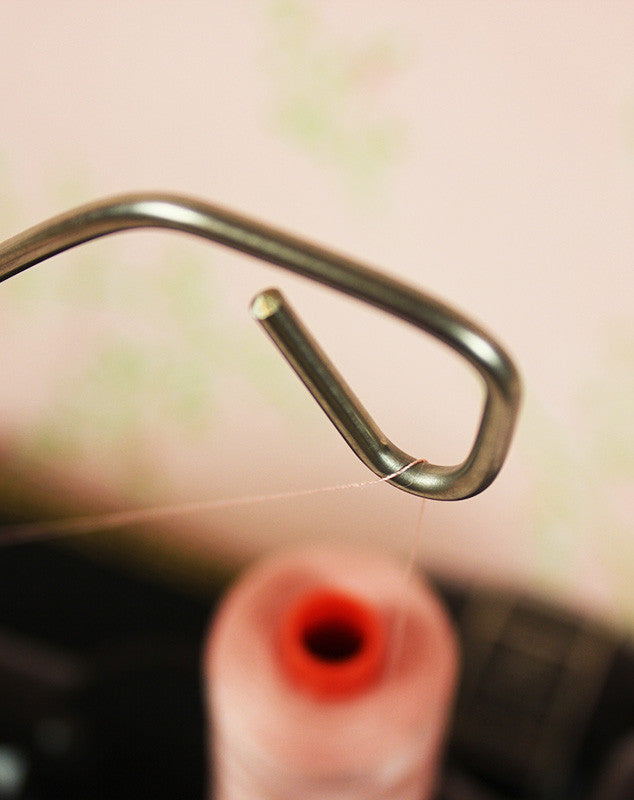
The Importance of a Thread Stand on a Singer Featherweight
Learn about the various types of thread spools and why a Thread Stand is important for proper tension on a Singer Featherweight! In the original days of the Featherweight, the only thread spools available were the wooden "stacked" spools, designed to spin as the thread was gently pulled strai...
Read More
Is your Featherweight a bit sluggish or does the belt slip when you sew? This quick tip for how to adjust the belt will help you remedy the problem in no time at all. The first thing you will want to do is remove the spool of thread as well as the bobbin case from the machine. Next, using a long...
Read More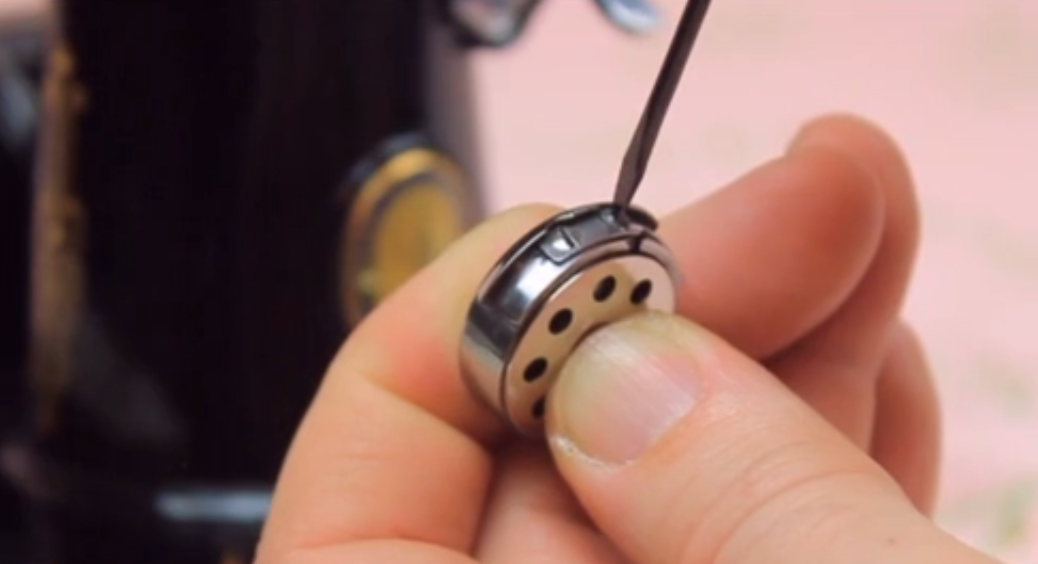
How to Adjust Tension on a Singer Featherweight
Learn how to easily and properly adjust the upper tension as well as the bobbin case tension on your Singer Featherweight 221 and 222. Below is a transcript of the video above. If you have any questions, do not hesitate to contact me. I am happy to assist anytime. If the video was helpful for ...
Read More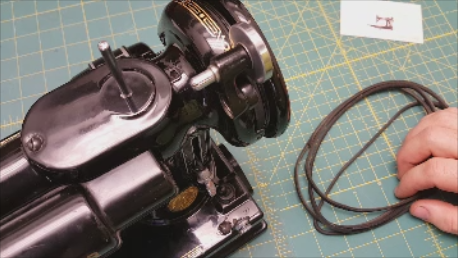
How To Remove and Install a Singer Featherweight Belt
We are sometimes asked when to replace a Featherweight belt as well as how to remove and install a new belt. This video tutorial will show you examples of some bad belts and what to look for, as well as the proper way for installing it. Another thing to take note of is the motor pulley because ...
Read More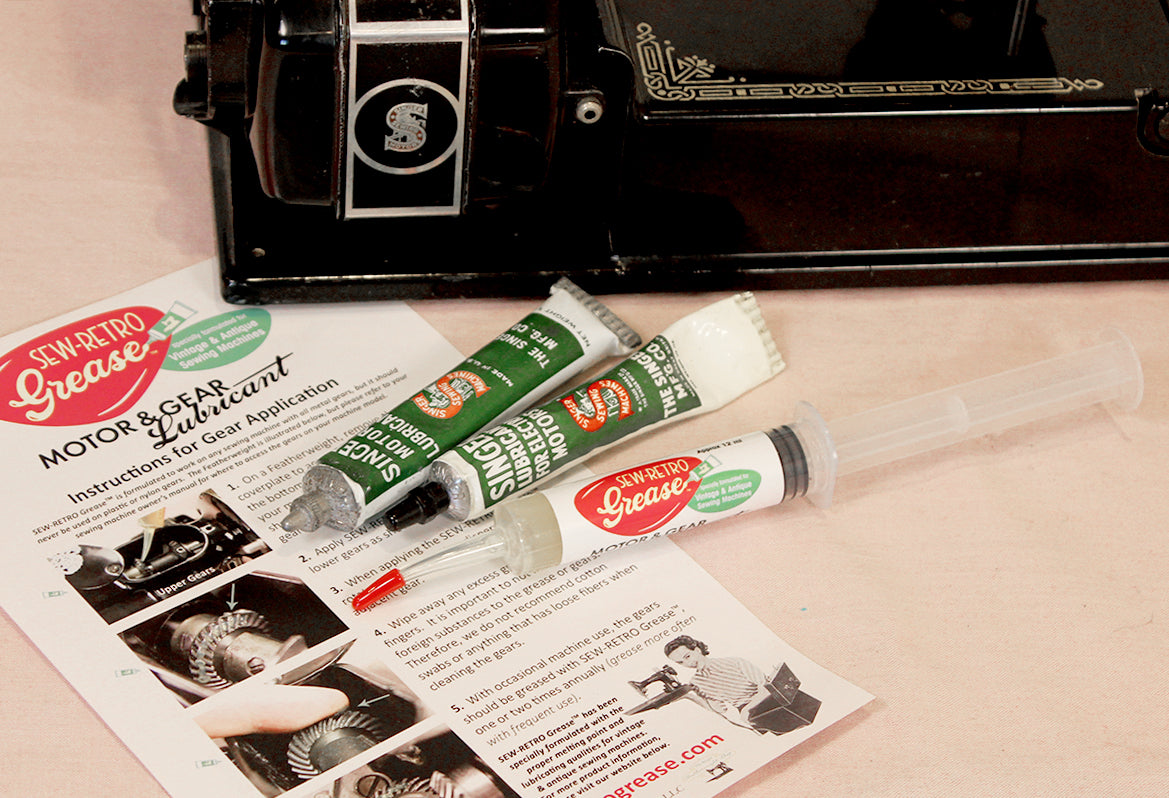
Motor Lubricant and the Proper Melting Point for Sewing Machine Motors
Are you using the right motor grease and lubricant for your Singer Featherweight? There are old, original tubes, new tubes and even some new kinds on the market... but are they properly suited for the Singer Featherweight? How would you know? Watch the video tutorial above and our old one b...
Read More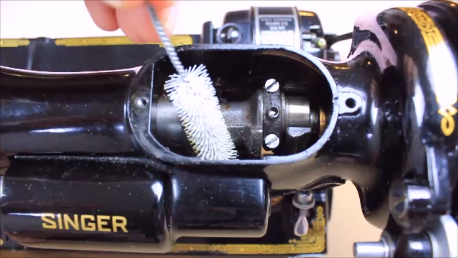
How to Clean & Lubricate Your Gears and Motor
Learn how to properly clean and lubricate your Singer Featherweight 221 & 222K sewing machine gears as well as the motor. Video tutorial walks you through each step for where to apply the lubricant. If you do not have the right grease on hand, then scroll down below the video to order a tube...
Read More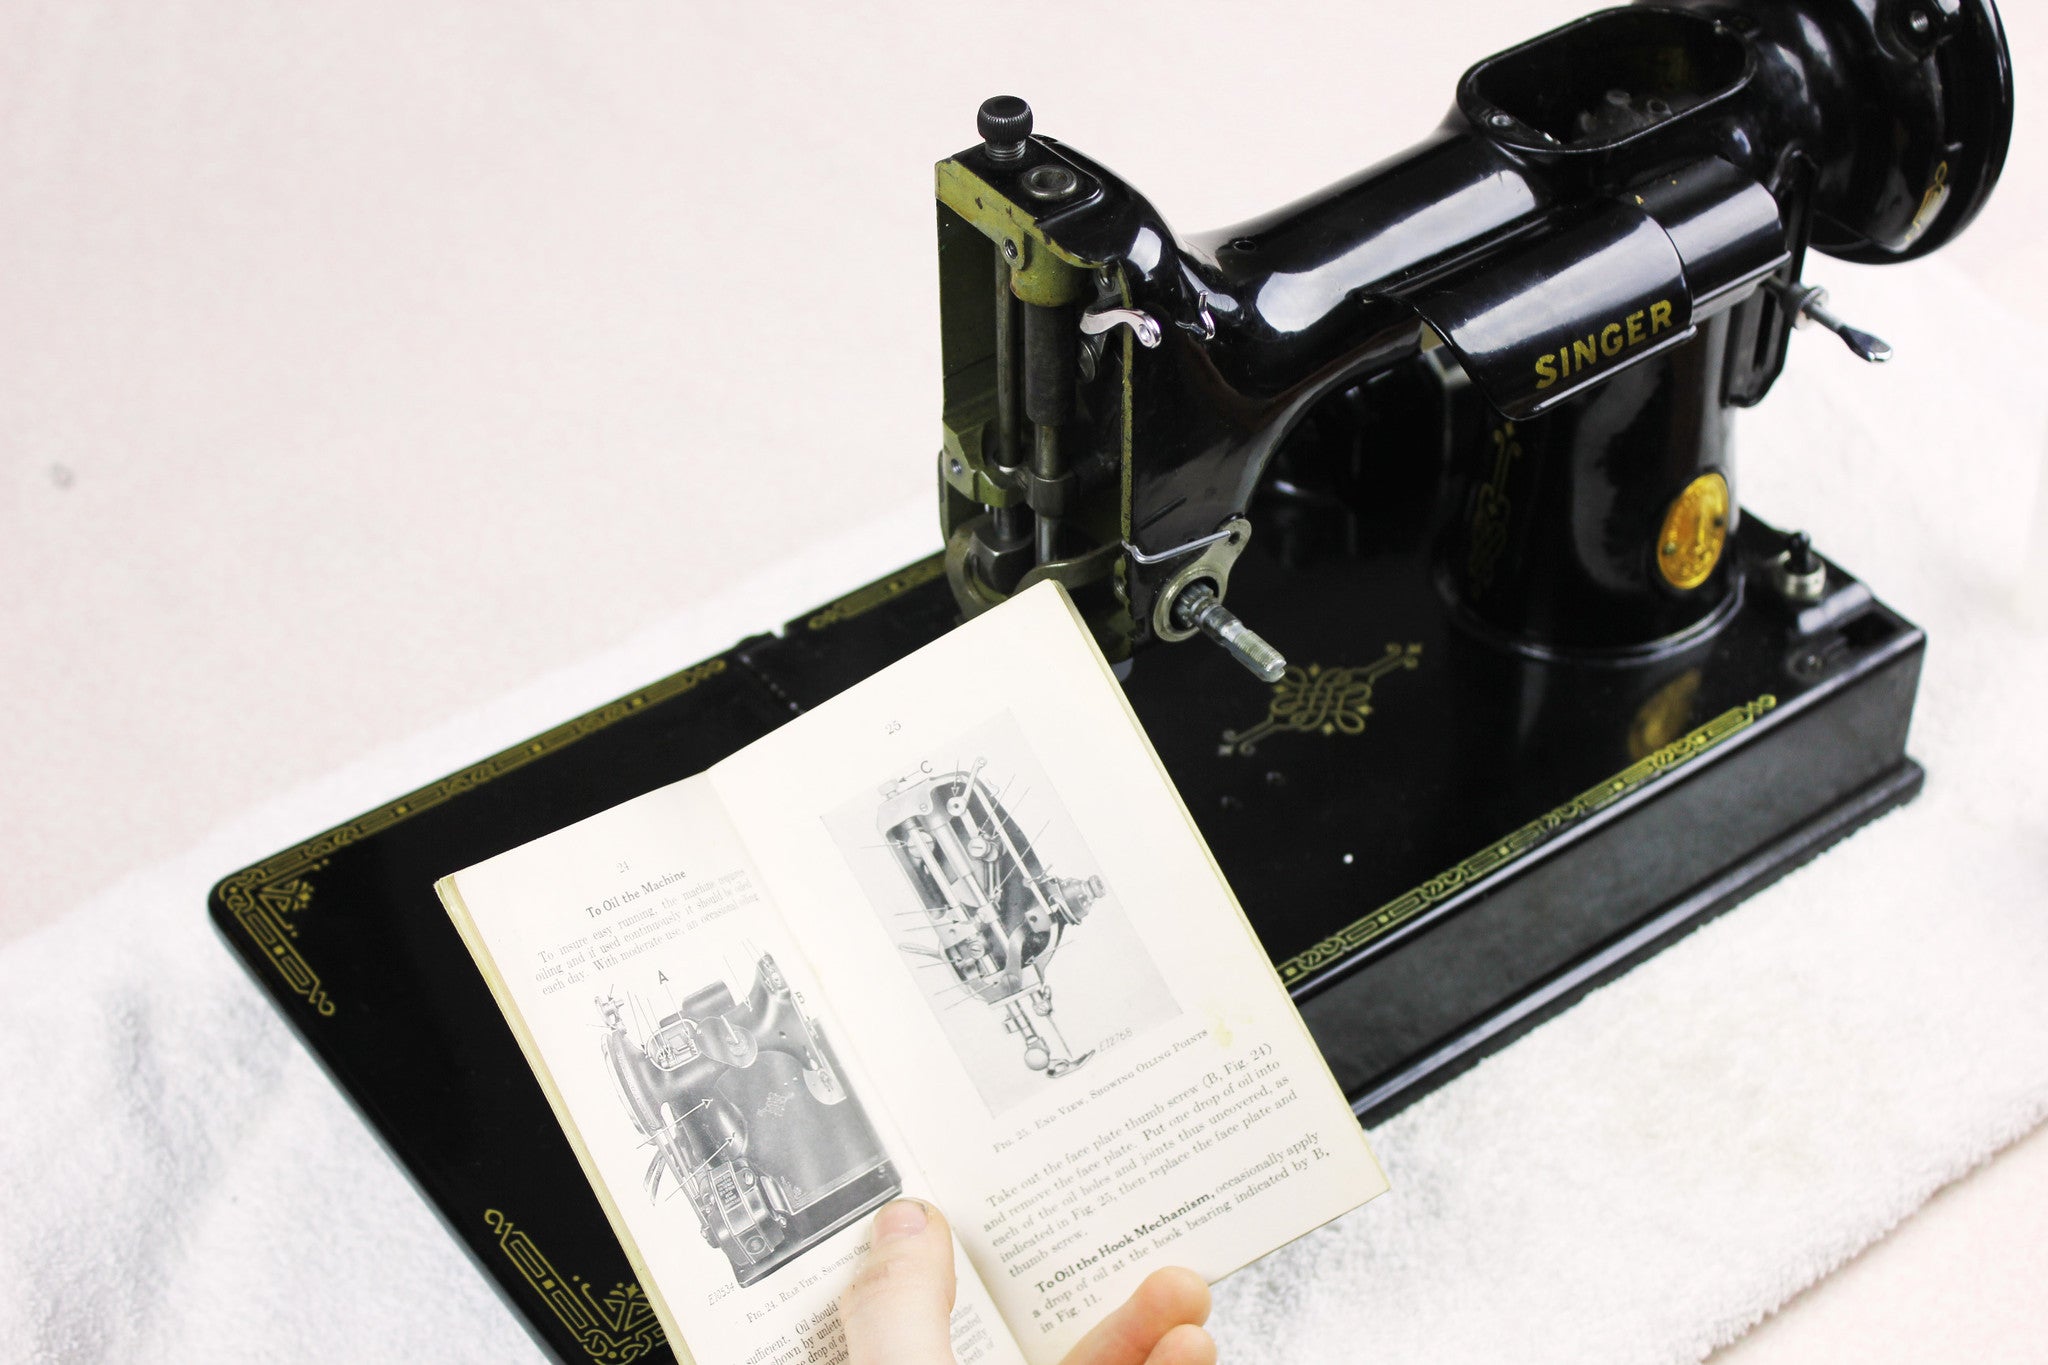
How to Oil Your Singer Featherweight 221 Sewing Machine
Give your Featherweight a "Spa Day!" This oiling tutorial will teach you every step of oiling your Singer Featherweight 221 Sewing Machine and is geared more towards routine maintenance. HINT: If you have discovered after opening up your Featherweight that the gear mechanisms are covered with ...
Read More