

Singer Featherweight
Schoolhouse
Categories
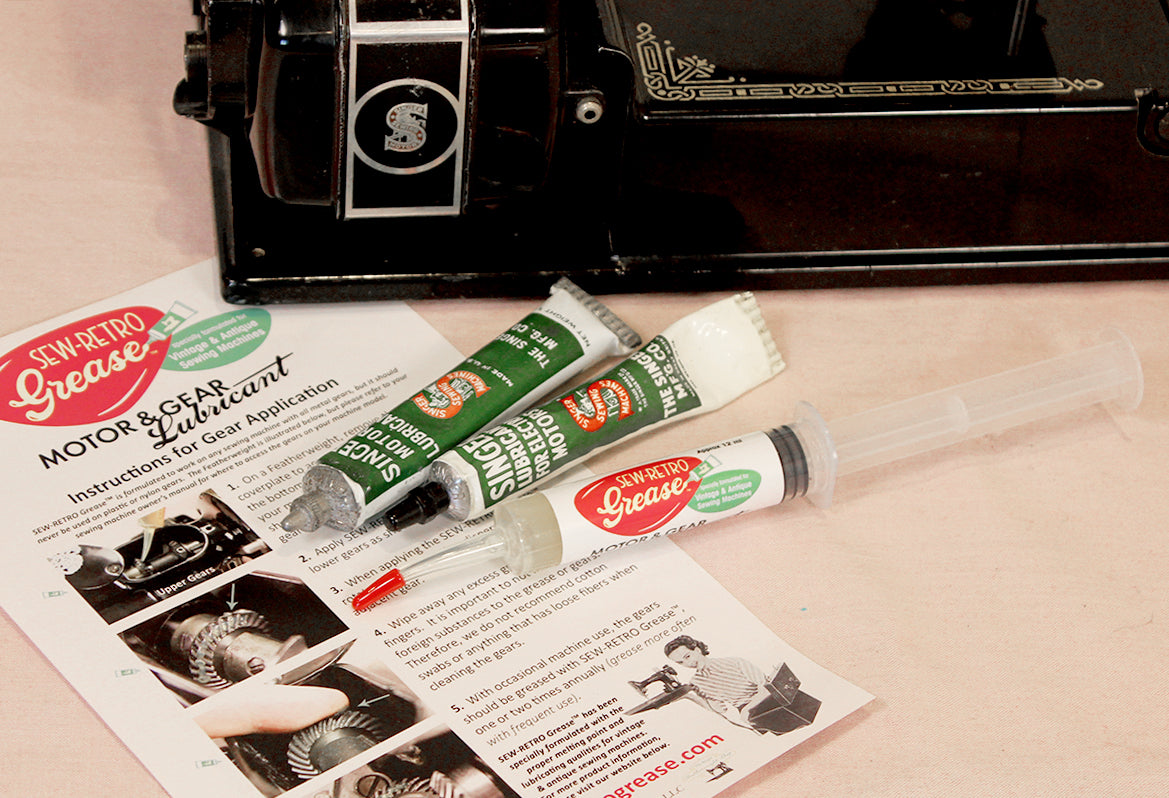
Motor Lubricant and the Proper Melting Point for Sewing Machine Motors
Are you using the right motor grease and lubricant for your Singer Featherweight? There are old, original tubes, new tubes and even some new kinds on the market... but are they properly suited for the Singer Featherweight? How would you know? Watch the video tutorial above and our old one b...
Read More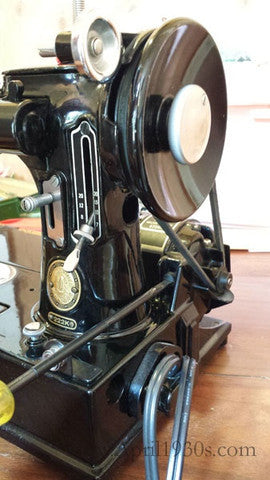
Is your Featherweight a bit sluggish or does the belt slip when you sew? This quick tip for how to adjust the belt will help you remedy the problem in no time at all. The first thing you will want to do is remove the spool of thread as well as the bobbin case from the machine. Next, using a long...
Read More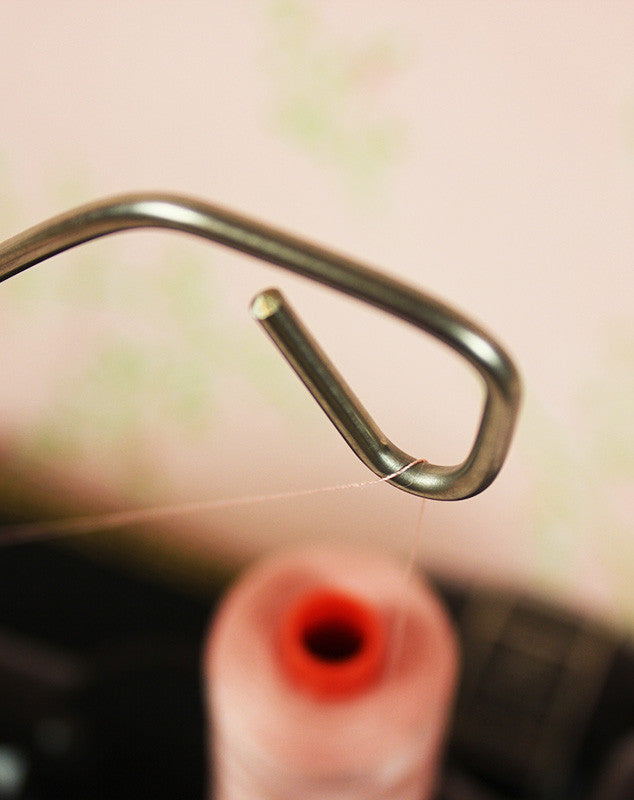
The Importance of a Thread Stand on a Singer Featherweight
Learn about the various types of thread spools and why a Thread Stand is important for proper tension on a Singer Featherweight! In the original days of the Featherweight, the only thread spools available were the wooden "stacked" spools, designed to spin as the thread was gently pulled strai...
Read More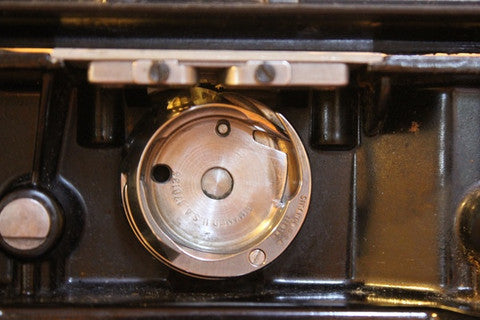
Hook Assembly with Bobbin Case Base Removed April 7, 2020: UPDATE & ADDENDUM, New Video Tutorial In September of 2014, we posted a Video 1 Tutorial showing how to remove thread from the hook assembly on a Singer 221. Then, in May, 2018, we updated the video to add the tutorial for the...
Read More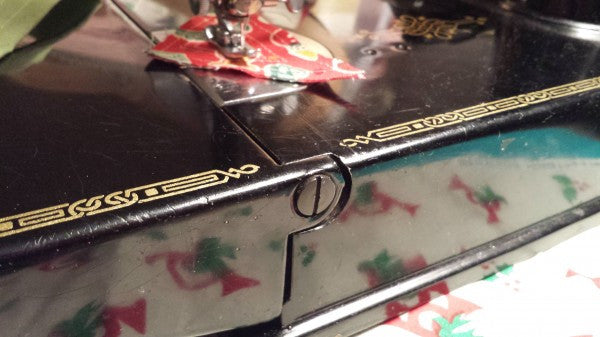
How to Fix a Floppy Bed Extension
For today’s hint, we will be discussing a floppy Featherweight bed. This remedy is quick and easy and will keep your bed from flopping down too fast. (Note: This only applies to black and tan Featherweight Machines. Singer cut a few manufacturing corners when they made the White Featherweigh...
Read More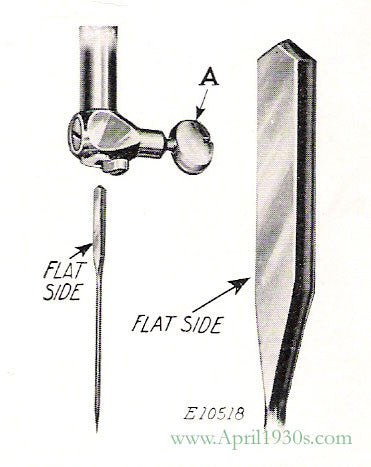
Featherweight Needle Direction
NFL – not the National Football League, but that does work as a good reminder. Needle Flat Left While today’s tip might seem elementary to some, it is the most common culprit to a Featherweight that has suddenly stopped sewing correctly. We get numerous calls from frustrated quilters who snappe...
Read More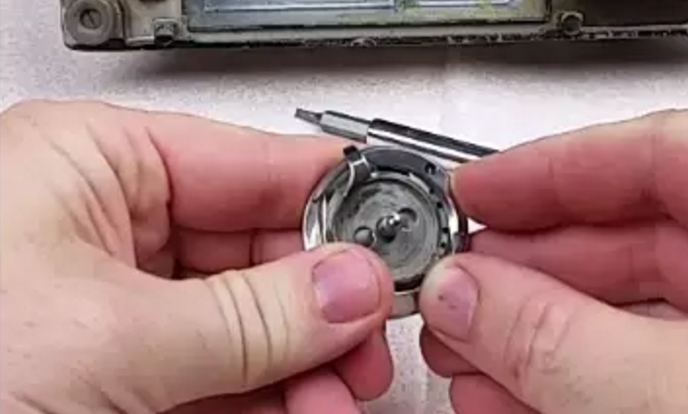
Featherweight Timing (and how to replace the Gib Hook)
In this video tutorial, Carmon Henry gives the step-by-step process for how to set the hook timing on a Singer Featherweight. Timing is almost never an issue on a Singer Featherweight 221 or 222. What that means is -- that it is virtually impossible for a Featherweight to get out of time just f...
Read More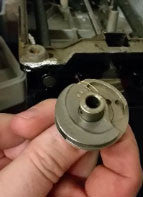
How to Fix a Stuck Hook Assembly
After removing the hook assembly screws on a Singer Featherweight 221 sometimes the assembly will still remain stuck on the shaft. This quick tip will help you remove it easily without damage to your machine or that expensive original part... just be sure to watch all the way to the end of the vi...
Read More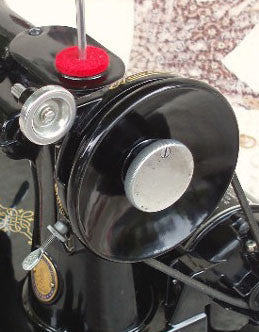
If your Singer Featherweight 221 or 222K has a needle that won't stop going up and down and still moves when winding a bobbin, then most likely your handwheel needs an adjustment inside. This easy to follow video tutorial not only shows you how to fix the annoying problem but explains the process...
Read More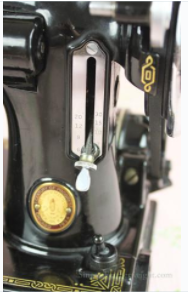
How to Adjust the Stitch Length Lever
Yesterday, there was a question on our Facebook group about the stitch length lever (or sometimes called the "stitch length regulator") and so this video tutorial was made to help answer that question as well as addressing a couple other things, too. I will show you what to do if the lever is too...
Read More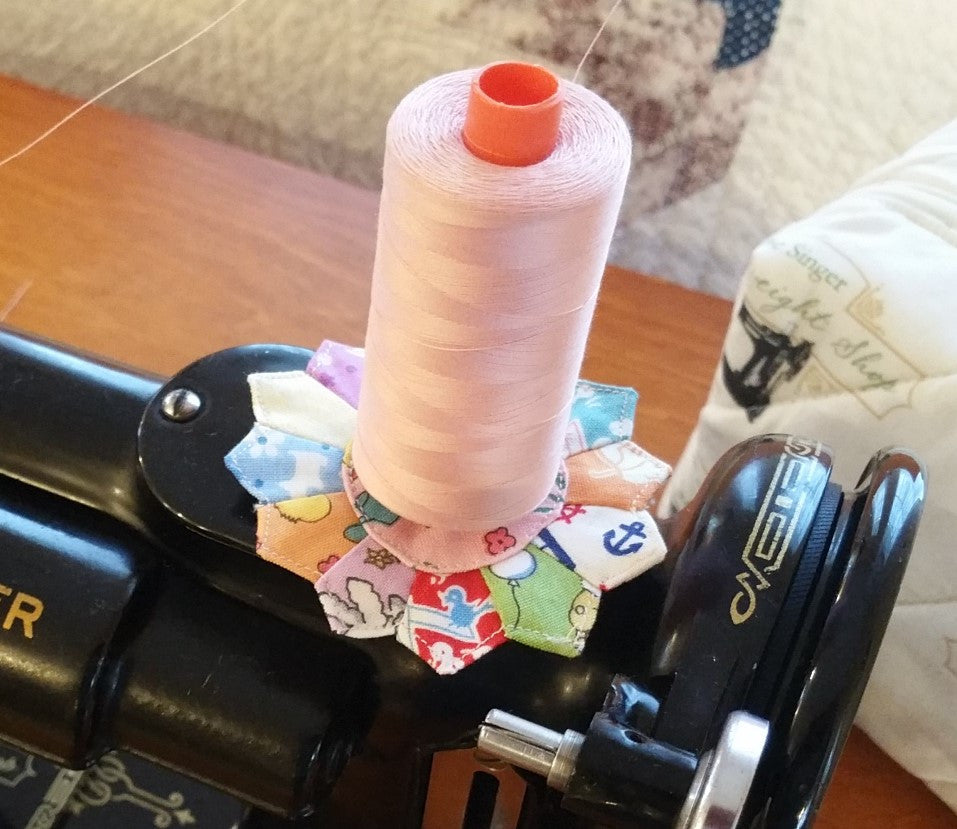
How Thread Affects Maintenance, Upper Tension & Bobbin Tension
Hello everyone, Carmon here. There has been a lot of discussion about thread brands the last couple of days on our Singer Featherweight 221 & 222K Sewing Machines Facebook group so I thought I would weigh in. As a teacher of Featherweight Maintenance Classes and Workshops, and the owner of T...
Read More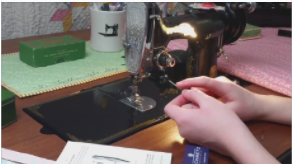
How To Properly Set the Needle (Getting To Know Your Featherweight, Part 3)
How To Properly Set The Needle Part 3 of the Getting To Know Your Singer Featherweight 221 series will show you how to properly set your Singer Featherweight needle. This tutorial by Ruthie will be especially helpful if you notice your machine having skipped stitches or even if your bobbin thre...
Read More
The Giant Schmetz Needle Tutorial
Using a giant needle as an example in the video far below, you will learn the various parts of a needle, as well as the importance of having a smoothly finished eye. One of our favorite needles to recommend is a Microtex Schmetz. They're sharp and they pierce exactly at the point of fabric ent...
Read More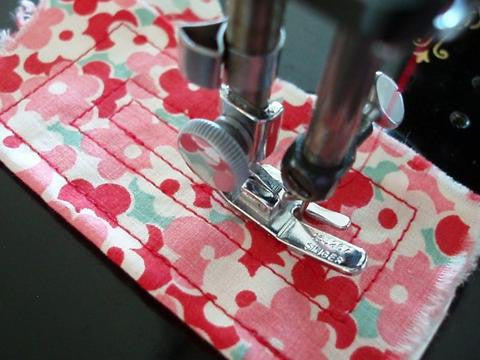
Troubleshooting Stitch Problems (Skipped Stitches, Thread Looping, etc.)
This is Singer Featherweight Stitch Formation 101! If your Singer Featherweight is skipping stitches, not stitching at all, won't pick up the bobbin thread or perhaps the thread is looping or causing an awful thread mess on the underside of your fabric, then this video tutorial will show you the...
Read More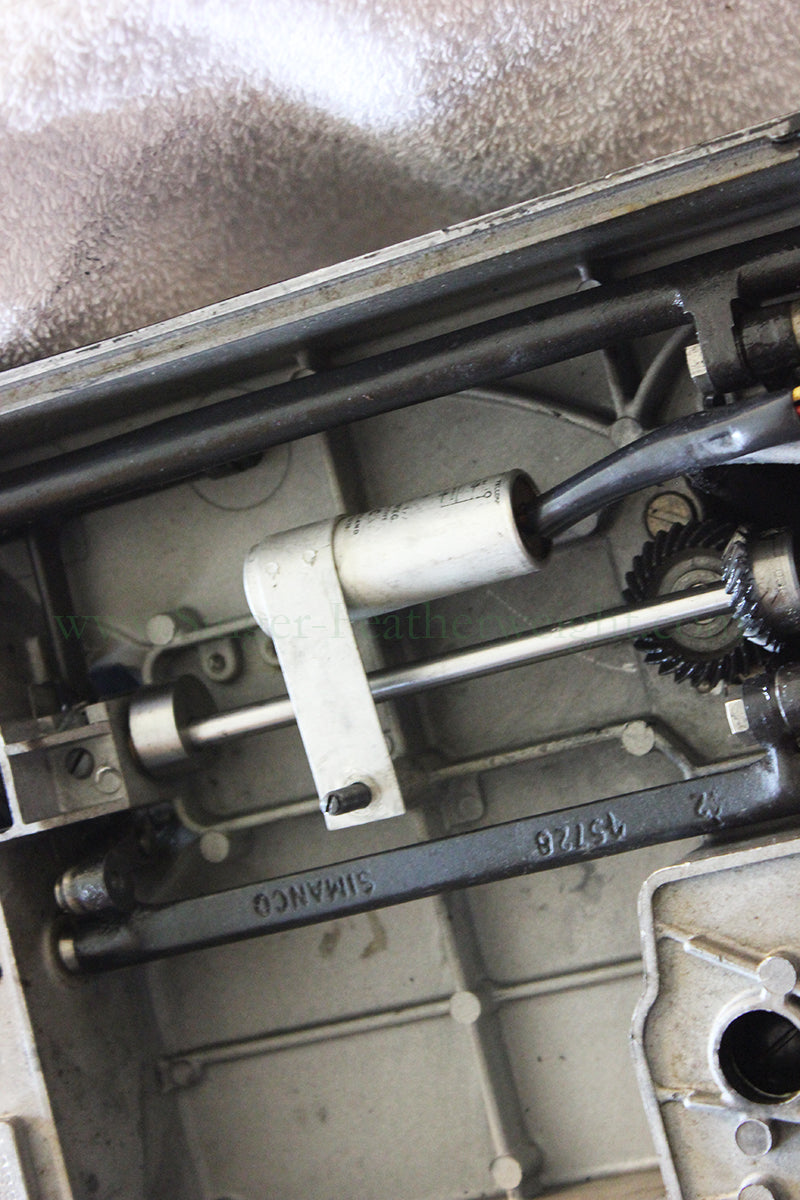
Capacitors - Why Did My Featherweight Start Sewing By Itself All of the Sudden?
Many Featherweight owners have asked, "what are these silver cylinders inside my foot controller?" For several of the Featherweights manufactured in the UK, capacitors were added inside the foot controller, motor, or the machine itself. The purpose of capacitors was to cut down on electrical fe...
Read More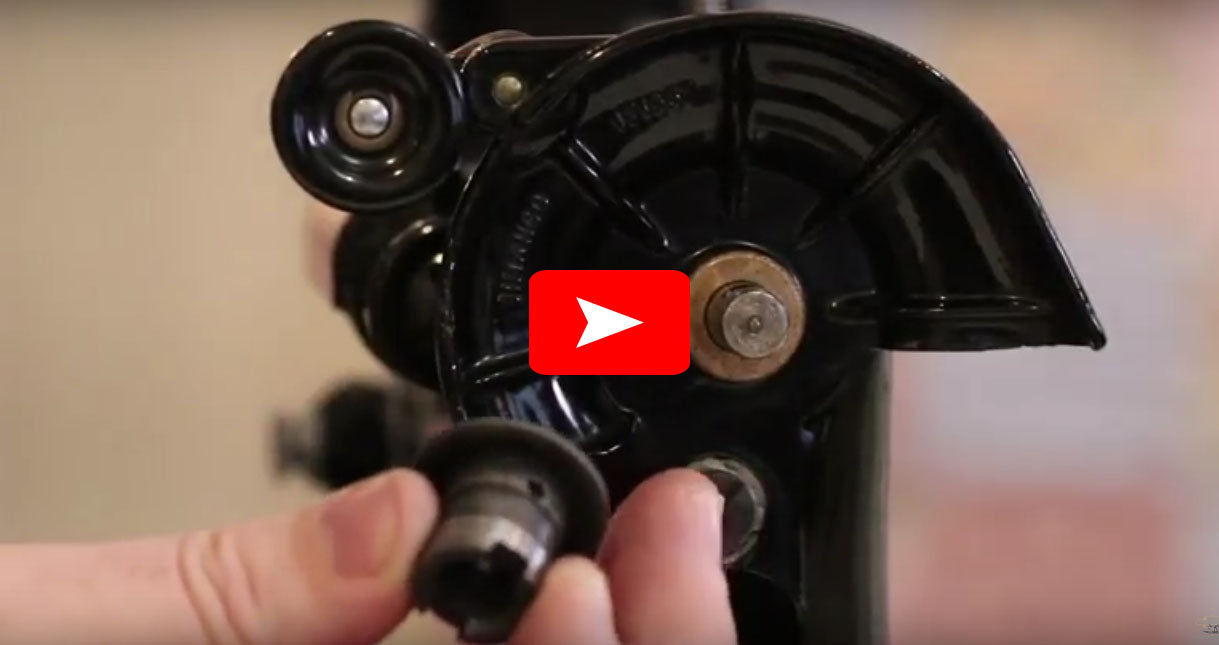
How to Easily Remove the Handwheel Collar Bushing
If thread or debris gets pulled behind the handwheel, it can lodge around the shaft behind the handwheel collar / bushing. This can greatly slow down your Featherweight by causing undue stress on the motor. The handwheel collar is actually pretty difficult to remove and damage often occurs when...
Read More
How to Smooth a Burr or Rust Spot on Hook Assembly, Tension Disks, etc.
Watch Video Tutorial below . . . Is your machine skipping stitches and you've tried every possible troubleshooting suggestion? Do you feel a small burr on your machine's hook assembly or or loop guard? Do you see a rusty corroded spot or two on the tension disks? Well, this simple but useful ...
Read More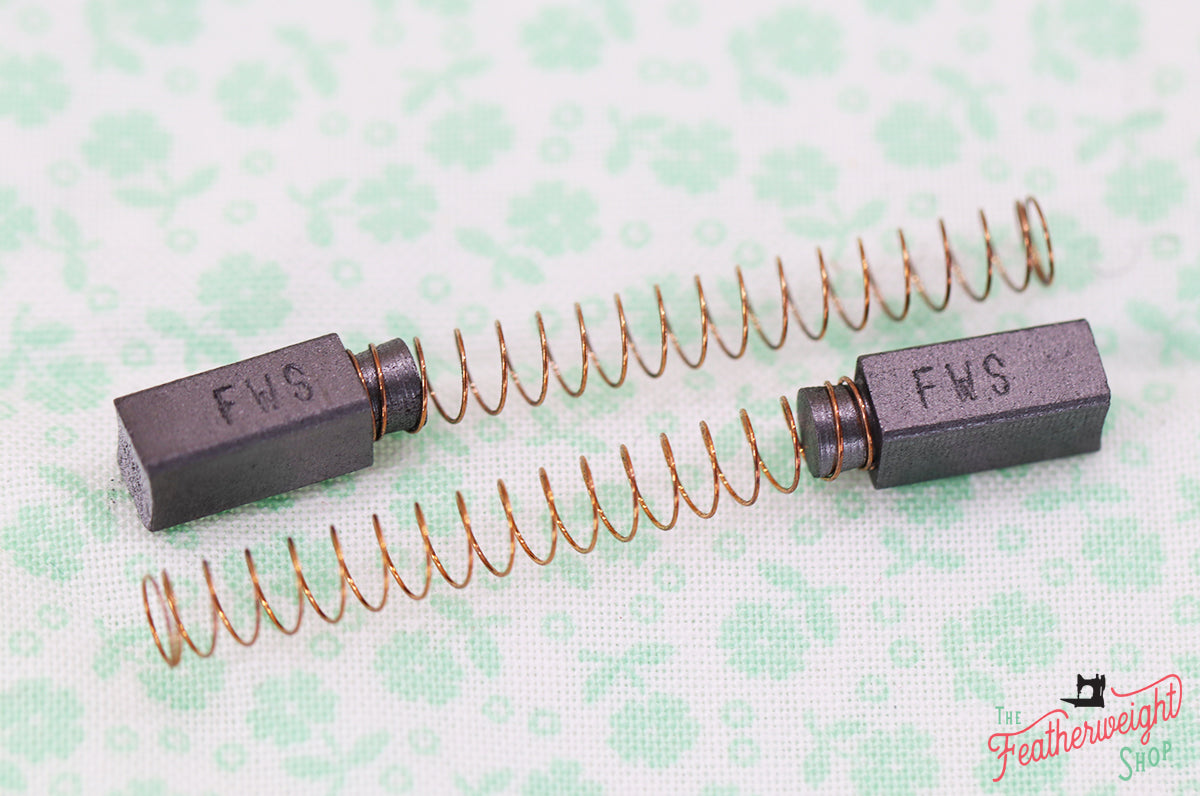
Featherweight Motor Brush Replacement Tutorial
Today, we are going to be learning about Motor Brush Replacement. Although they are frequently overlooked, carbon brushes are a critical element of an electric motor. Not only is it important to be aware of the motor brushes in a Featherweight motor, but knowing what to look for in a replacement...
Read More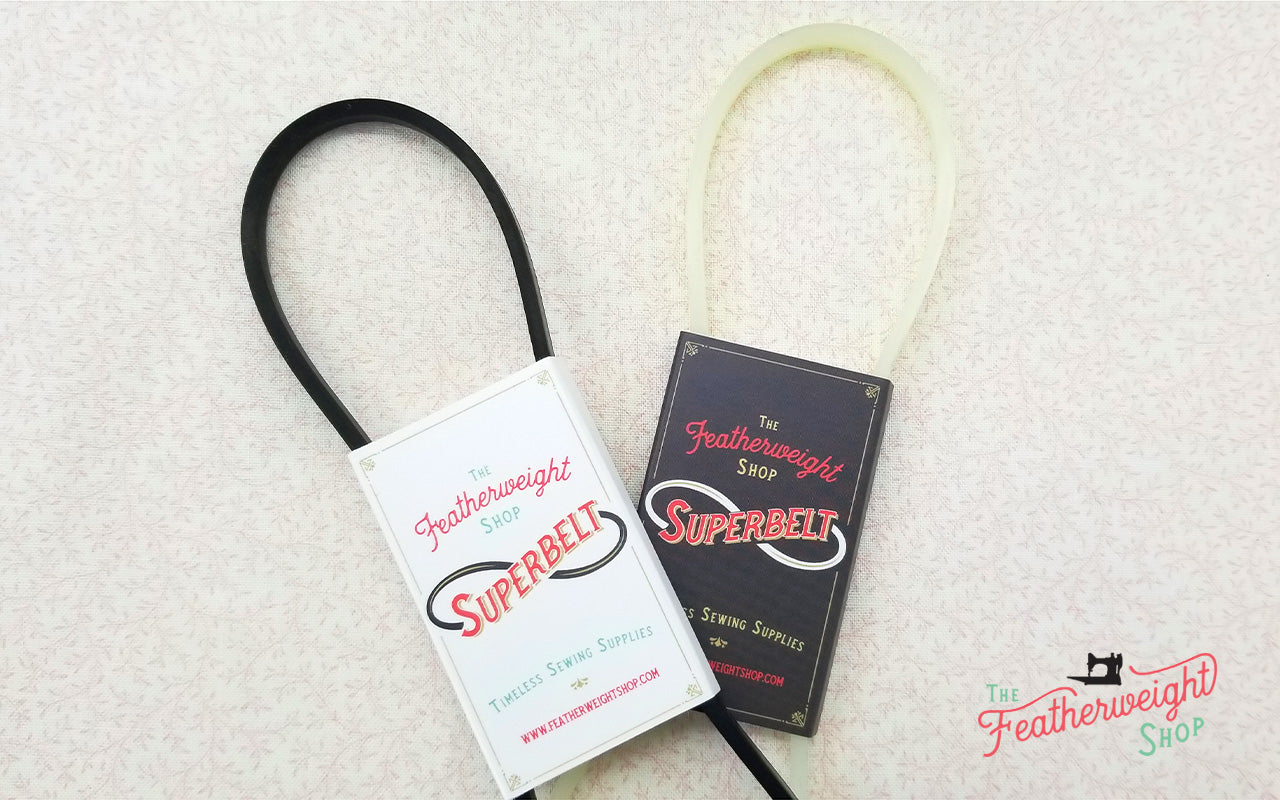
Superbelt - An Improved Belt for the Singer Featherweight
The old belt on a Singer Featherweight has a technologically advanced improvement! Softer, faster and better for your Featherweight motor performance. Learn how to install and adjust the Superbelt in the video tutorial below. Update! One of the advantages to the Superbelt is its superb grip t...
Read More
Tension Unit Post Removal Tutorial
Learn how to properly remove the Tension Unit Post or stud in this step-by-step video tutorial by Carmon Henry from The Featherweight Shop. The transcript of the video tutorial, as well as all products needed to follow along are below. Please contact us with any questions or comments. Enjoy! ...
Read More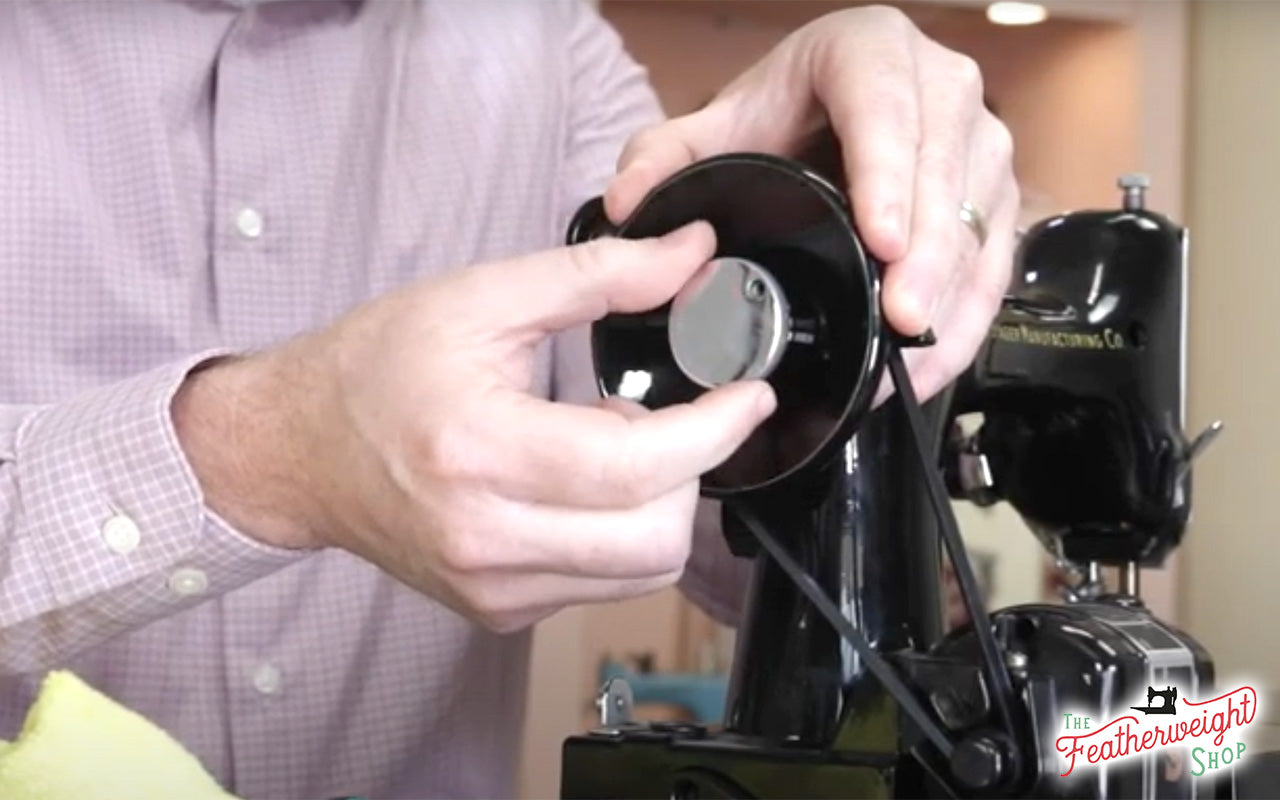
Stuck Stop Motion Knob & Handwheel
Today we are addressing a Stop Motion Knob that will not turn on your Singer Featherweight 221 or 222. Loosening the Stop Motion Knob is necessary to wind a bobbin, but being able to tighten it so that regular sewing can resume is just as important. There are two causes that...
Read More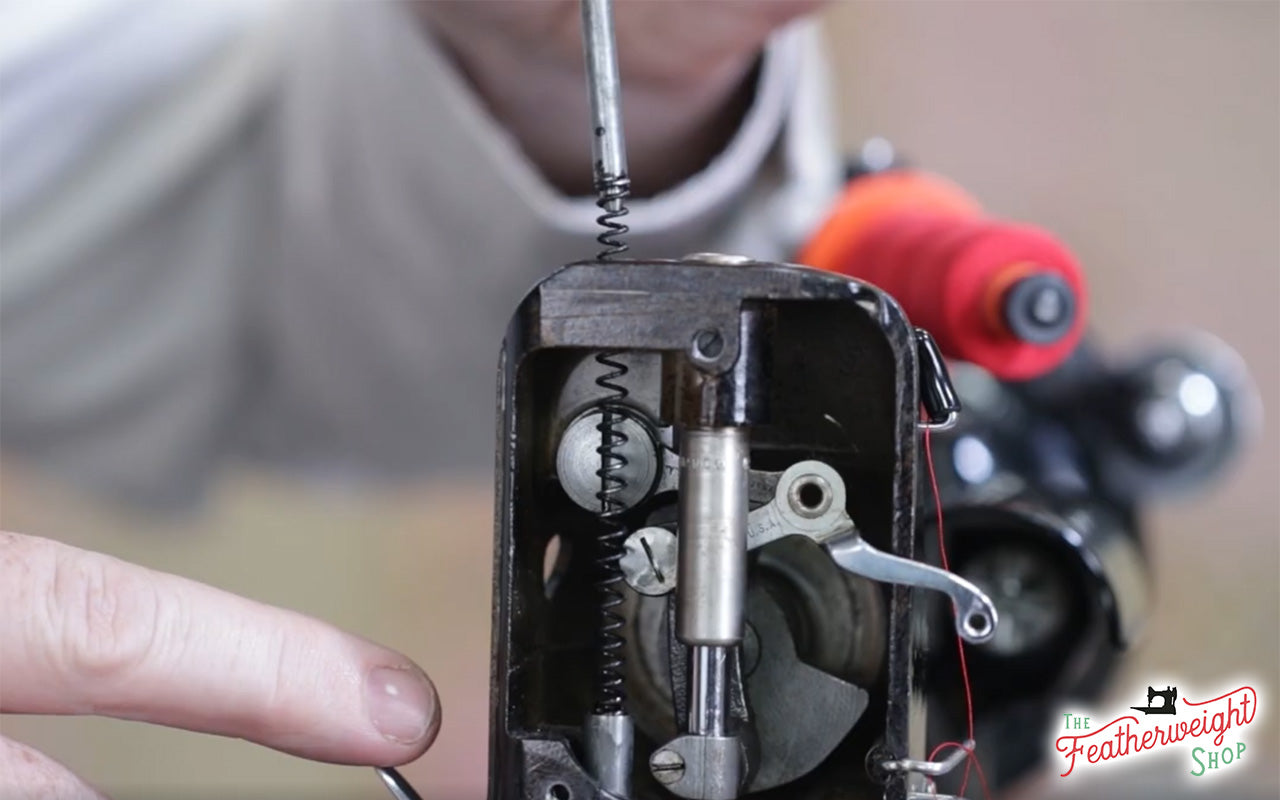
Presser Foot Pressure Adjustment
Today we are going to be addressing the presser foot pressure, or downward force on the presser foot. Parts Discussed: Presser Foot Presser Bar Presser Bar Spring Presser Bar & Spring (for white Featherweights only) Pressure Knob Singer 221 Feed Dogs Throat Plate Hook Assembly Featherweigh...
Read More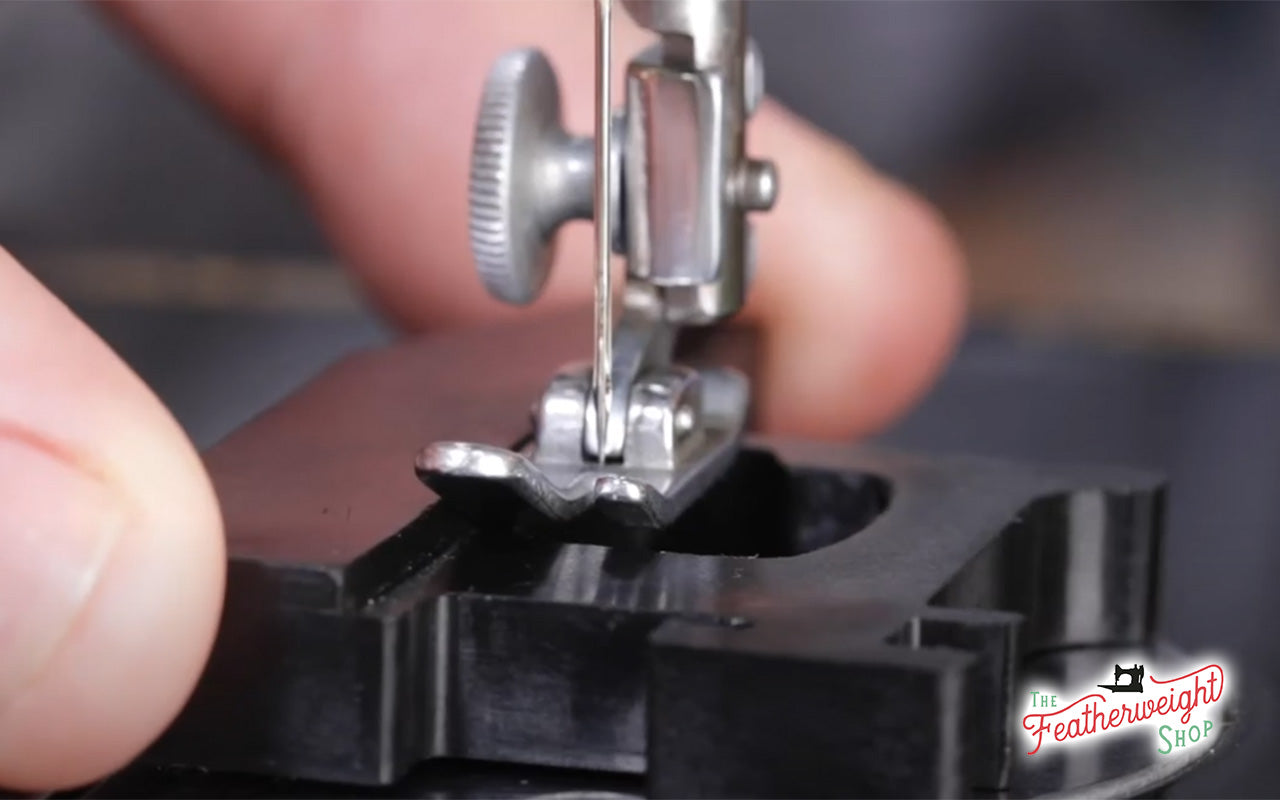
Presser Foot Height Adjustment and Alignment
Is the presser foot misaligned? Is the fabric swimming or wandering under the presser foot? Are their skipped stitches when sewing over thick seams? Then this tutorial will help with troubleshooting these common problems. In a previous tutorial we showed how to properly adjust the actual pre...
Read More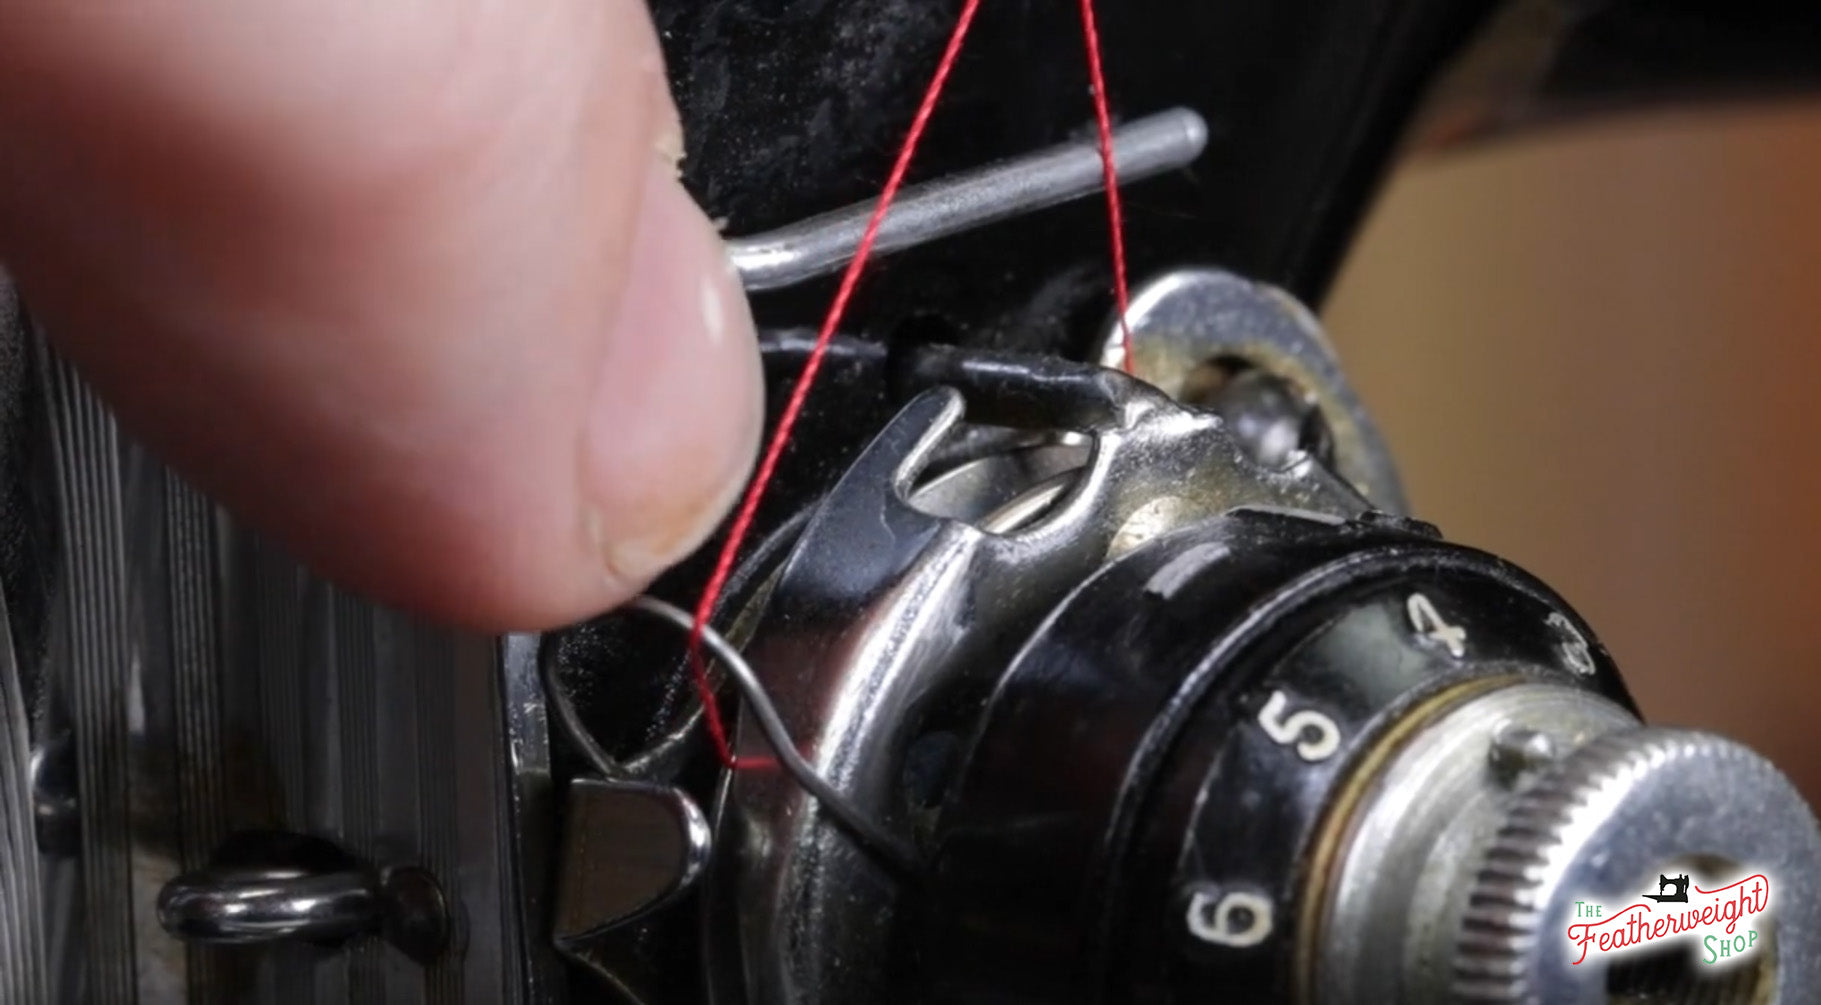
Learning to identify the thread path following a routine servicing and maintenance will help diagnose initial stitch tension inconsistencies and give confidence about learning to service a Singer Featherweight further. Parts Mentioned or Used: Tension Unit Tension Disks Upper Tension Take-Up S...
Read More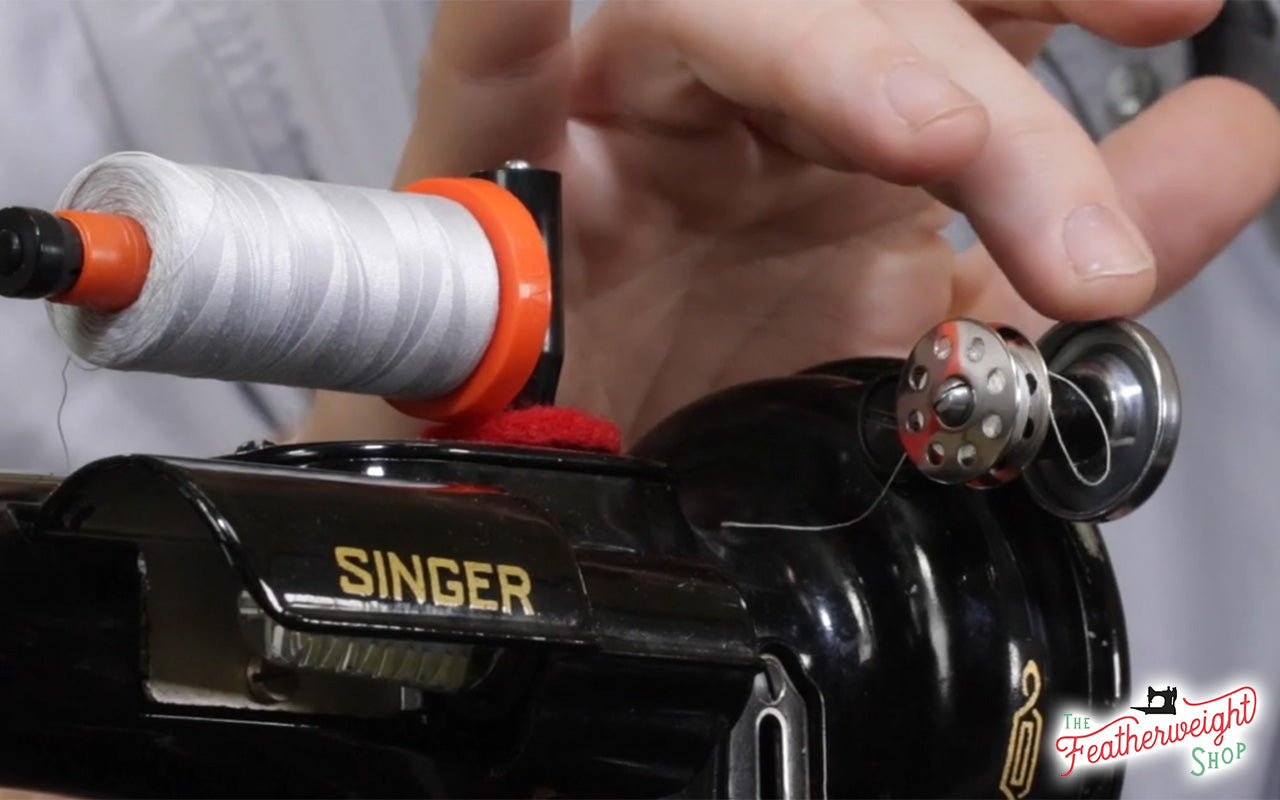
Do you have to hold the bobbin winder down in order to get it to wind? If so, then the washers around the bobbin winder screw either need replaced or turned around. Follow the video tutorial or step-by-step photo tutorial below to learn a few simple tips for servicing your Singer Featherweigh...
Read More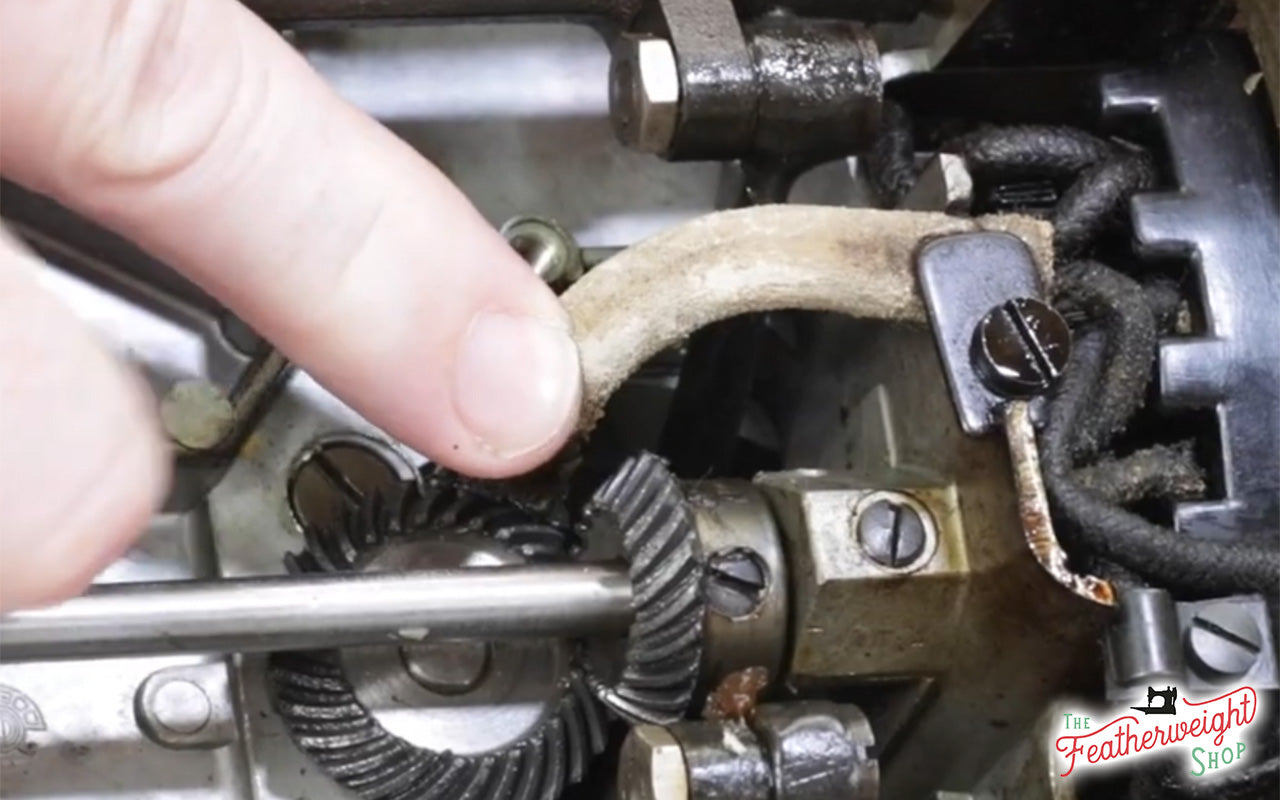
Part 1 of 3 - Featherweight 221 Light Wiring Series
Part 1: A Tutorial on Cleaning the Lead Sheath on a Singer Featherweight 221. Products & Tools Referenced: Light Socket with Sheath Wera Safety Screwdriver (also available in the Set of 4) Gear Cleaning Brush Low Odor Kerosene and Long-Spouted Bottle Sew Retro Grease Small Terry-Clo...
Read More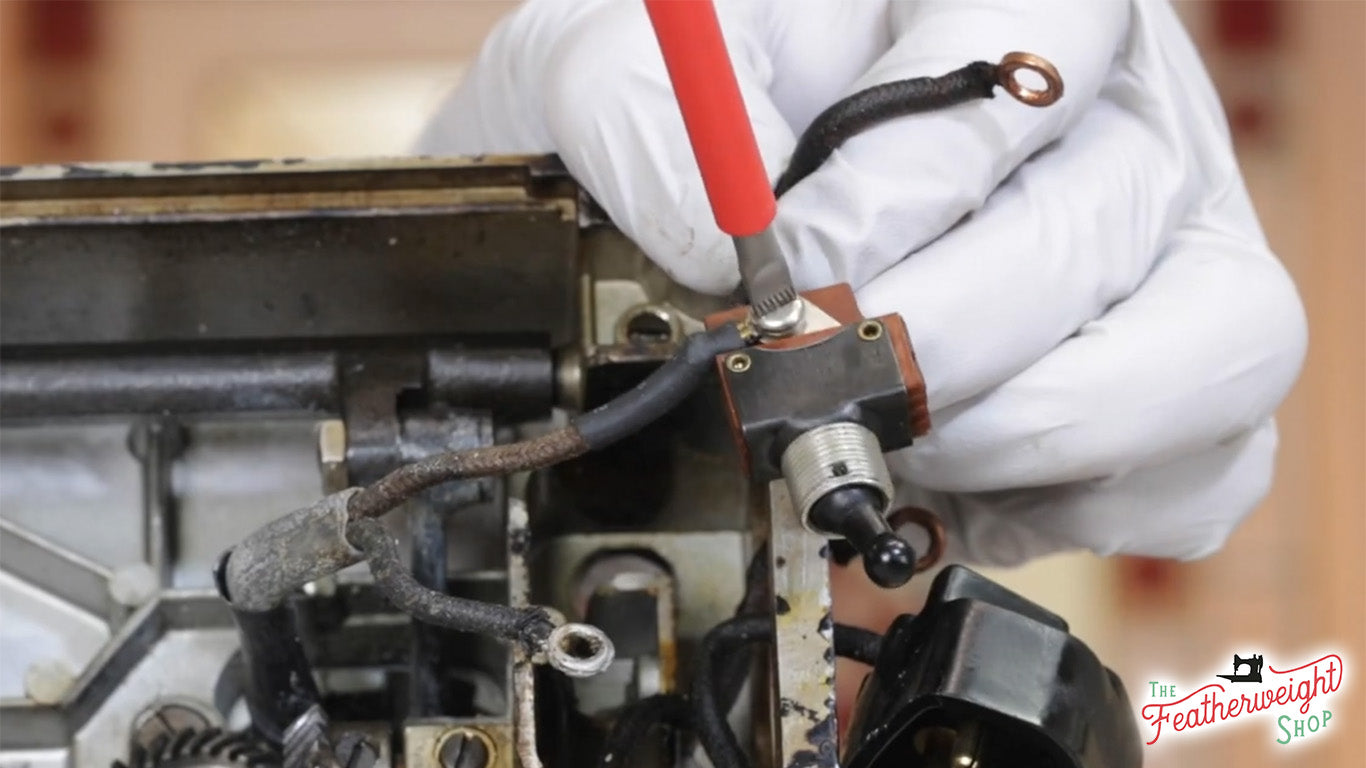
Part 2 of 3 - Featherweight Light Wiring Troubleshooting & Repair
Featherweight Light Wiring Tutorial Series - Part 2 In Part 1 of the Light Wiring Series, we did a basic cleaning of the light wiring lead sheath underneath the machine, which helps to remove some of the exposed oxidation residue that can build up over a long period of time. Reme...
Read More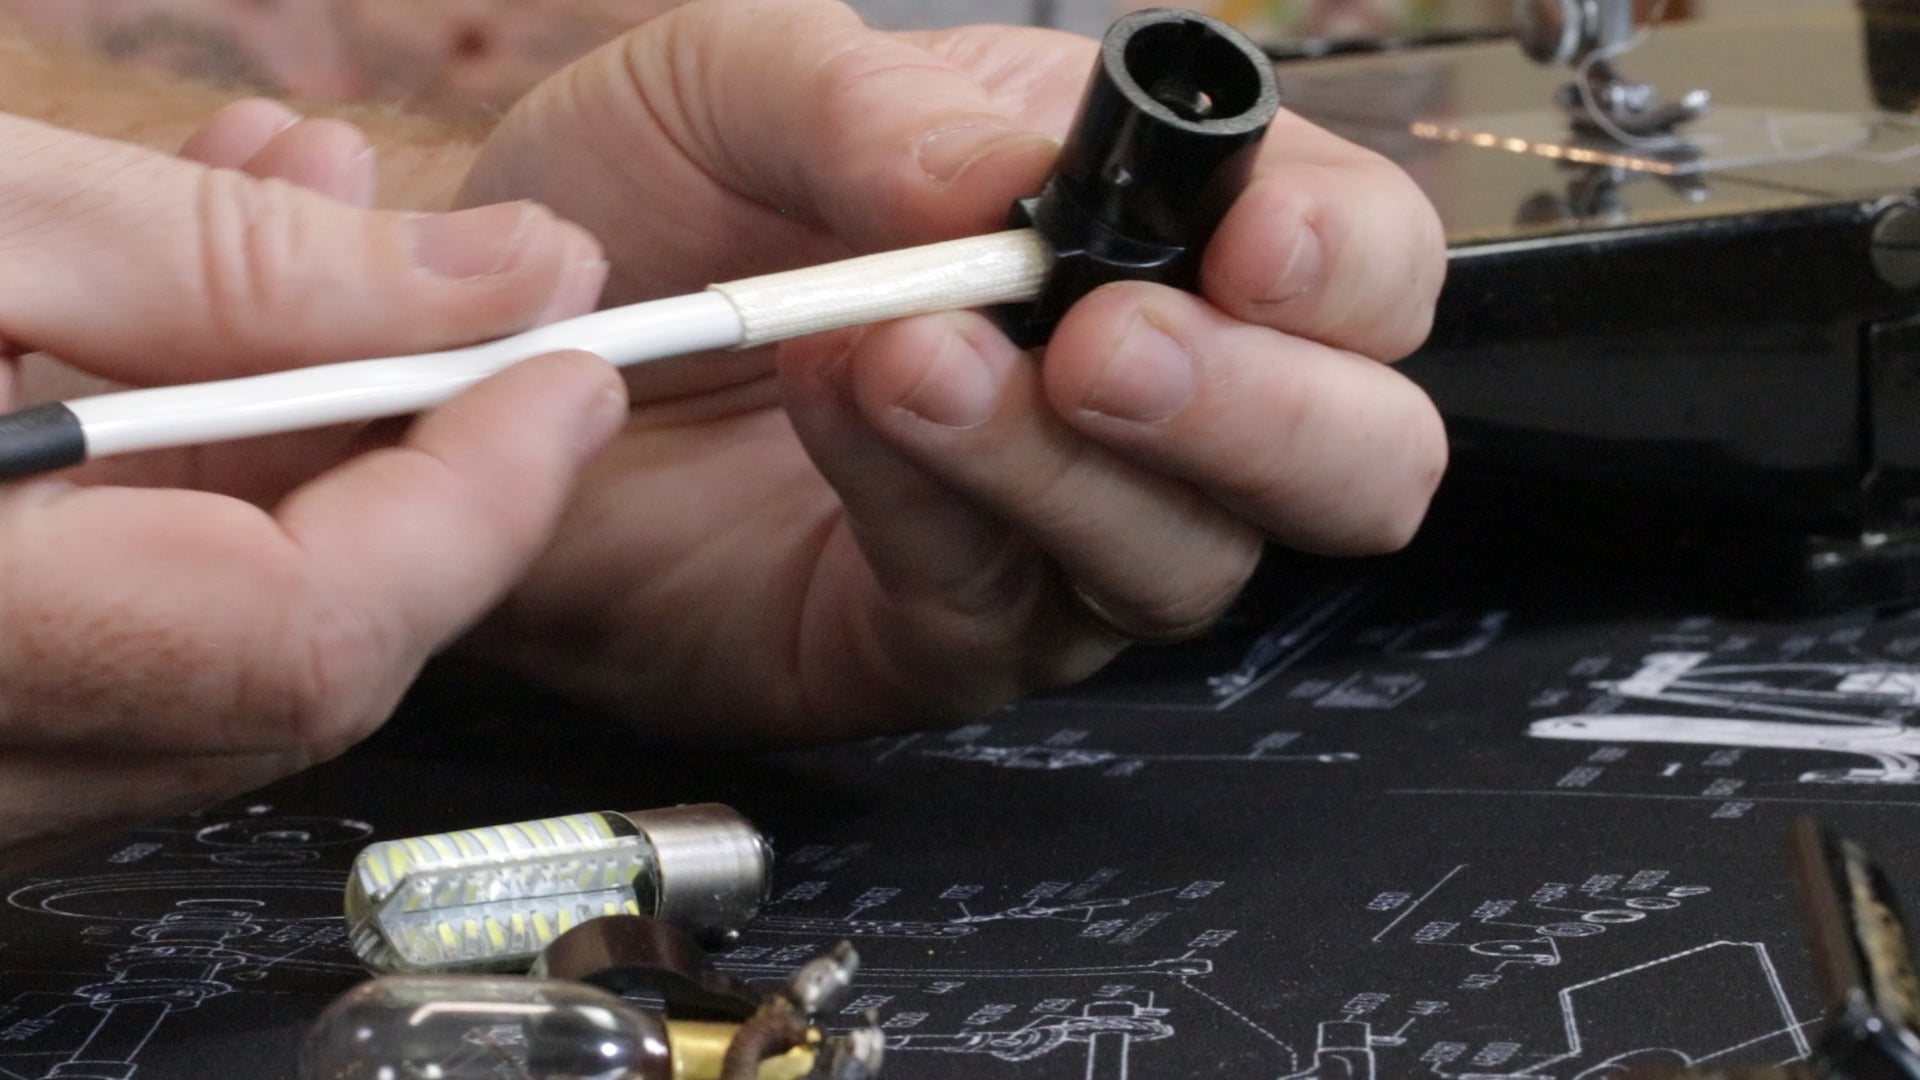
Part 3 of 3 - Featherweight Light Wiring, Troubleshooting a Flickering Light
Featherweight Light Wiring Tutorial Series - Part 3 of 3 In Part 2 of the Light Wiring Series, we examined the light wires and followed a step-by-step process for repair. Today, in our final installment of the Light Wiring Series, we will discuss the causes as well as how to...
Read More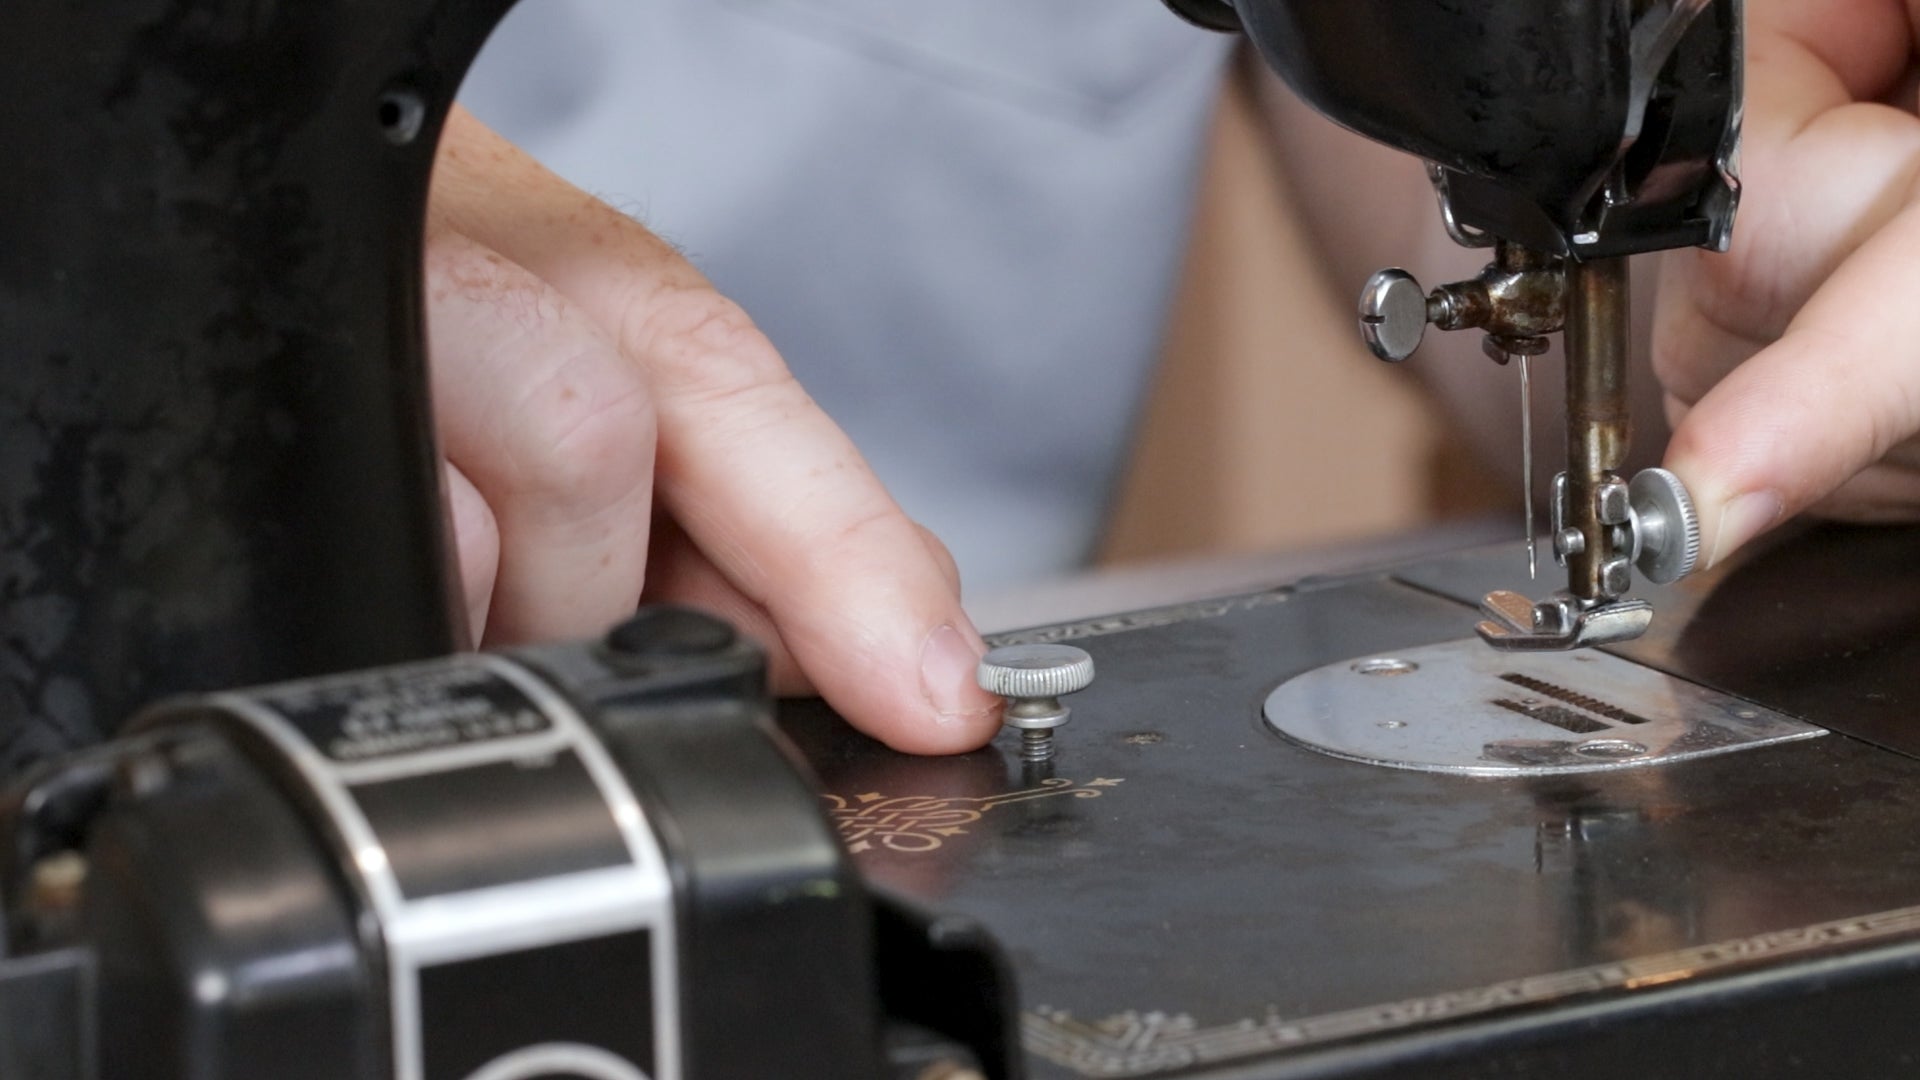
Cleaning & Repair for Secure Thumb Screw Placement
NOTE: This tutorial is for the Singer Featherweight 221 model in original black, white or tan. It will work for the Featherweight 222 as well, but the throat plate on a 222 is made of steel, so this technique will rarely be necessary. Products and Tools Referenced: Thumb Screw (Vintage) Thum...
Read More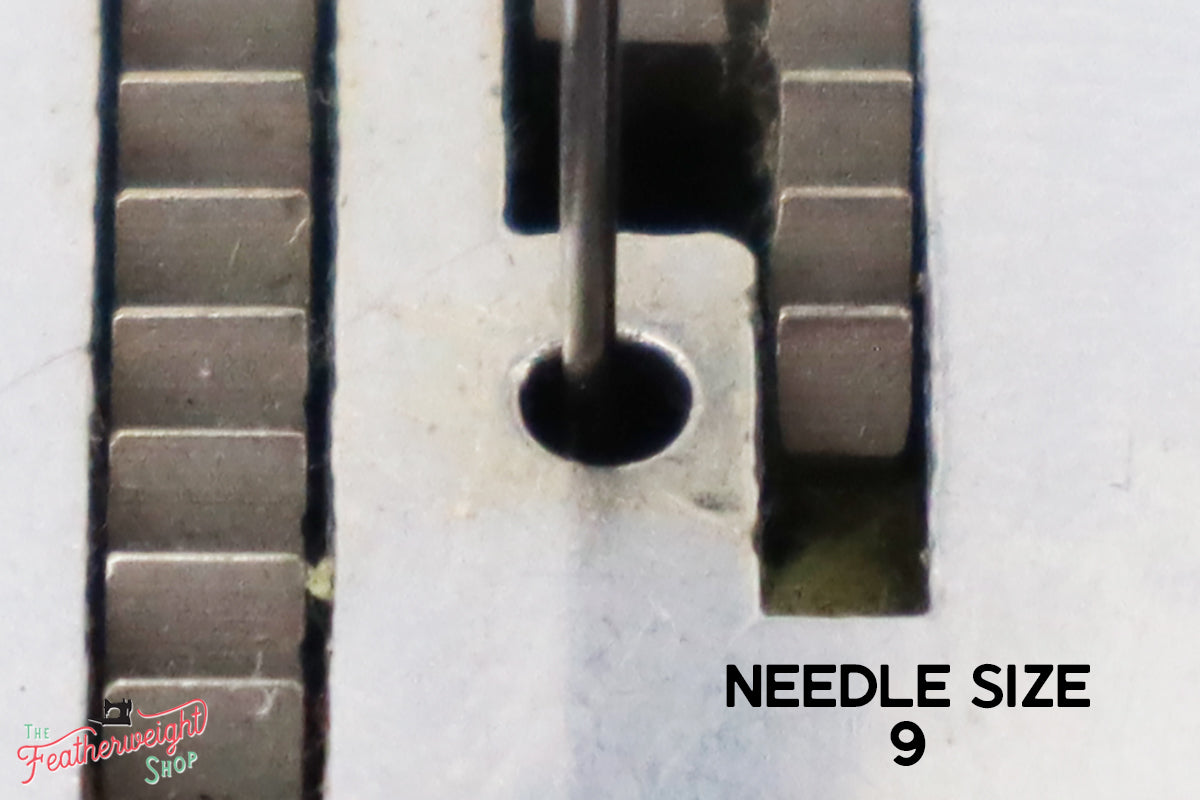
Why is My Needle Not Centered in the Needle Hole?
A common question among Featherweight owners is, "Why is the needle not centered in the needle hole?" Although it may be quite concerning, the answer will put you at ease! Find out why here.
Read More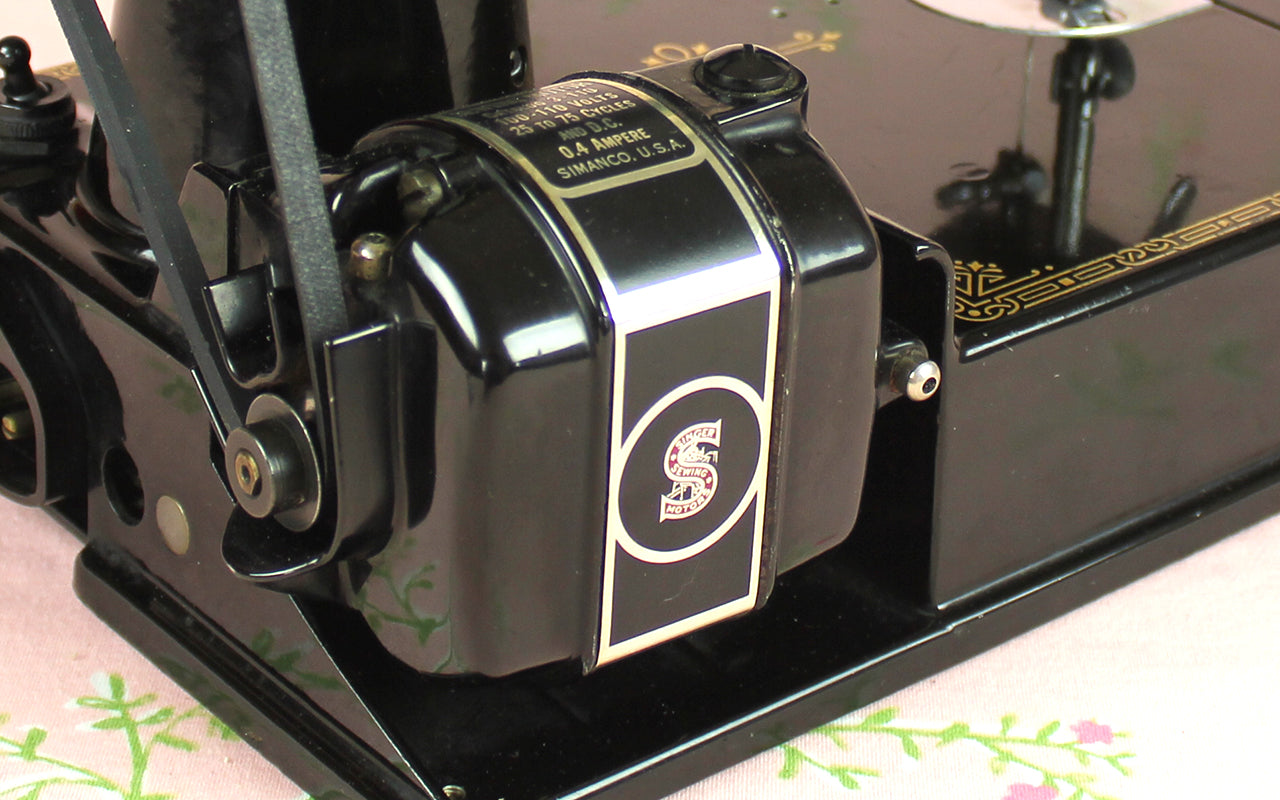
Why Is My Singer Featherweight Sewing Slowly?
Vintage Singer Featherweight sewing machines are widely known for their straight stitches, speed, and reliability. But, as you sew, a sluggish or slow sewing machine is a sure sign that something is amiss. Fortunately, simple tools and a little Singer know-how can quickly remedy the most common ...
Read More