Free Shipping on All U.S. Orders!

My Cart

Taxes and discounts calculated in checkout.

This order will earn you 0 POINTS in Sewciety Rewards

Order Subtotal
$ 0.00
Total Savings
$ 0.00
| Posted by Ashley Fritsche

Restore Along Part 14: Stitching the Featherweight Case Handle Pattern

Welcome back to the Singer Featherweight Case Restore Along! If you are just joining us, you can catch up on Part 12 & 13 of the Case Restore Along right HERE! Earlier this year, we crossed paths with Annette on our Singer Featherweight 221 & 222 Facebook Group, showcasing one of her beautiful Featherweight Case Restorations.  She was kind enough to create a very informative journey of her restorative process and we hope you enjoy following along! In today's installment, Annette shows us how to stitch the handle pattern cover on her Singer Featherweight! Products Used in Today's Restore Along: Scissors Thread-O-Stat Paper Case Handle Pattern (click...


| Posted by Ashley Fritsche

Featherweight Case Restore Along: Part 12 & 13 - Covering the Top of the Case Lid in Fabric

Welcome back to the Singer Featherweight Case Restore Along! If you are just joining us, you can catch up on Part 10 & 11of the Case Restore Along right HERE! Earlier this year, we crossed paths with Annette on our Singer Featherweight 221 & 222 Facebook Group, showcasing one of her beautiful Featherweight Case Restorations.  She was kind enough to create a very informative journey of her restorative process and we hope you enjoy following along! In today's installment, Annette shows us how she covers the top of the Featherweight case lid in fabric! Products Used in Today's Restore Along: Aleene’s Tacky Glue Cup to hold...


| Posted by Ashley Fritsche

Featherweight Case Restore Along Part 10 & 11: Covering the Top & Bottom Box Edges

Welcome back to the Singer Featherweight Case Restore Along! If you are just joining us, you can catch up on Part 7, 8 & 9 of the Case Restore Along right HERE! Earlier this year, we crossed paths with Annette on our Singer Featherweight 221 & 222 Facebook Group, showcasing one of her beautiful Featherweight Case Restorations.  She was kind enough to create a very informative journey of her restorative process and we hope you enjoy following along! In today's installment, Annette shows us how she covers the top and bottom edges of the Singer Featherweight Case!  Products Used in Today's Restore Along: Aleene’s Tacky Glue Cup...


| Posted by Ashley Fritsche

Featherweight Case Restore Along Part 7, 8, & 9: Covering the Outside of the Case

Welcome back to the Singer Featherweight Case Restore Along! If you are just joining us, you can catch up on Part 5 & 6 of the Case Restore Along right HERE! Earlier this year, we crossed paths with Annette on our Singer Featherweight 221 & 222 Facebook Group, showcasing one of her beautiful Featherweight Case Restorations.  She was kind enough to create a very informative journey of her restorative process and we hope you enjoy following along! In the last installment, Annette showed us how to properly waterproof our fabric prior to today's lesson on covering the exterior of the case! Products Used in Today's Restore Along:1.Aleene's...


| Posted by Ashley Fritsche

Featherweight Case Restore Along Part 5 & 6: Preparing the Fabric

Welcome back to the Singer Featherweight Case Restore Along! If you are just joining us, you can catch up on Part 4 of the Case Restore Along right HERE! Earlier this year, we crossed paths with Annette on our Singer Featherweight 221 & 222 Facebook Group, showcasing one of her beautiful Featherweight Case Restorations.  She was kind enough to create a very informative journey of her restorative process and we hope you enjoy following along! In the last installment, Annette showed us how to clean the hardware on the Featherweight case! This month, we are focusing on preparing the fabric! Products Used in Today's Restore Along:1.Tape Measure2. Tie Downs3. Odif...


| Posted by Ashley Fritsche

Featherweight Case Restore Along Part 4: Cleaning Case Hardware

Welcome back to the Singer Featherweight Case Restore Along! If you are just joining us, you can catch up on Part 3 of the Case Restore Along right HERE! Earlier this year, we crossed paths with Annette on our Singer Featherweight 221 & 222 Facebook Group, showcasing one of her beautiful Featherweight Case Restorations.  She was kind enough to create a very informative journey of her restorative process and we hope you enjoy following along! In the last installment, Annette showed us how to remove the inner hardware on a Singer Featherweight case she is fully restoring! This month, she is focusing on cleaning the hardware parts...


| Posted by Ashley Fritsche

Featherweight Case Restore Along Part 2: Featherweight Case Outer Hardware Removal

  Welcome back to the Singer Featherweight Case Restore Along! If you are just joining us, you can catch up on Part 1 of the Case Restore Along right HERE! Earlier this year, we crossed paths with Annette on our Singer Featherweight 221 & 222 Facebook Group, showcasing one of her beautiful Featherweight Case Restorations.  She was kind enough to create a very informative journey of her restorative process and we hope you enjoy following along! Now that the Featherweight case is completely stripped down of all the old tolex, and sanded to a smooth finish, we are moving on to the next step by removing...


| Posted by Ashley Fritsche

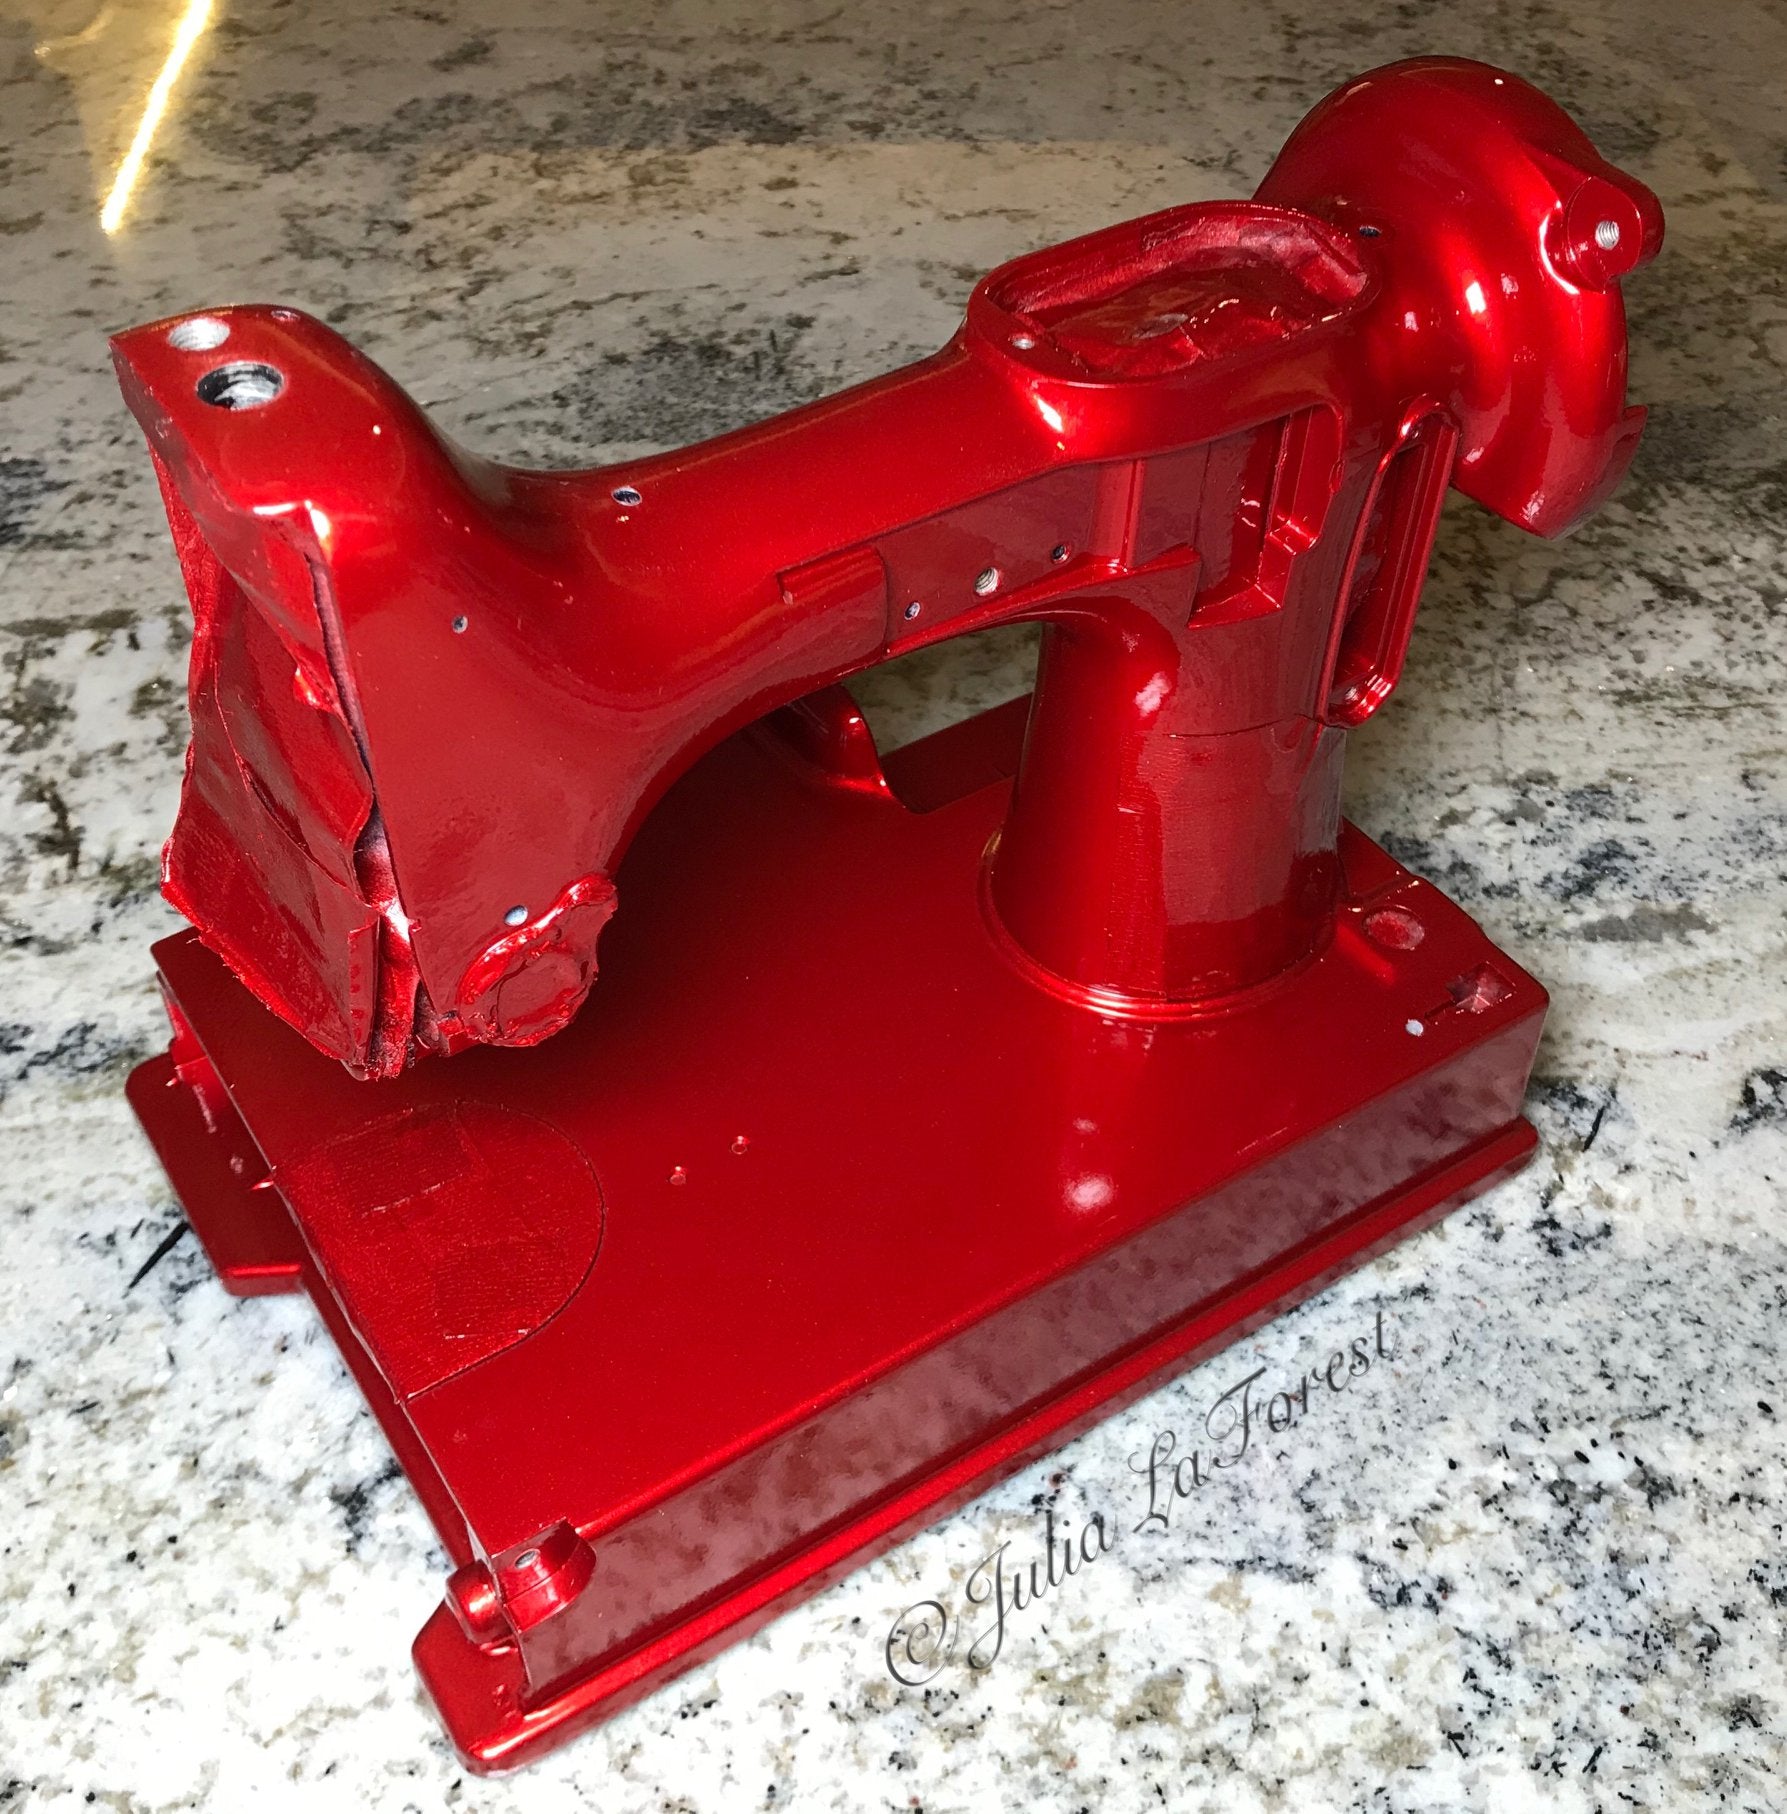
Restore Along Part 32: Getting Ready To Paint Tulip!

Thank you for joining us on Tulip's journey! Due to unforeseen circumstances we are needing to pause this machine restore along of Julia's restoration of Tulip.The Restore Along is back, and so is Julia, along with her Featherweights Tulip and Jill. Last time, Julia successfully finished painting Jill with every coat required for the Soul Red Metallic look. Catch up on her previous work here in Restore Along Part 31! Now, it’s time to examine the results! Julia removes the paint blockers from Jill to see how effective they were and finds three places where the paint stuck. The bare cardboard on...


| Posted by Ashley Fritsche

Restore Along Part 31

Welcome back to the Restore Along with Julia and Tulip. Previously, Julia has applied one full set of practice coats of paint to Jill, the Featherweight donated to her for practice purposes. After assessing the results, she stripped all the paint off Jill and reset for another round. You can catch up on the journey so far here by catching up on last week's installment here: Previous Week Restore Along: Part 30 With the coats of primer applied and dried, the time for applying color is here. One reason Julia is thoroughly practicing her painting skills is the learning curve...


| Posted by Ashley Fritsche

Restore Along Part 30

Welcome back to the Restore along with Julia and Tulip (and Jill)! Last week, Julia was on round two of her painting practice, giving a fresh coat of primer to Jill. Find out what issues came about in last week’s installment here: Restore Along Part 29 Today’s work begins with a gentle sanding of Jill’s first coat of primer as preparation for a successful, even second coat. Using wet 600 grit sandpaper, Julia folds the sandpaper around a q-tip for a little extra padding and rubs lightly in one direction (not circles).  During this sanding process, Julia develops a creative...


| Posted by Ashley Fritsche

Restore Along Part 29

Welcome back to the Restore Along with Julia! Last week, Julia continued to work on Jill, stripping the first red coat of paint in preparation for another practice run. To catch up on the progress so far, read last week’s installment here: Previous Restore Along: Part 28 Julia starts by inspecting the past day's work with her magnification lens headset. Sure enough, there are still minute specks of paint to remove.  Julia spends the next two hours removing every particle she can find, in addition to applying liquid latex where needed. At last, Julia is ready for her second round...


| Posted by Ashley Fritsche

Restore Along Part 28

Welcome back to the Restore Along with Julia! of Tulip. Before attempting to repaint Tulip, Julia has been working diligently with Jill, her practice machine, learning how to properly strip, prep, and paint. Last week, Julia completed her first test coat of Soul Red Metallic paint on Jill. It was a learning experience! Previous Post: Restore Along Part 27 Julia intends to get at least one more round of painting practice out of Jill, so she must make sure to get every last bit of red paint off, as well as re-mask the machine where needed. While finishing the paint stripping,...


| Posted by Ashley Fritsche

Restore Along Part 27

Welcome back to the Restore Along with Julia and Tulip. After months of hard work, today is the day Julia will practice applying the layers of Soul Red Metallic paint to Jill, the machine she has been gifted as a way to practice her technique. If you’ve missed any, you can catch up on previous installments below. Previous Post: Restore Along Part 26: Time to Paint! Jill has already been primed, and now Julia dives right in, excited to see the first coat of red on her practice Featherweight.  The first coat goes on fast. A little too fast! Julia's sprayer...


| Posted by Ashley Fritsche

Restore Along Part 26: Time to Paint

Welcome back to the Restore Along of Tulip! Previously, we followed along with Julia as she prepared for the task of painting Tulip by practicing on Jill, a Featherweight donated for this purpose by a member of the Featherweight community! So far, Julia has applied two coats of primer to Jill. If you are joining in, you can catch up on last week here: Previous Post: Restore Along Part 25 Today, Julia starts with some touch-ups to Jill, including a little more paint mask and liquid latex where needed.  Julia also planned to wrap some painter’s tape around the silicone plug...


| Posted by Ashley Fritsche

Restore Along Part 25: Sanding Jill & Cleaning Tulip

Welcome back to the Restore Along of Tulip! If you are joining in, catch up on last week’s installment here: Previous Post: Restore Along Part 24 ~ Tech Support to the Rescue! Jill’s second coat of primer is dry, and Julia gives it a once-over with 1000-grit sandpaper, which she hopes is coarse enough to provide the next layer of paint a good surface to stick to.  Jill is nice and smooth now, and Julia is pleased with the result of her primer painting practice. Julia removes the silicone plugs she used in the process and washes the gray primer off of them...


| Posted by Ashley Fritsche

Restore Along Part 24: Tech Support to the Rescue!

Welcome back to the Restore Along with Julia & Tulip (and now Jill!) Julia painted the second coat of primer on Jill, her practice machine, to get her ready for the colored paint coats! If you are tuning in, you can catch up on last week’s progress here: Previous Post: Restore Along Part 23 Julia’s Featherweights don't have perfect bodies. Jill, like many Featherweights, has casting flaws: sand-type bumpy areas in the motor mount and bobbin areas, a few little pointy bumps on the base around the column area, and a very uneven area around base's edge on the handwheel side....


| Posted by Ashley Fritsche

Restore Along Part 23

Welcome back to the Restore Along of Tulip (and now Jill!) Julia has been working diligently on Jill, her practice machine, getting her ready to paint! With the first coat of primer applied in last week's installment (read here), Julia is ready to apply a second coat of primer and improve on her technique! First things first, Julia wants to make sure there will be no more trouble with loose specs of cardboard blowing around her work space as she paints. She uses a partial can of clear spray paint and coats the inside of the cardboard box she has...


| Posted by Ashley Fritsche

Restore Along Part 22

Welcome back to the Restore Along of Tulip! After several days of prep work, Julia is finally ready for her Featherweight painting practice run. Catch up on her prep work here: Previous Post: Restore Along Part 21: Ready to Paint! Today’s work begins with just a few touch-ups to the paint mask Julia previously applied to her practice Featherweight, Jill.     She covers a few holes that got uncovered during sanding, wipes Jill down with a tack cloth to remove any lingering dust, and carries the machine ceremoniously out to the shop.     With three task lights, mask, gloves,...


| Posted by Ashley Fritsche

Restore Along Part 21: Ready to Paint!

Welcome back to our Restore Along with Julia, featuring Tulip & Jill! Julia has been hard at work preparing Jill for a new coat (and then some) of paint. This will be a practice run for Tulip’s final makeover! In case you missed last week’s progress, here is a link to catch up: Previous Post: Read Restore Along Part 20 Here With Jill masked and sanded, one last errand before painting is buying the paint! Today Julia is excited and apprehensive as she ventures back across the bridge to buy enough Soul Red Metallic paint for her practice run. The assistant...


| Posted by Ashley Fritsche

Restore Along Part 20

Welcome back to the Restore Along of Tulip! Last week Julia prepped Jill, her Featherweight that was so kindly donated by a fellow Featherweight friend. Read last week’s Restore Along installment here: Restore Along Part 19 This week, Julia gives Jill a good sanding in preparation for the first coat of primer. The sanding is a critical step that will help ensure the paint stays put and won’t flake as she layers on more coats. Resourceful as always, Julia uses pieces from a Dremel contour sanding set she found years ago at a thrift store. Rather than use them with an...


×

READ MORE
+